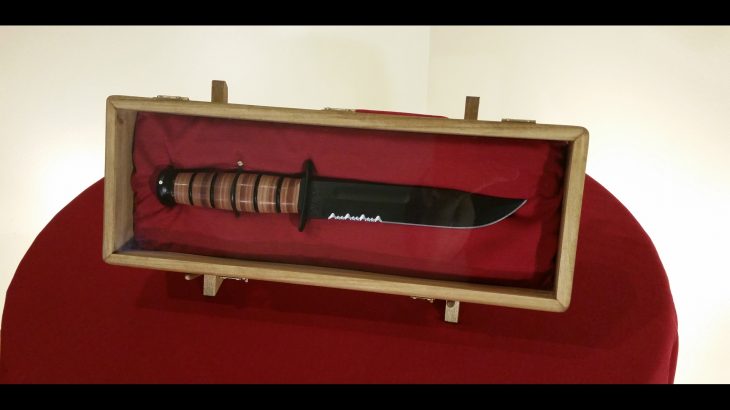
Recently a customer came to me with a request to build a display case for a USMC knife her son had received for Christmas. She wanted to be able to display the Knife on a shelf or on top of the dresser so a way to keep it tilted up for better viewing was also in order.
For a full build video click the YouTube video, and if you enjoy the content please like share and subscribe.
I started out by drawing a quick mock up and to represent the proportions to scale, and give the customer an idea of what the project would look like when finished.
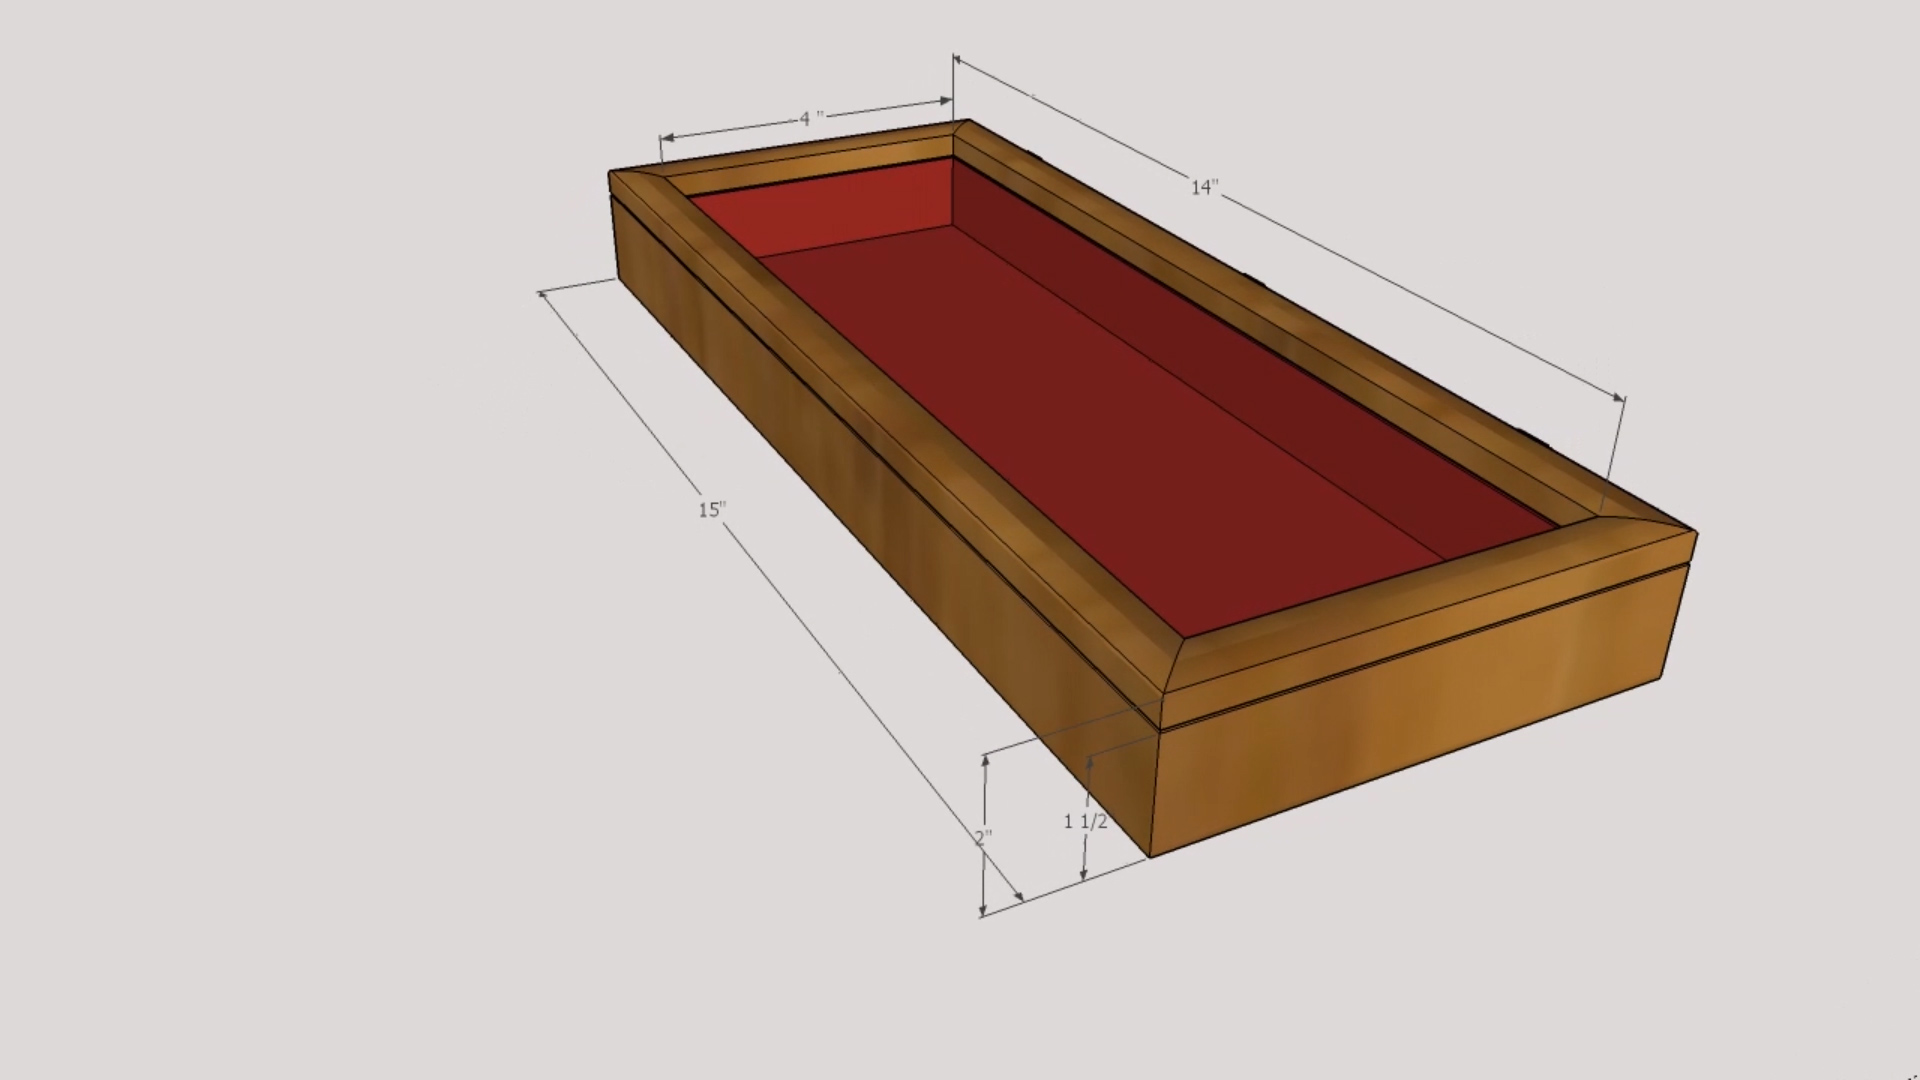 Once the the customer agreed on the proportions and the measurements. I started pulling together the project materials.
I found hinges and clasps at a local woodworking hardware store, and hunting trough past project scraps I found some cut offs from a project I build from a large poplar plank. While I usually most of my projects are from reclaimed materials It is nice to work with first use material too. And technically I saved these items from the scrap bin.
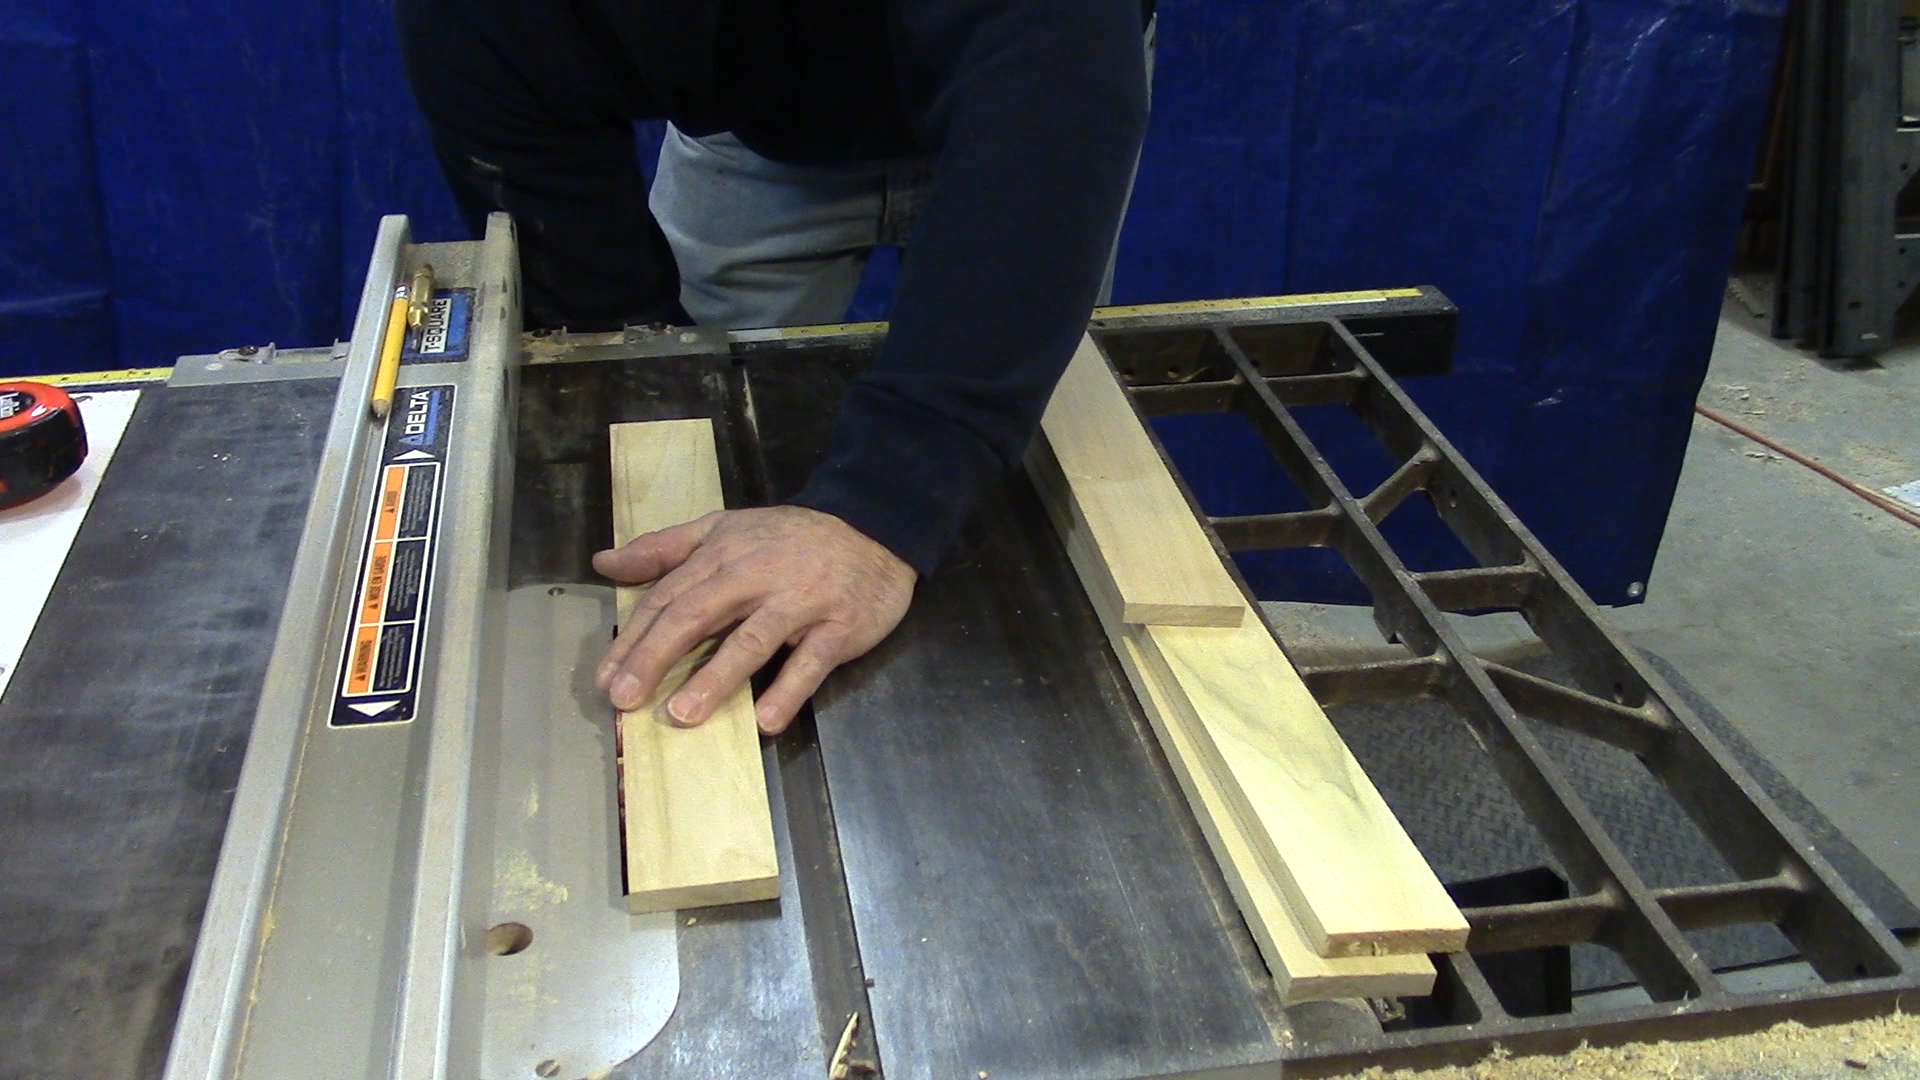
I found nearly enough scraps already milled down to slightly over 1/2 inch thickness and about 1/4 inch wider than needed I also had a portion of the original board left. So trimmed off a matching section and re-sawed that portion to match the others. 
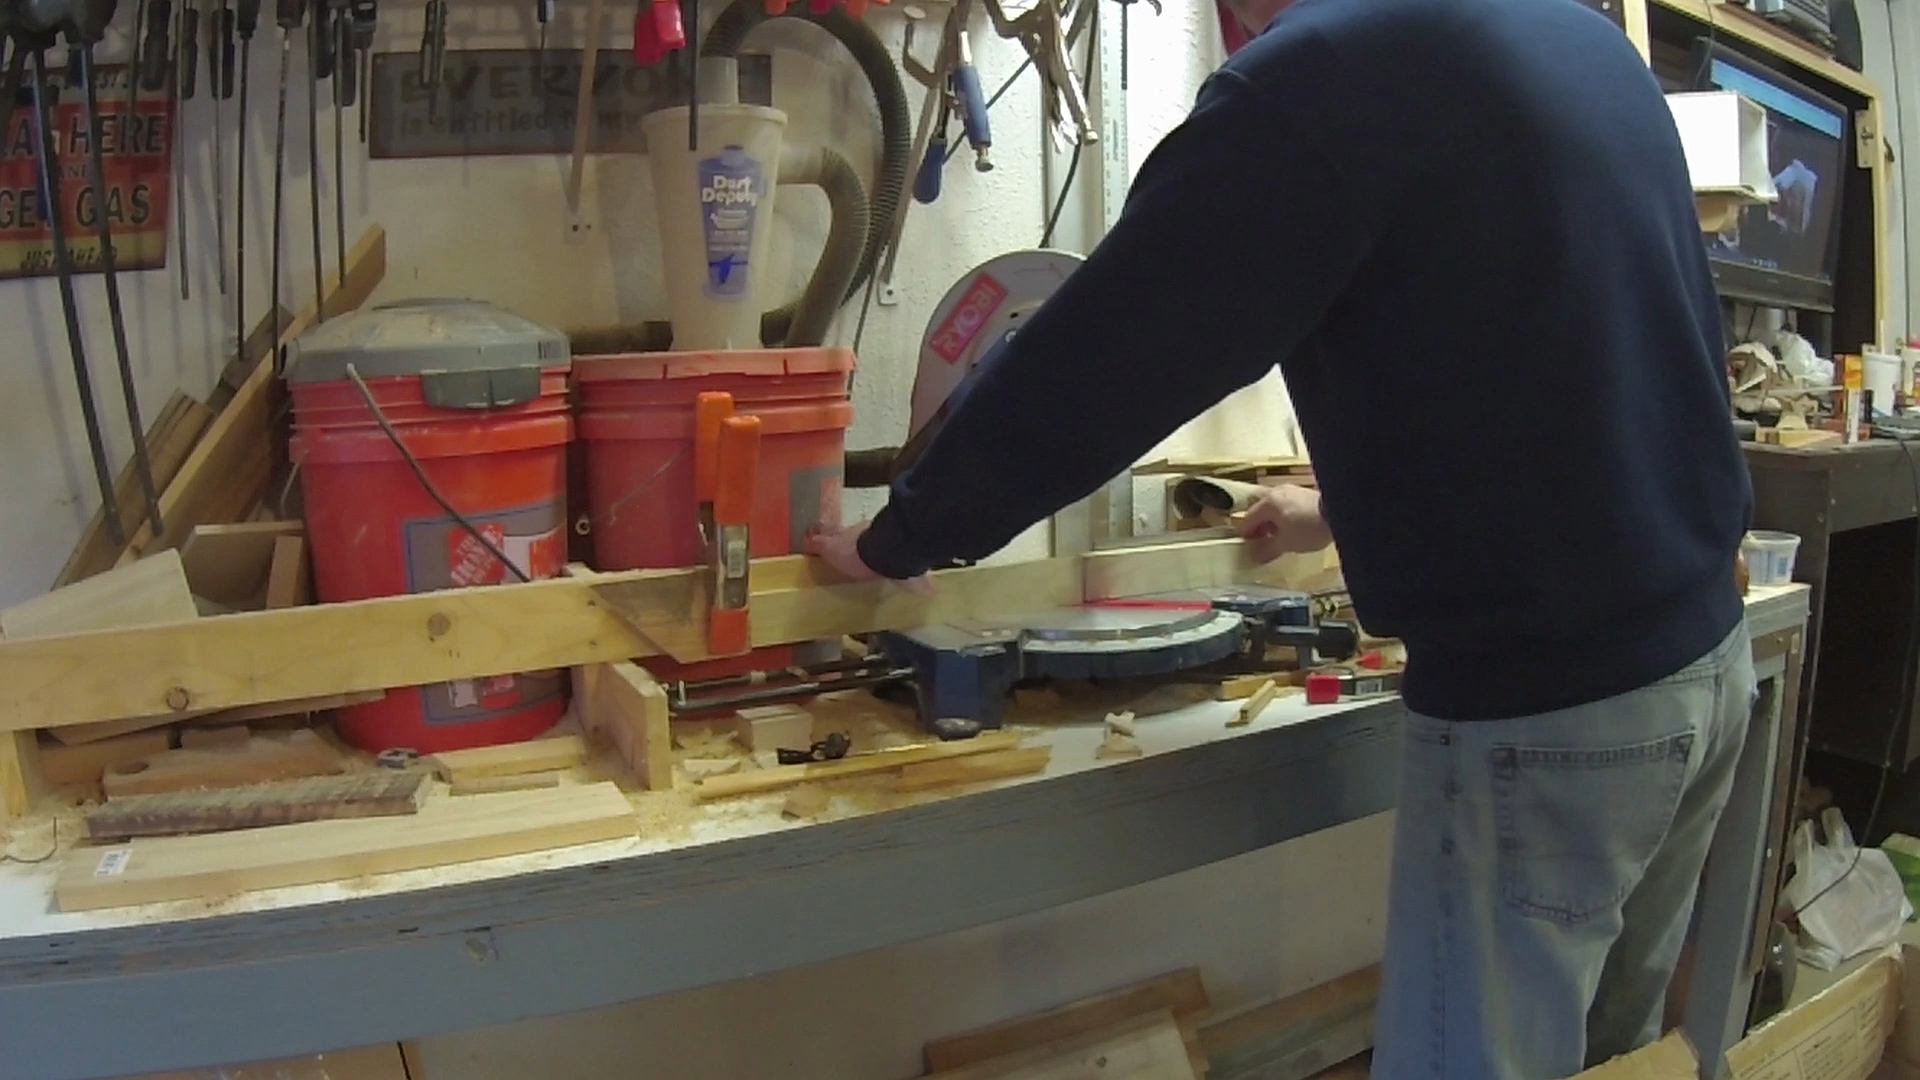
With all the stock cut to width and thickness, I used my chop saw to trim everything to length using a “stop” to ensure that each of the opposing sides/ends were exactly the same length.
Exacting accuracy with the length and the mitered corners are key to a precise fit during glue up and the best result of a finish project.
I also used the chop box, and stops to cut the bottom stock to length. i left the bottom slightly longer and wider than needed.
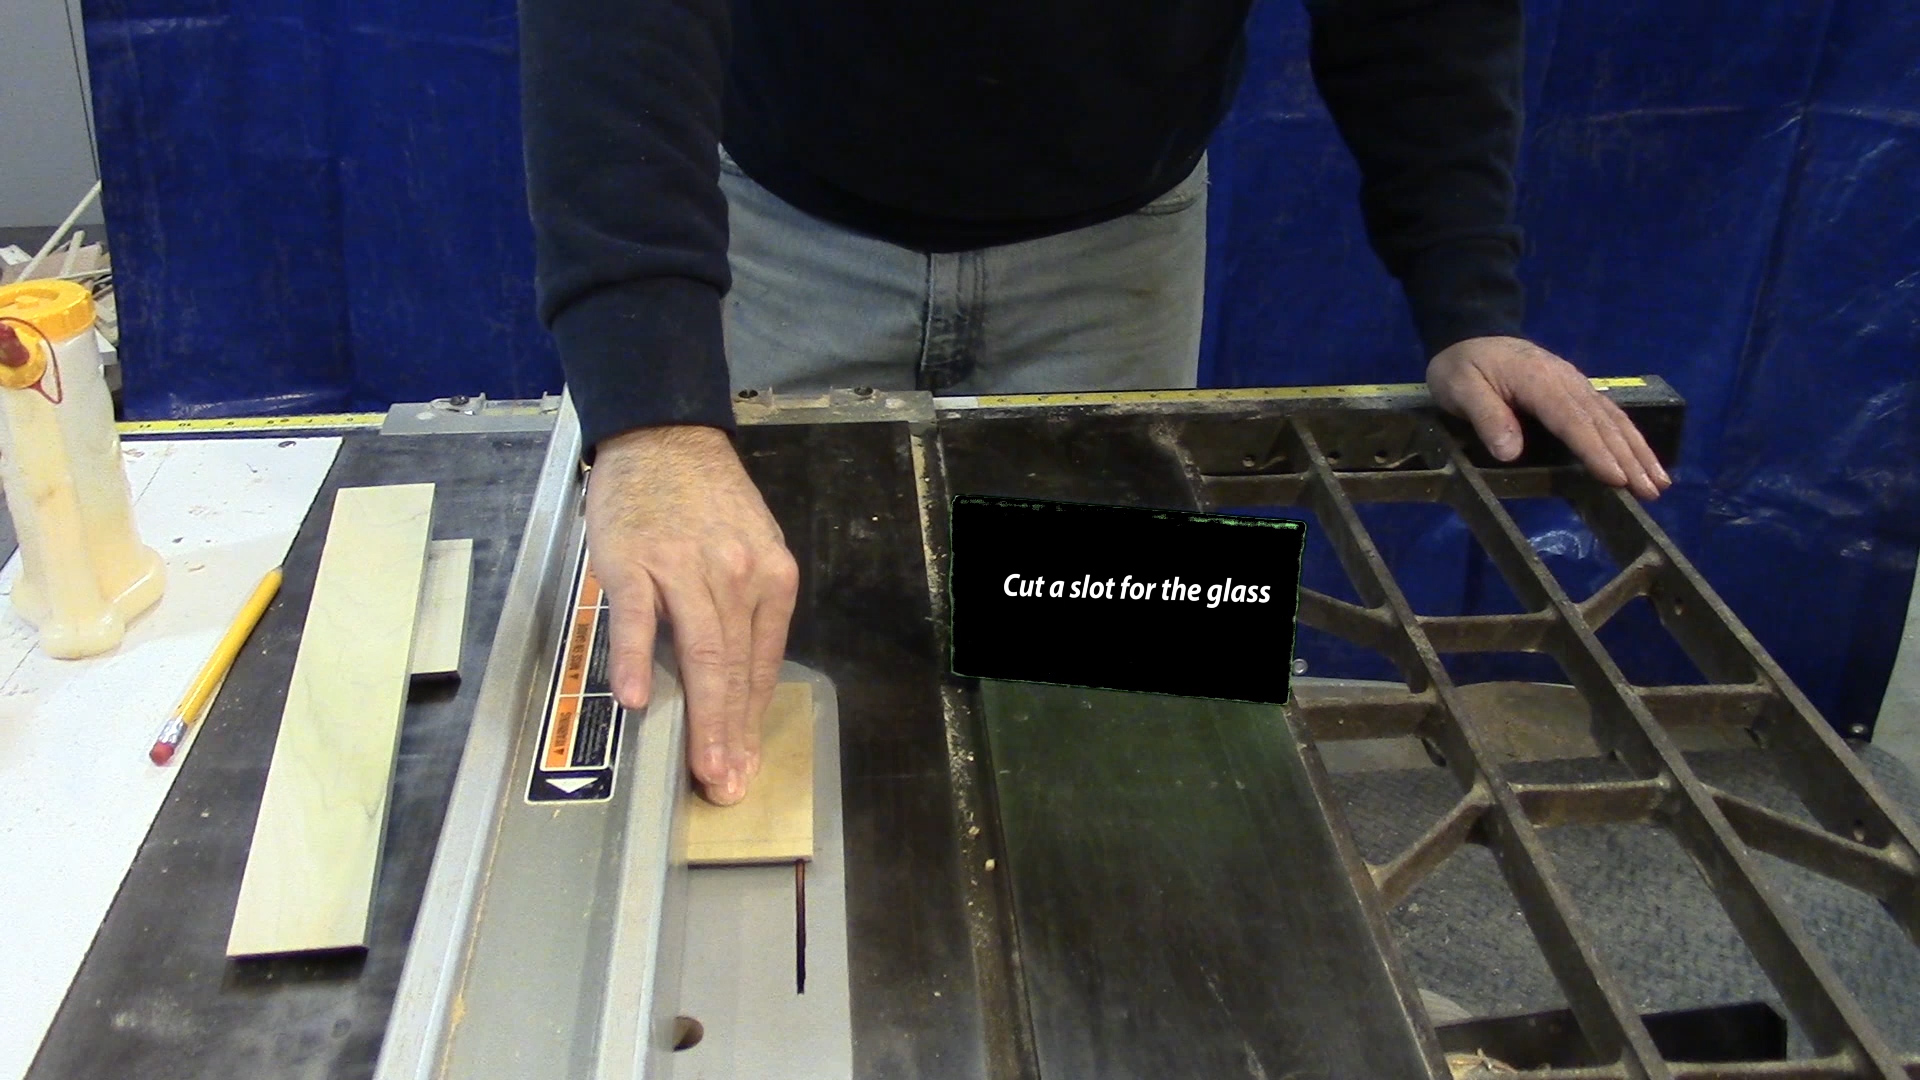
Back over at the table saw I cut a slot for the gas about a 1/4th inch from the edge of what will later become the top. I batched all these out at one time to make sure the slot was precise.
I used a scrap of melamine to use as a flat surface to glue up the bottom I clamped a strip to the edge and then another leaving about 3/8 inch space between the 2nd strip and the edge of the bottom stock glued up then used to small wedges to apply even pressure between the strips.
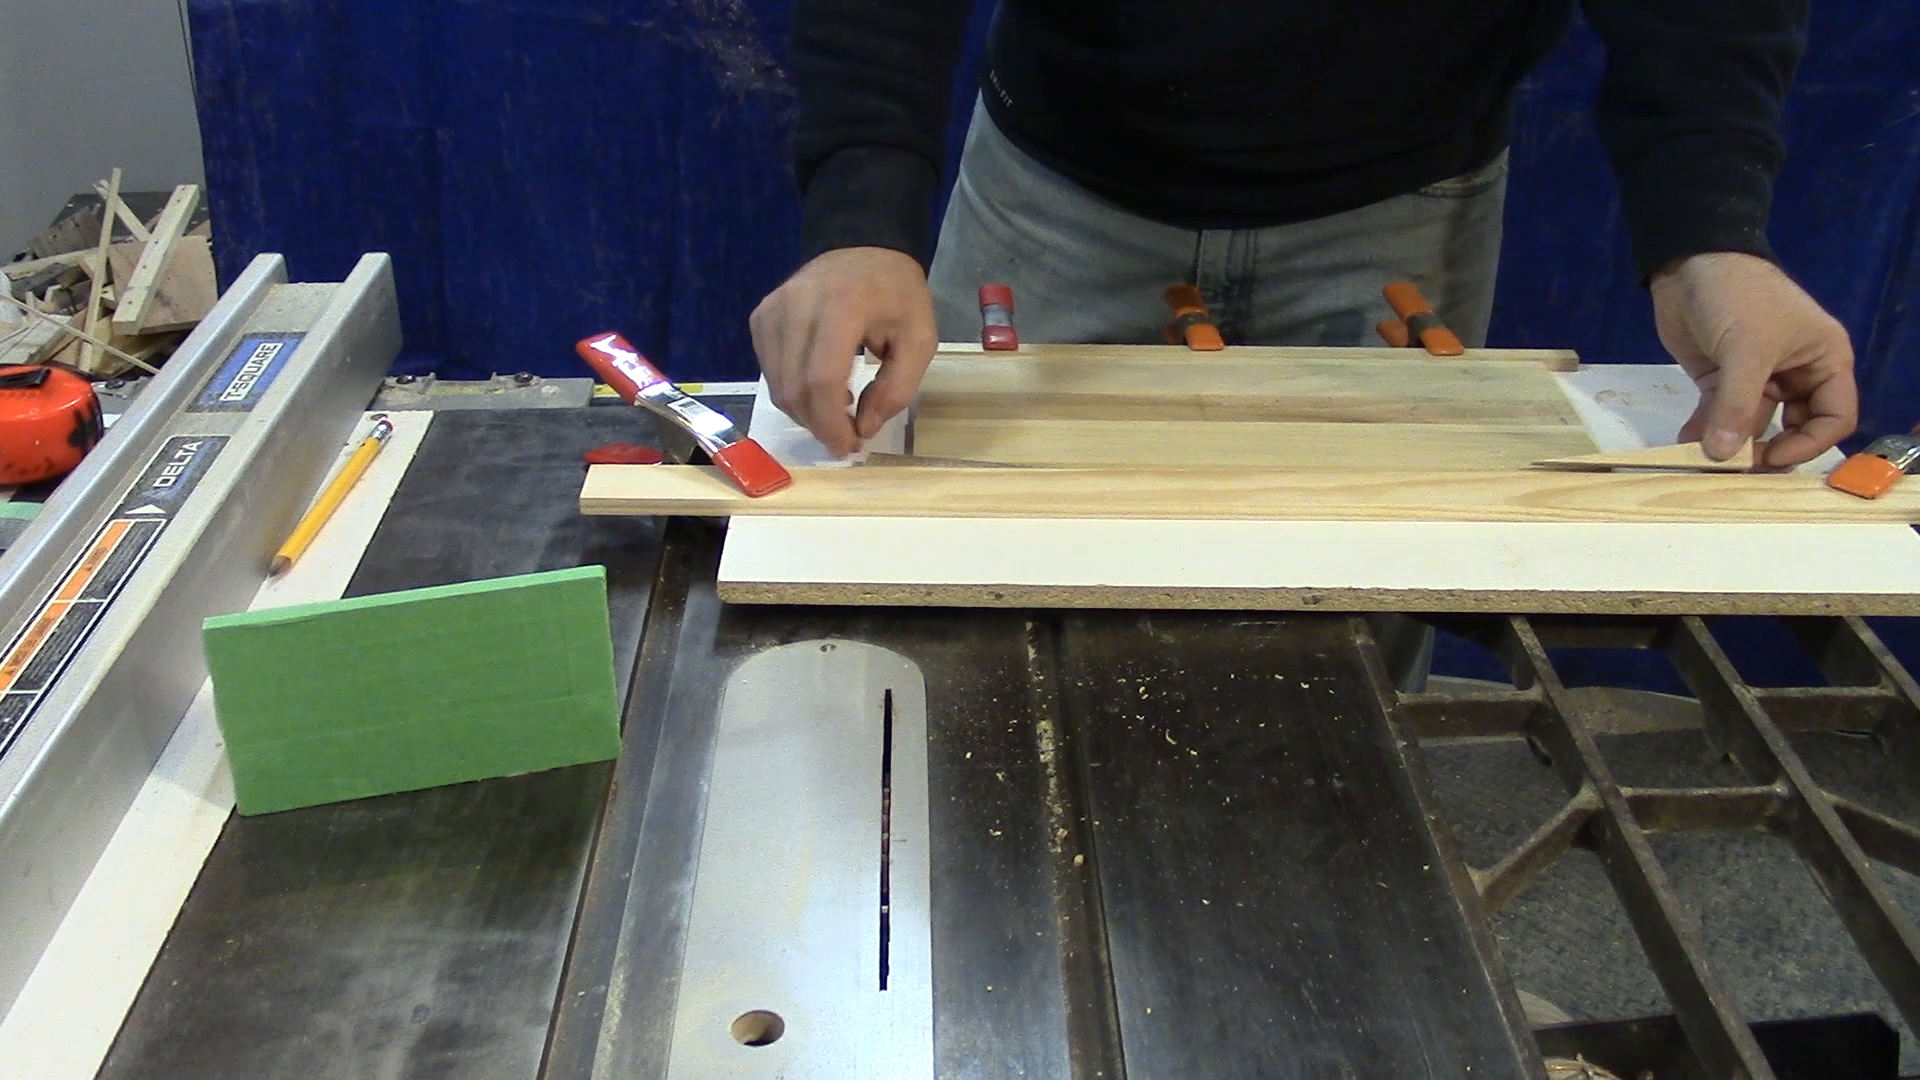
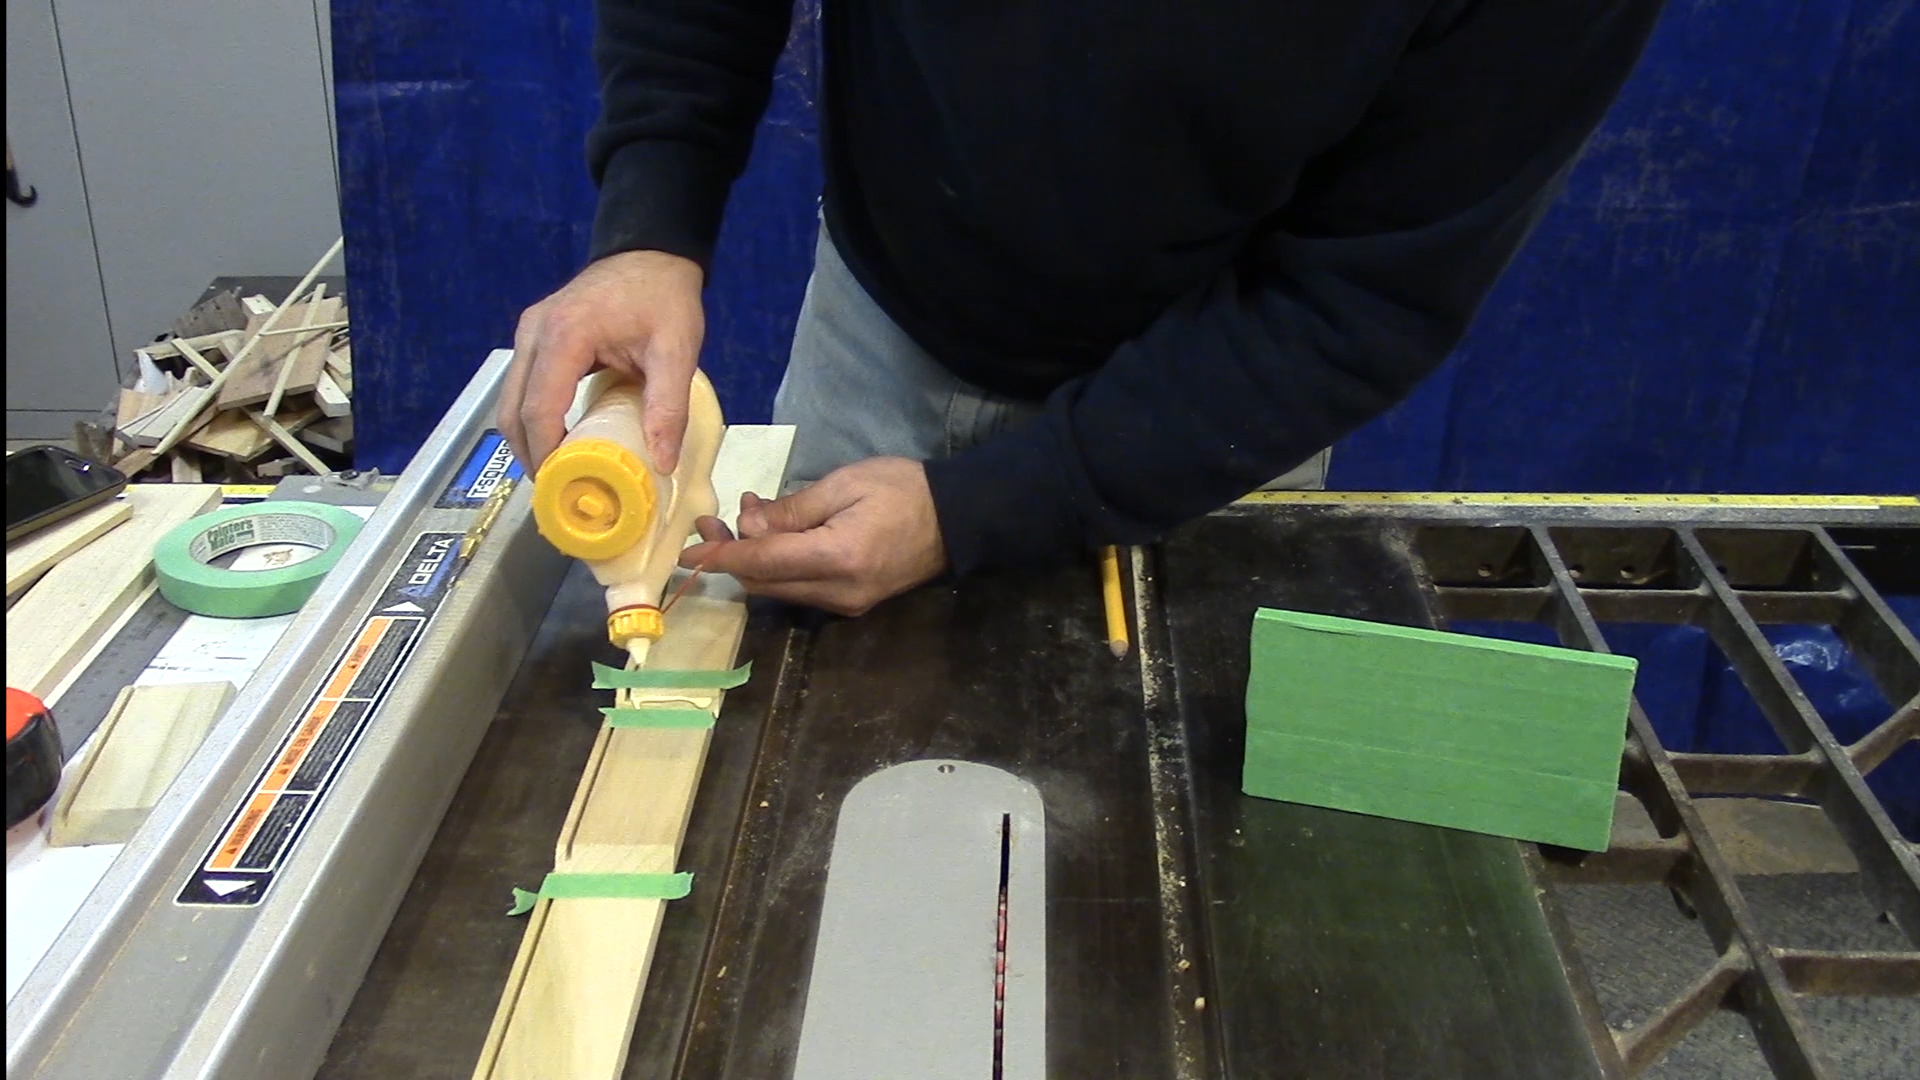
I set this aside while I did the next step, which is to glue up the sides. I used the fence on my table saw to align all the side pieces, being sure to keep the slot for the glass in alignment, Use a couple of strips of painters tape.
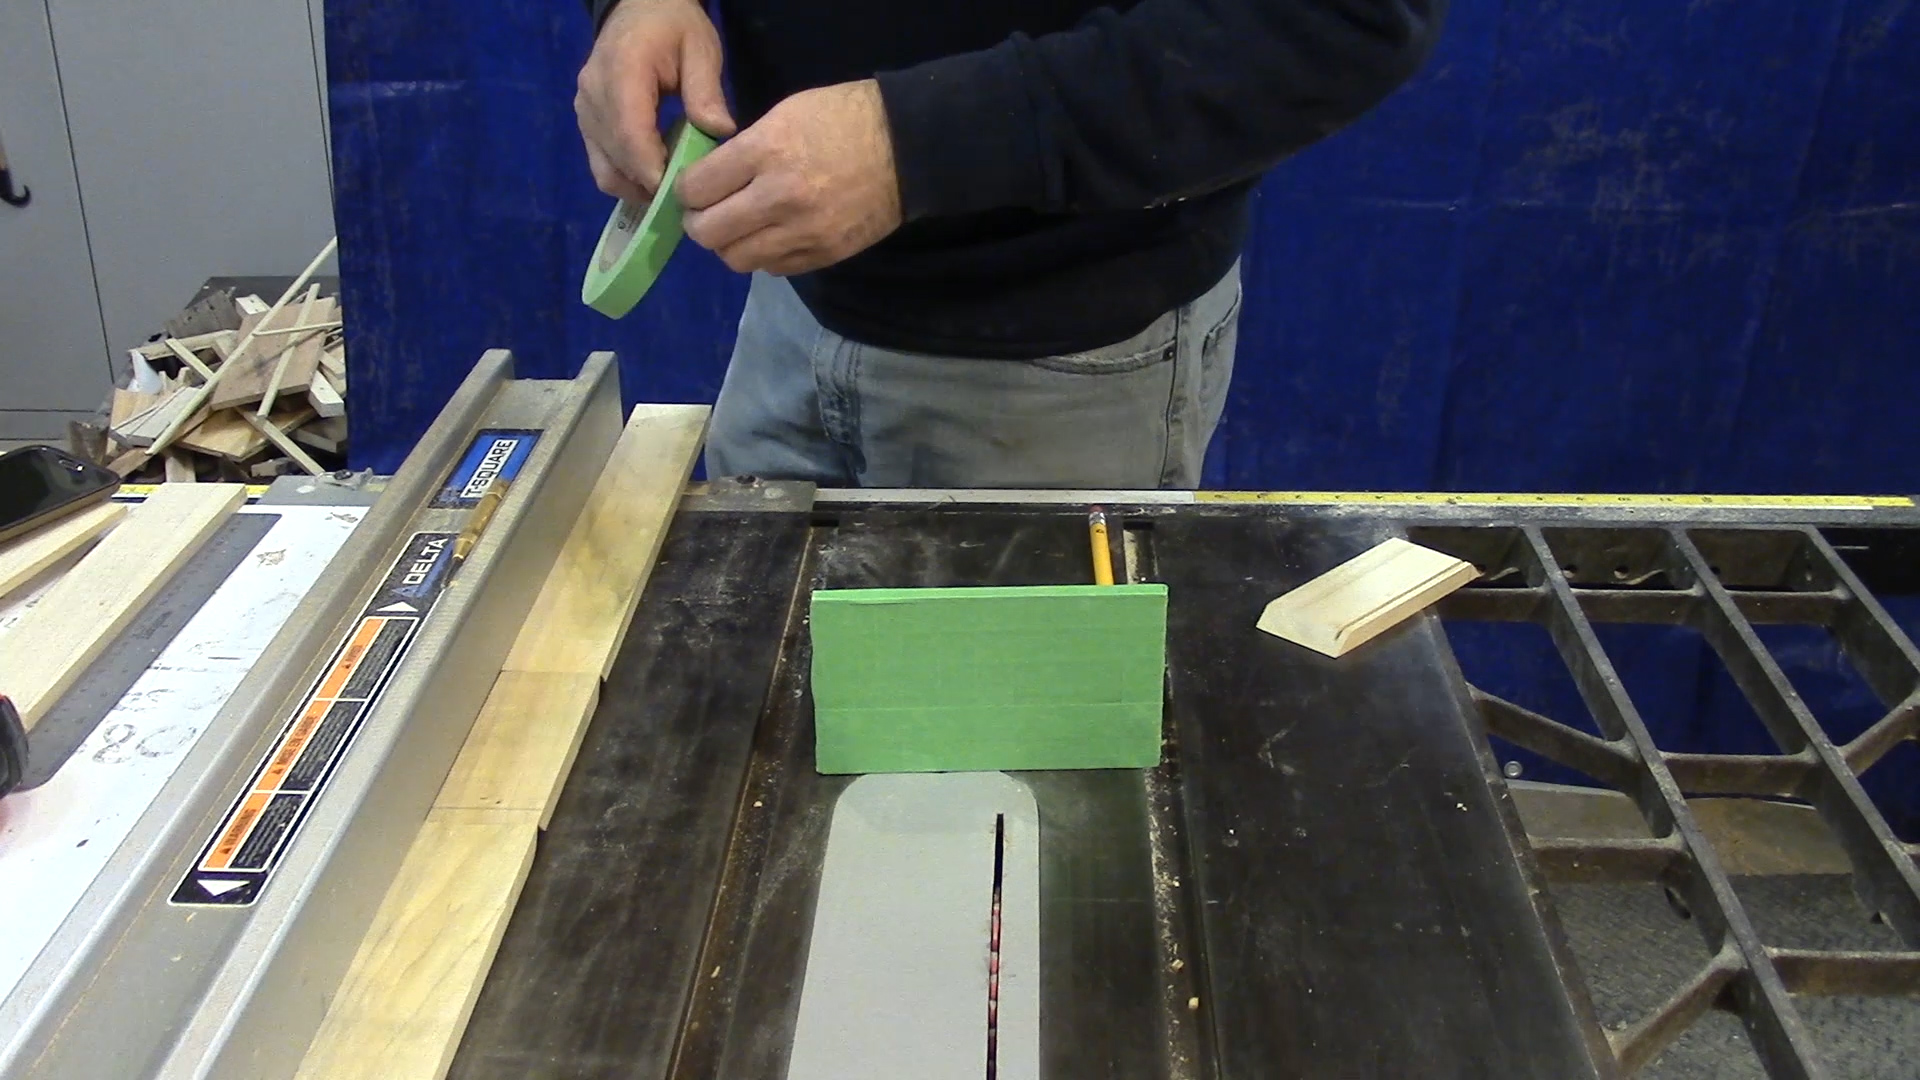

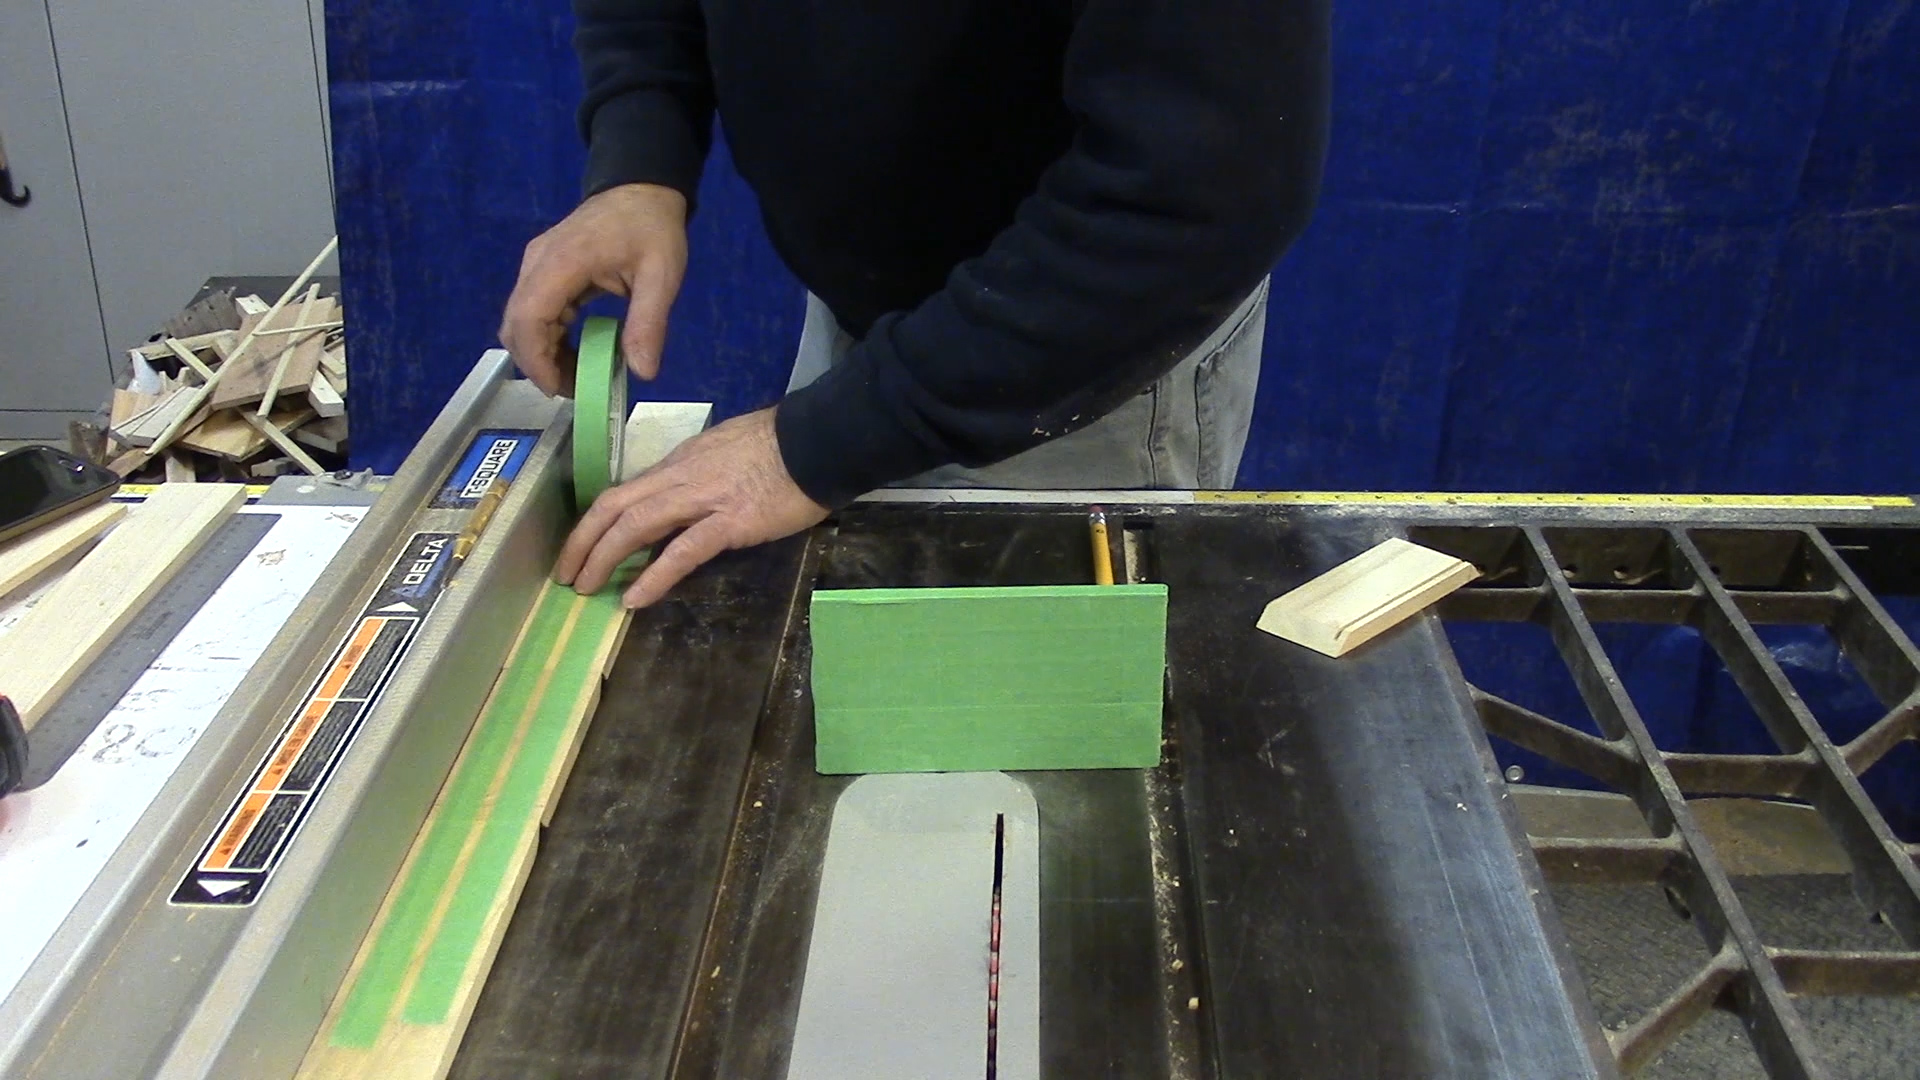
This will allow you to flip over the assembly and apply some glue to each of the miter joints. For now I am only joining one end, and the 2 sides.
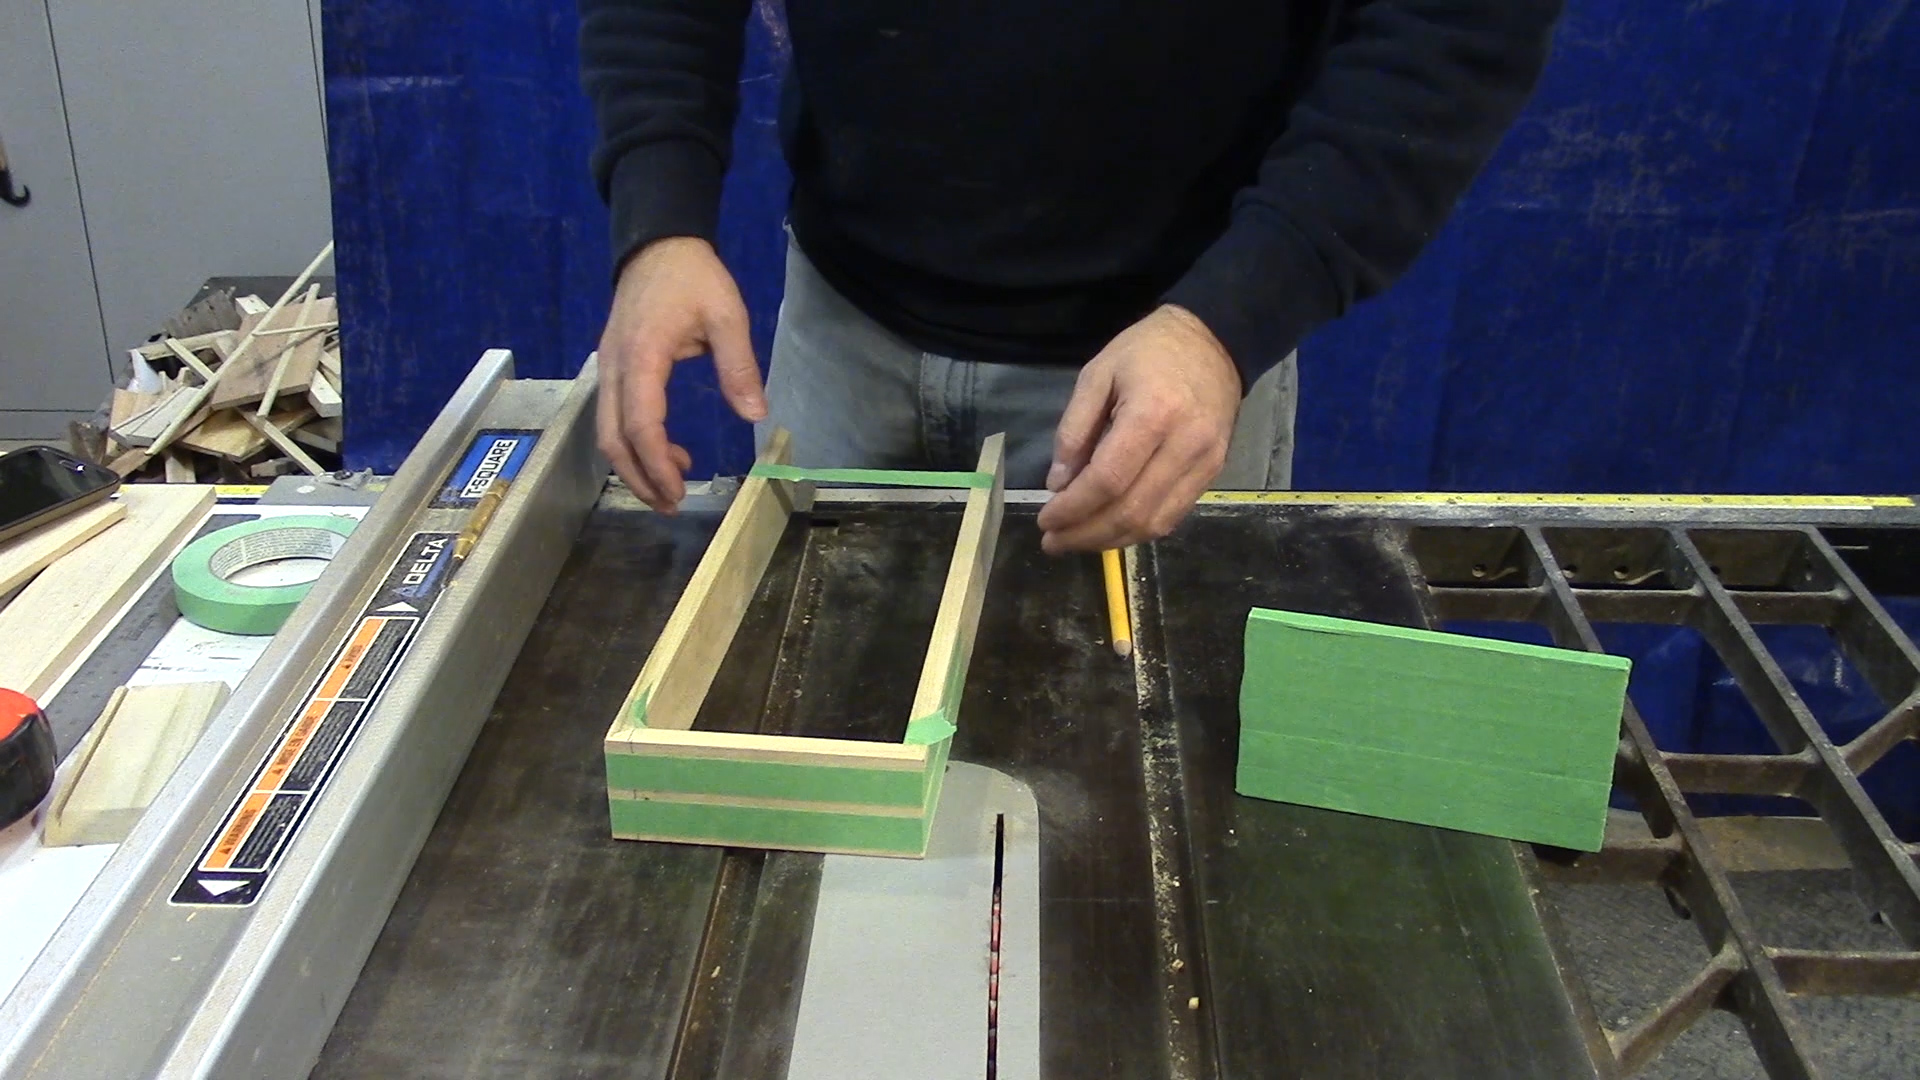
Once the 3 sections are taped together you can add some glue to each miter joint, but don’t over do it and spread it around. A little strip of tape on each side of each of the joints will prevent squeeze out from getting where it should not be. Also a little strip of tape is enough to hold the top together while the glue dries.
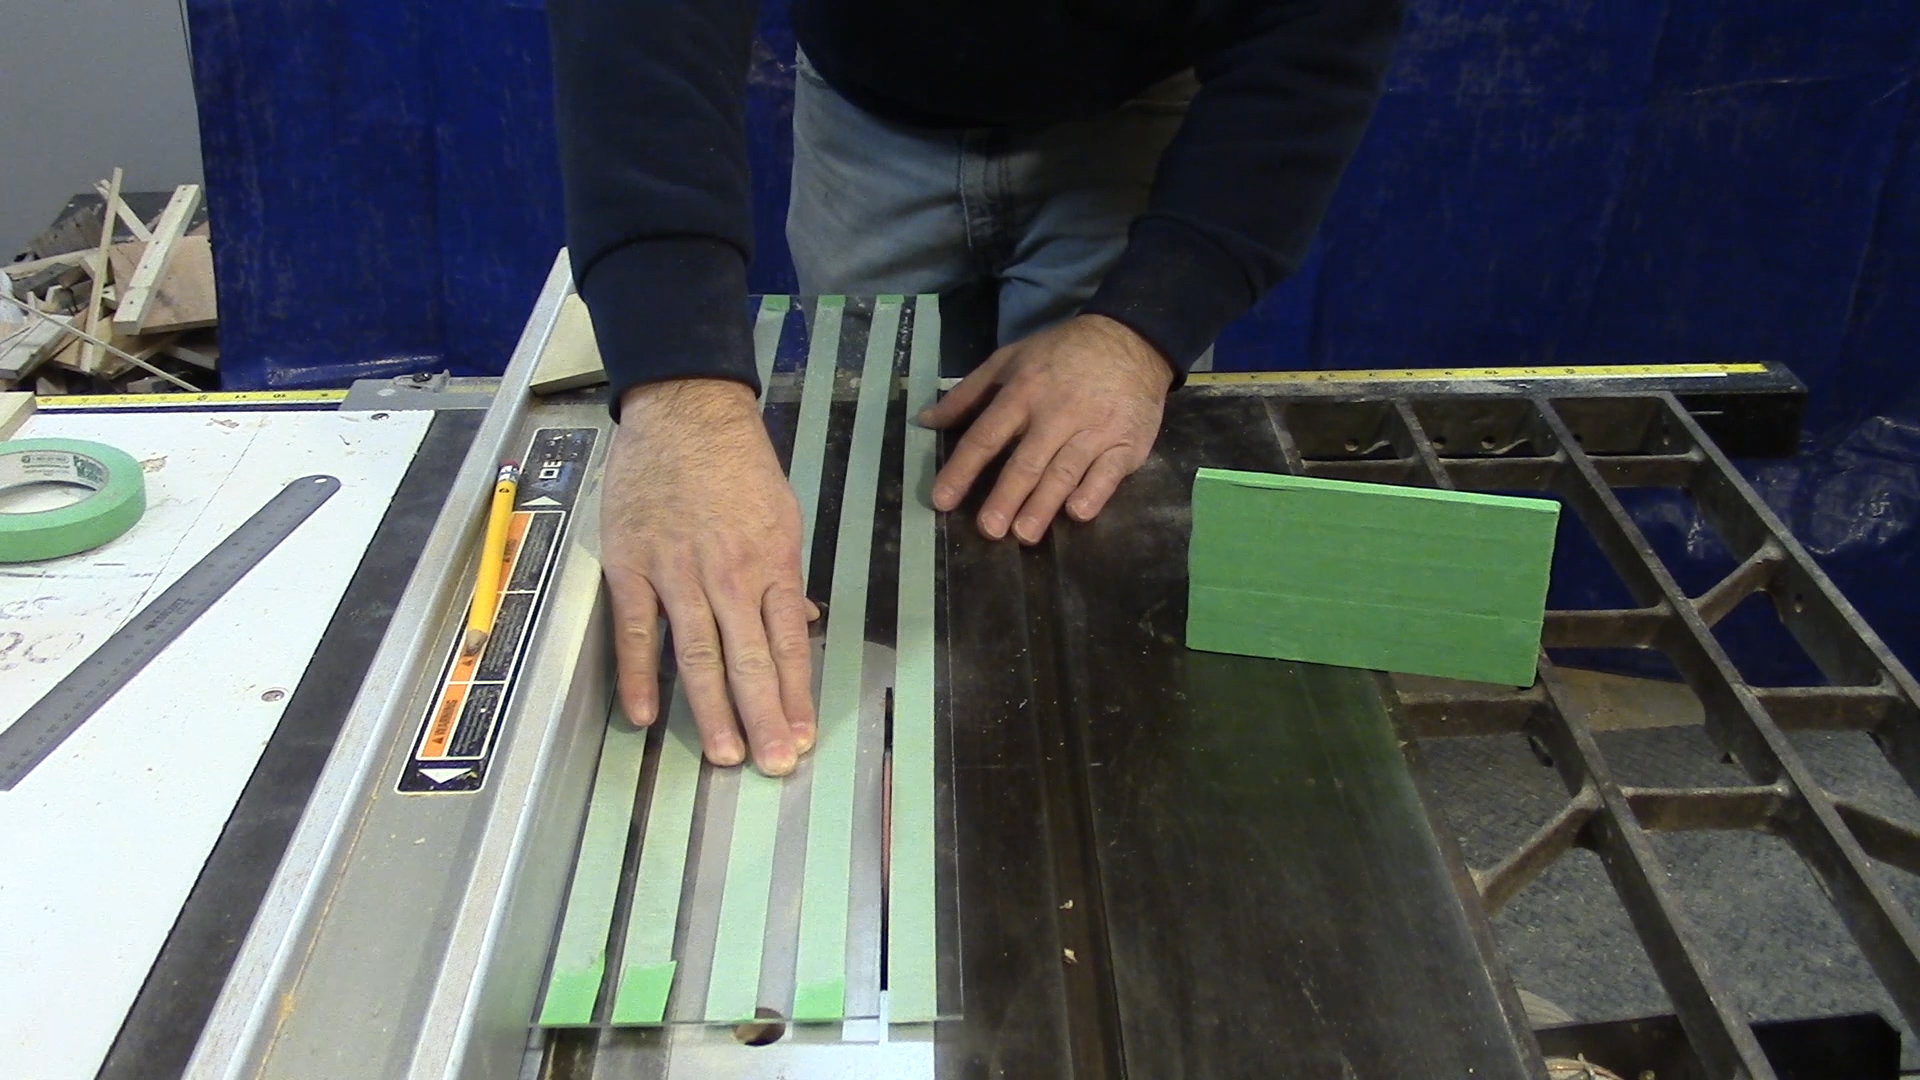
I used Acrylic for the glass in this project because I had it on hand and its safe and lightweight. You can trim it to length and width with a sharp table saw blade. A few strips of painters tape will protect the glass from scratches . If you can leave the protective coating on it for this process its better but it was gone from this remnant.
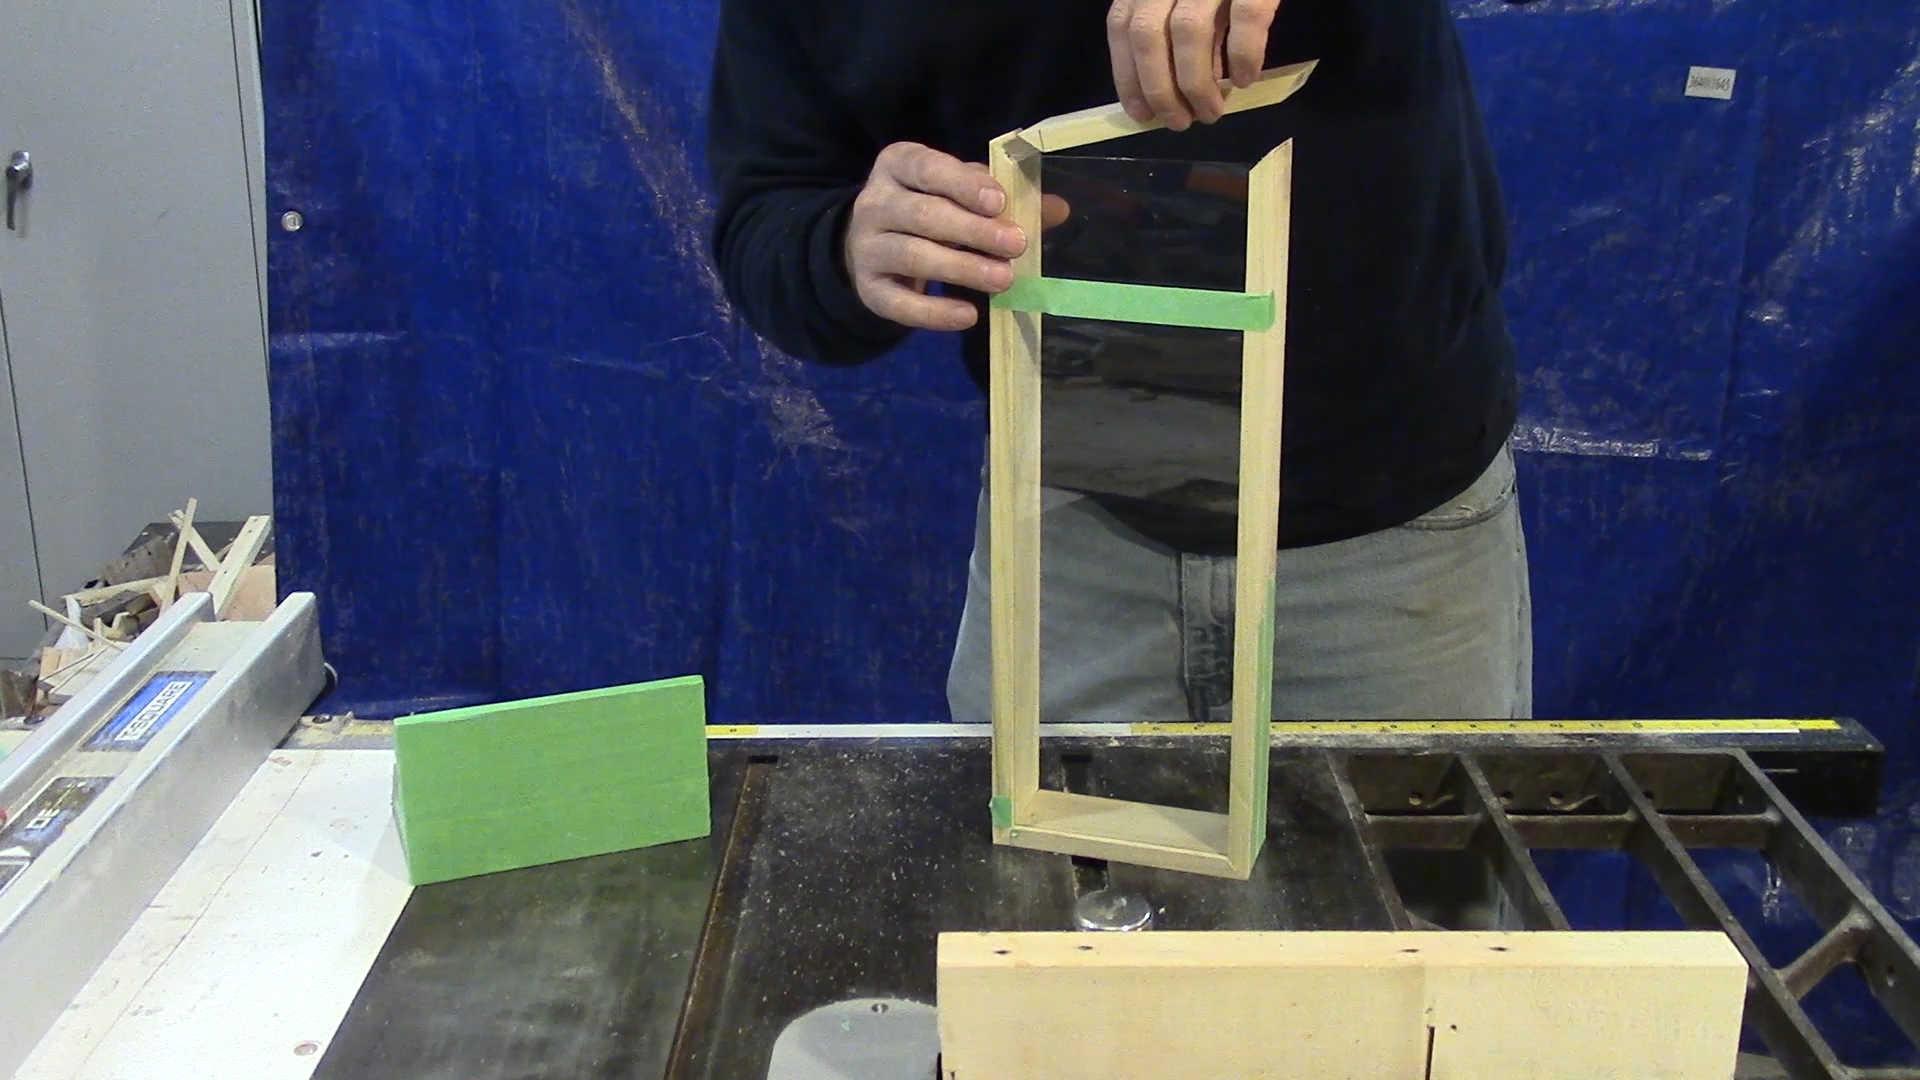
Slip the acrylic in to the slot, and then the top can be placed on with glue and tape to secure it while the entire assembly dries.
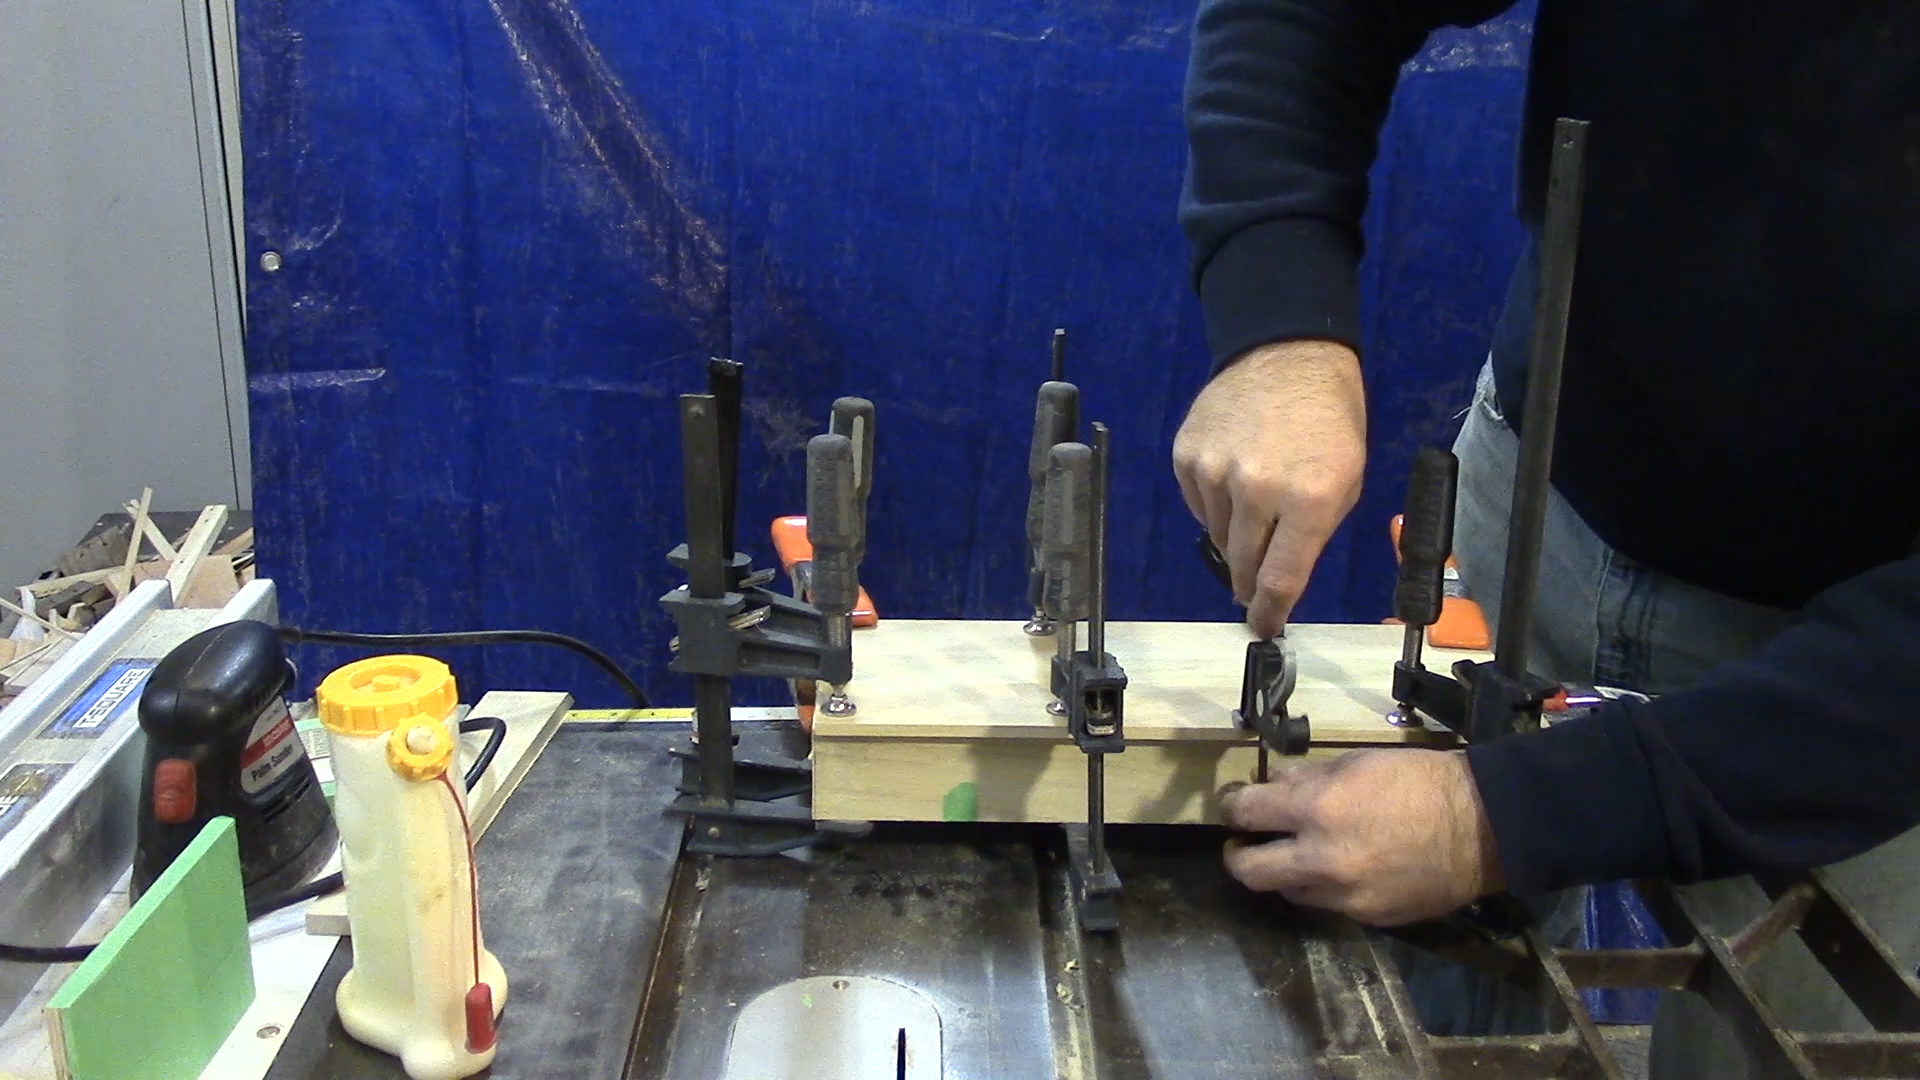
Fit the bottom to the body of the box and clamp up, the overhang should be some what even all the way around.

This does not have to be exact because we will trim that up with a flush trim router.
I used my small router table to round over all the edges, including the corners to give the box a pleasing feel.
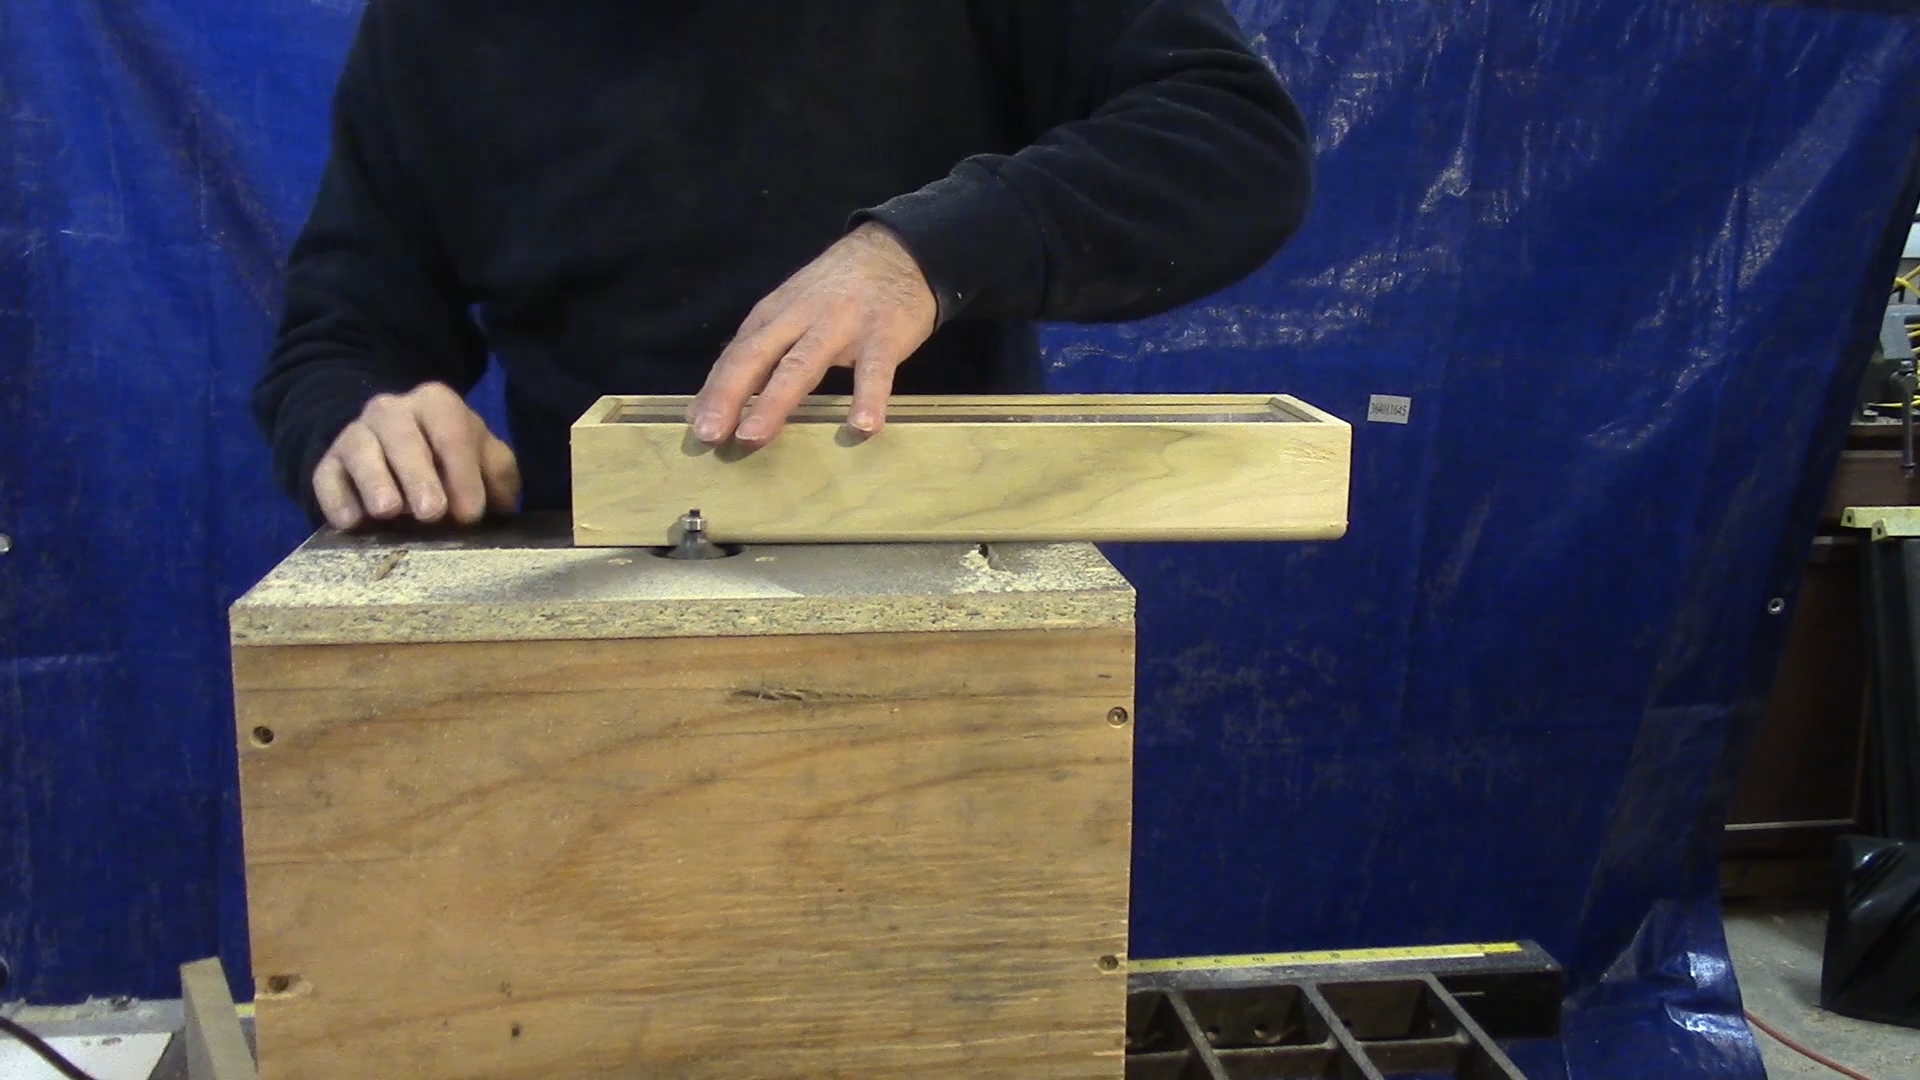
Warning, if the corner miters are not fit very well then rounding them with a router will make the flaws show even more.
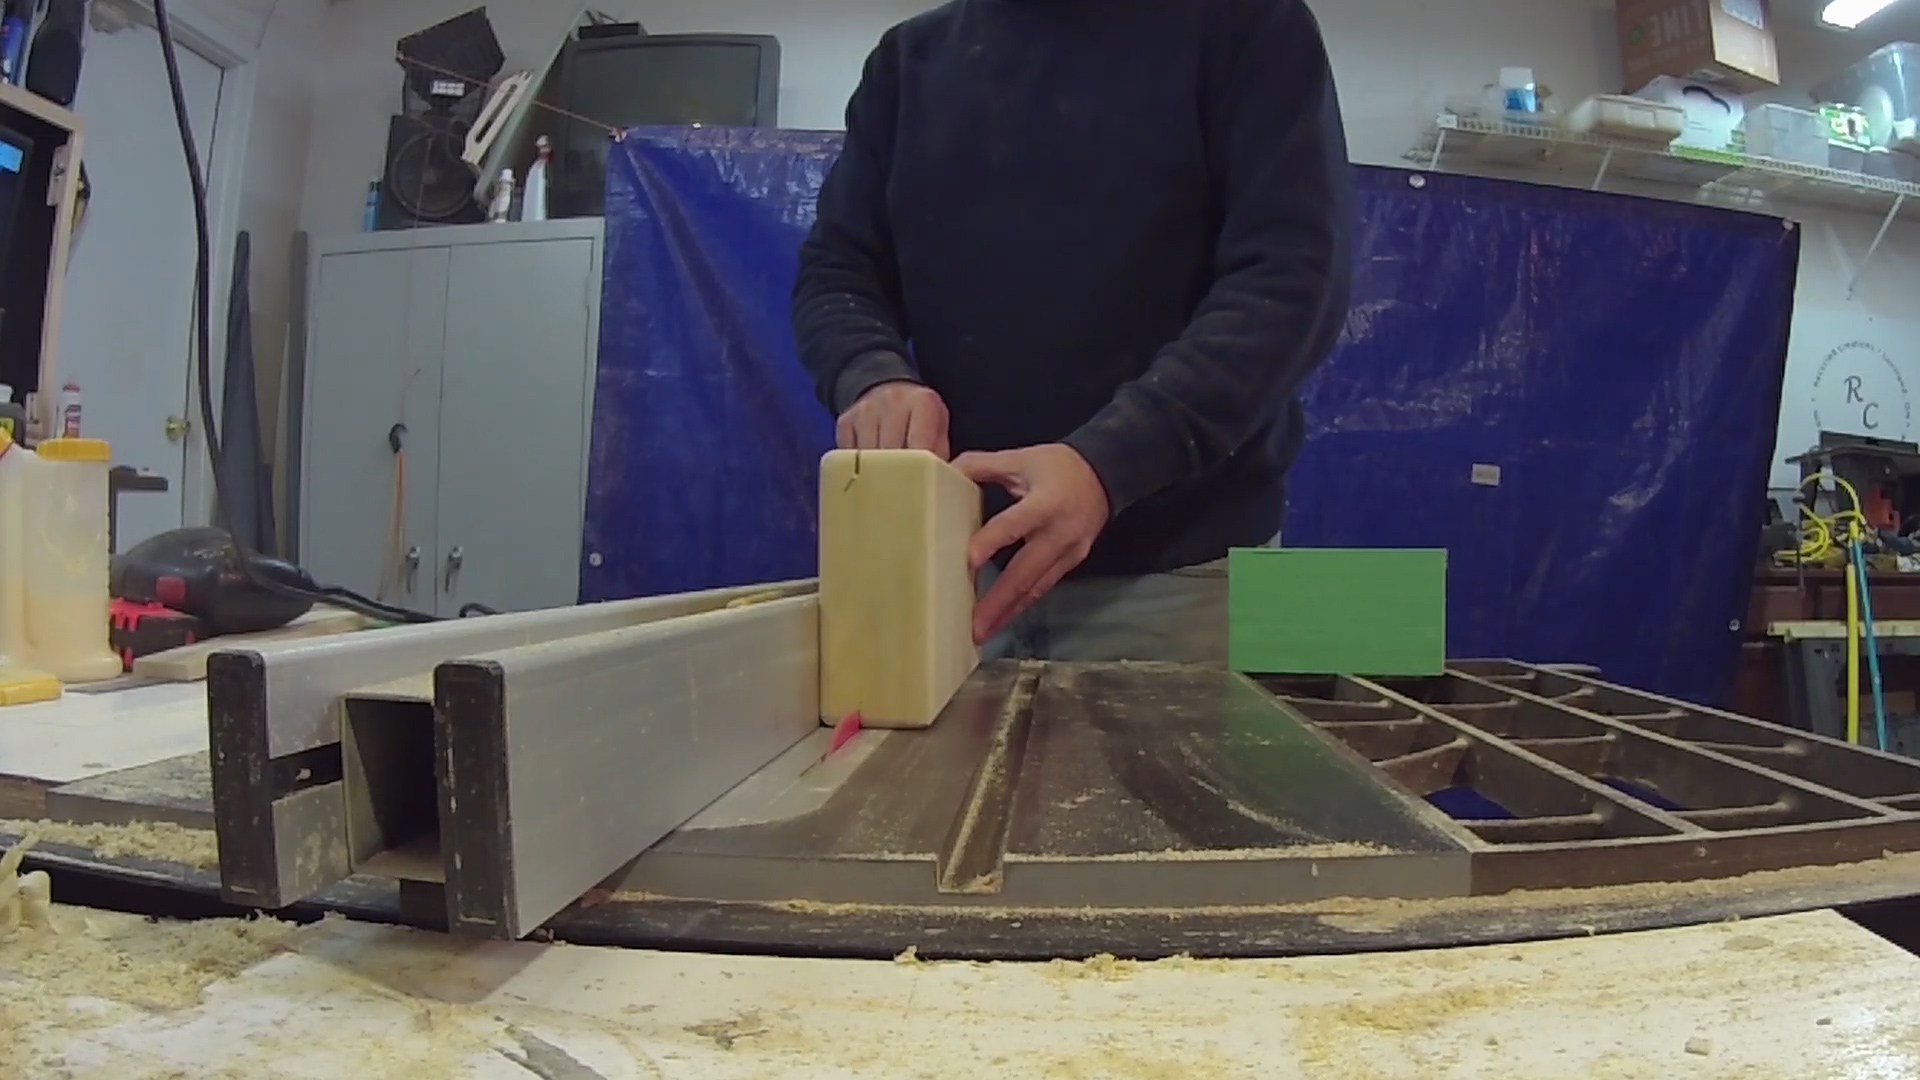
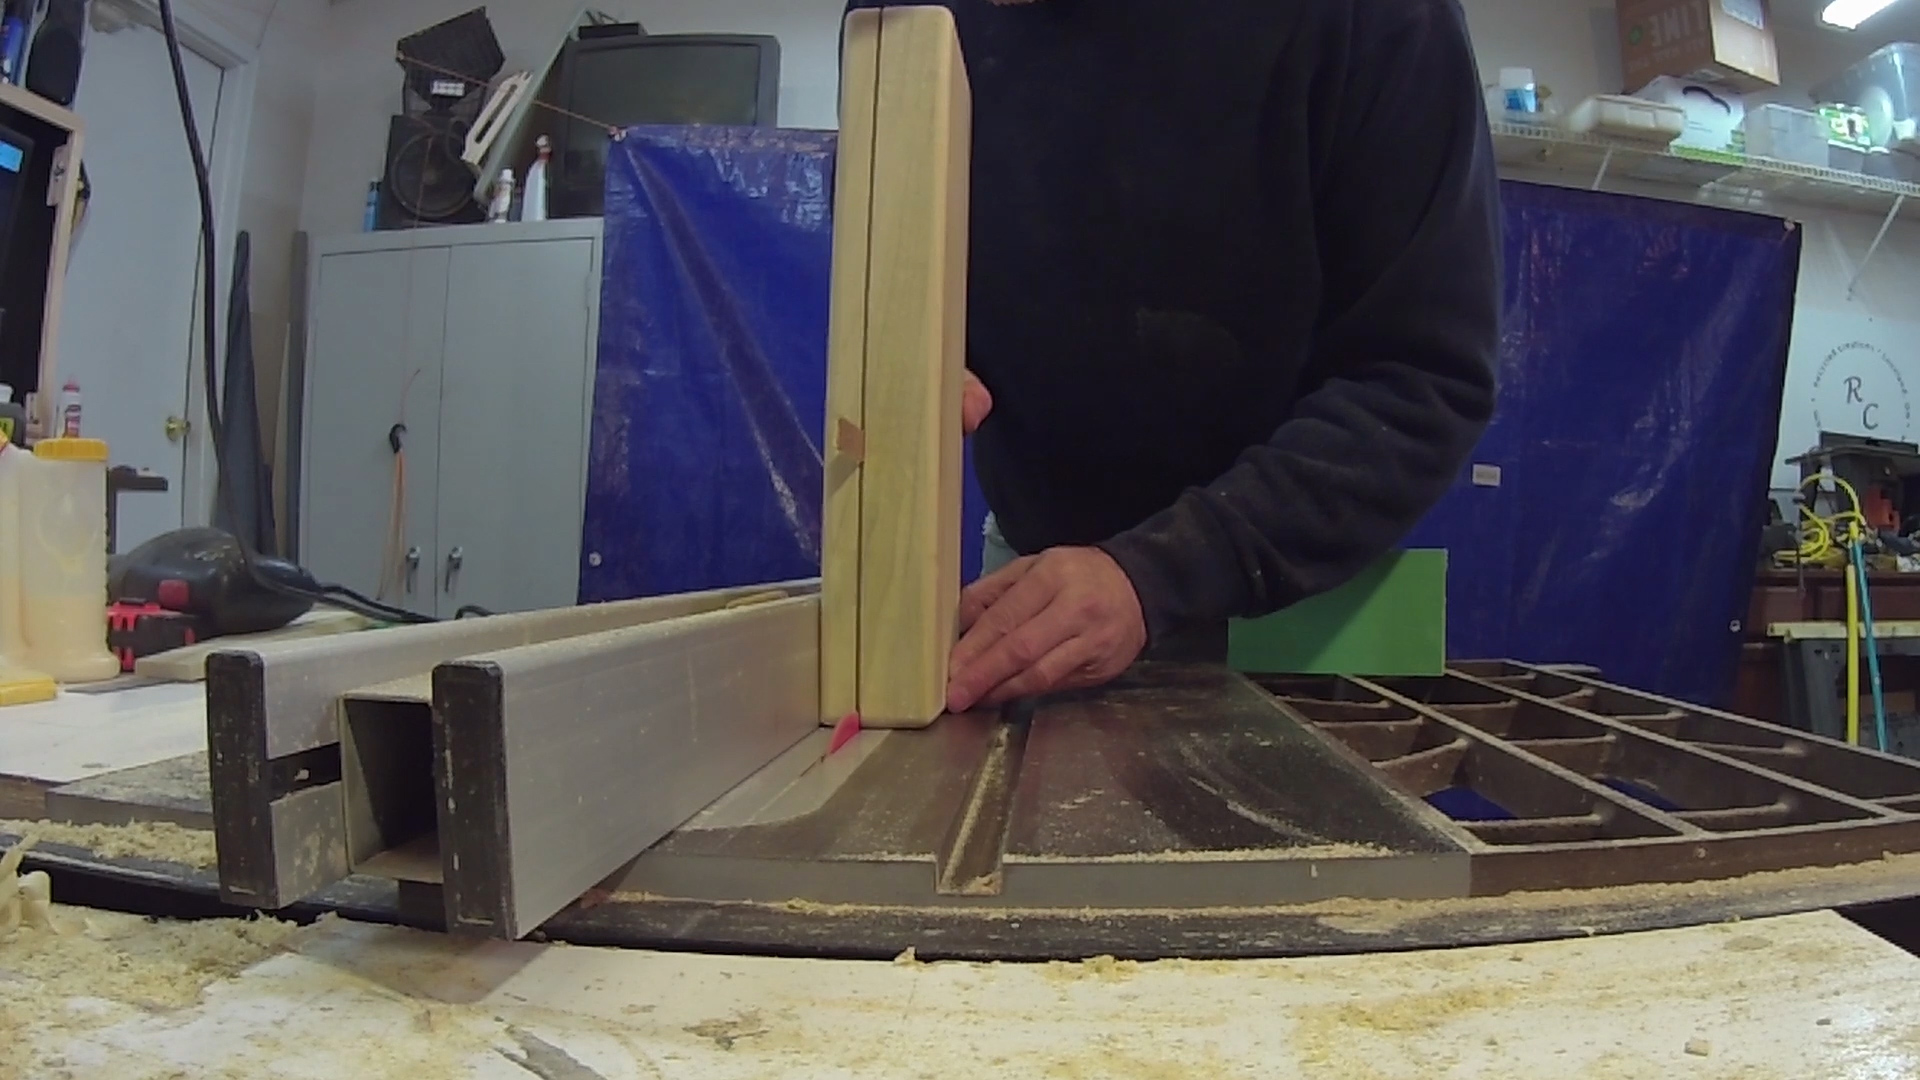
Then using the table saw and fence I separated the lid from the box, Be very careful to hold the box flat on the table and against the fence. to ensure a straight accurate cut.
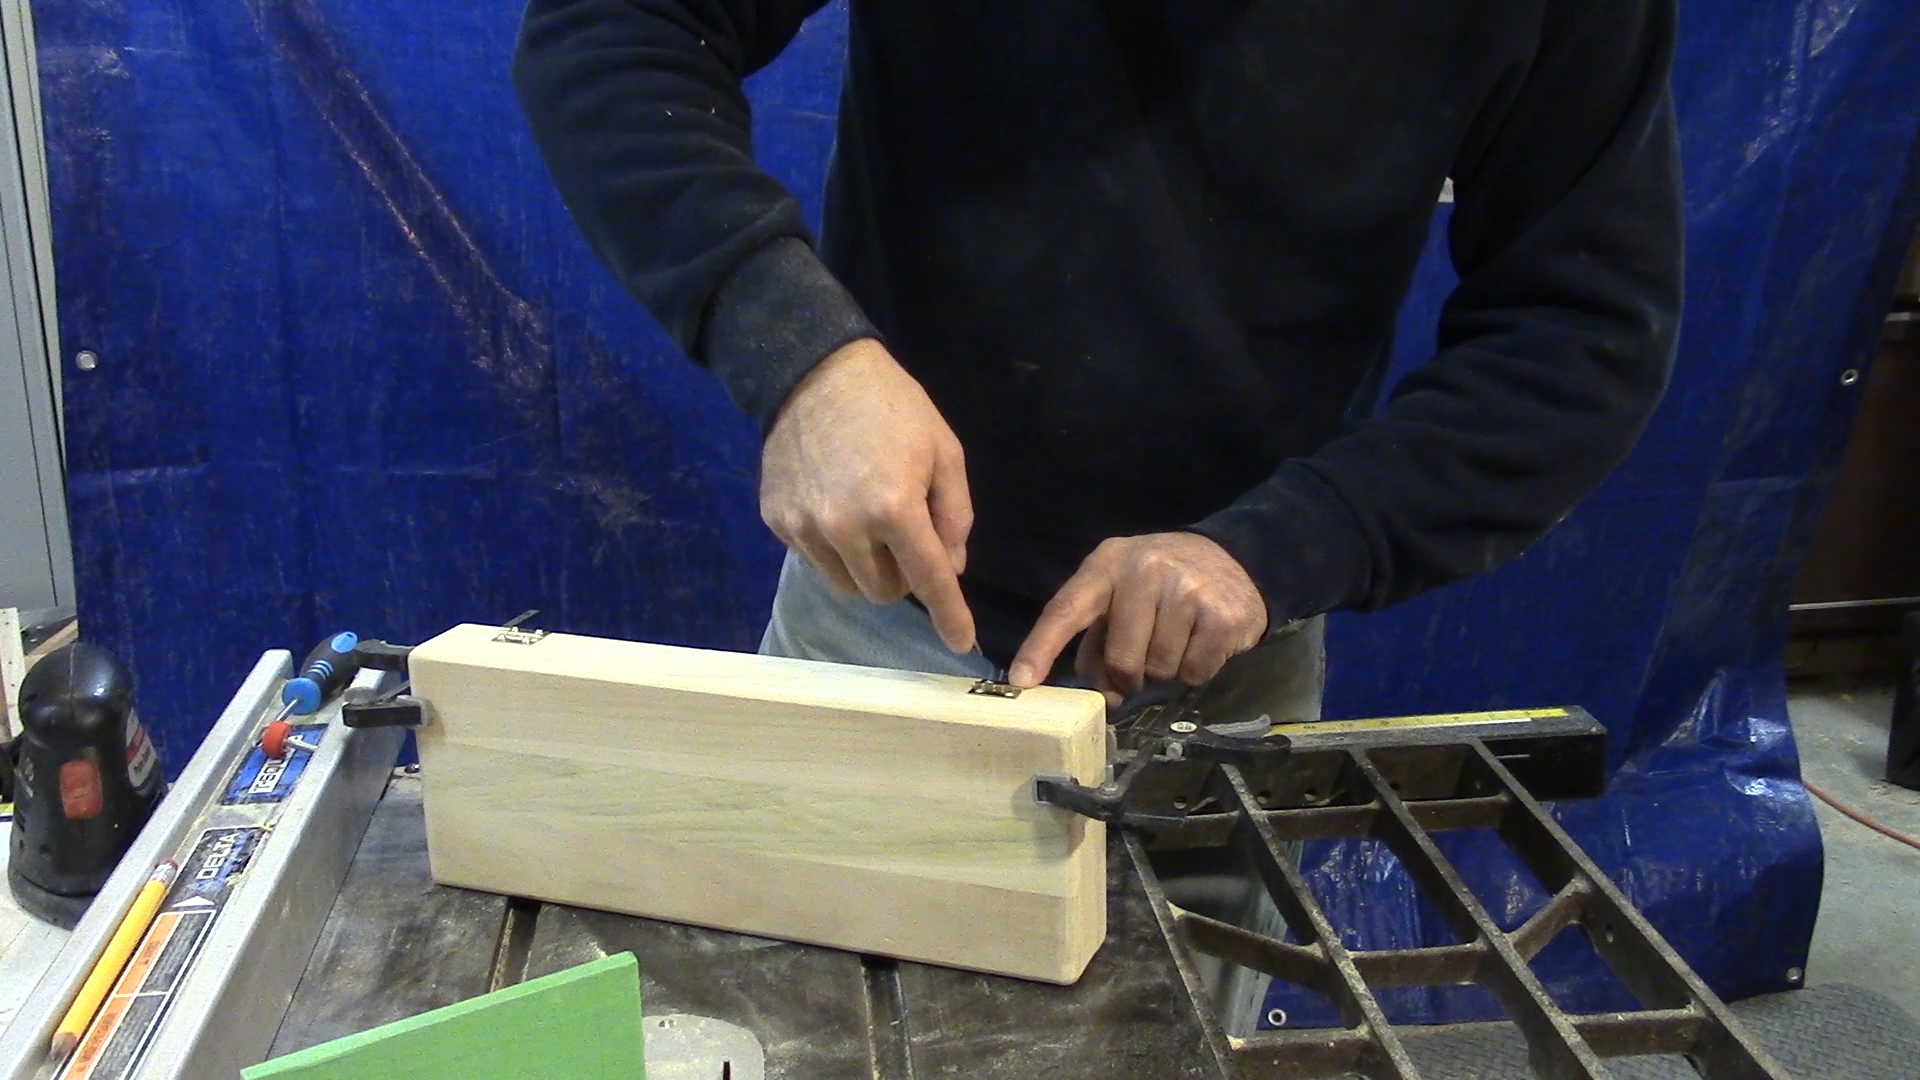
I positioned the hardware evenly and secured it with the provided screws. It is very important to pre-drill and use a screwdriver by hand to install the brass screws with the hardware as to not over tighten.
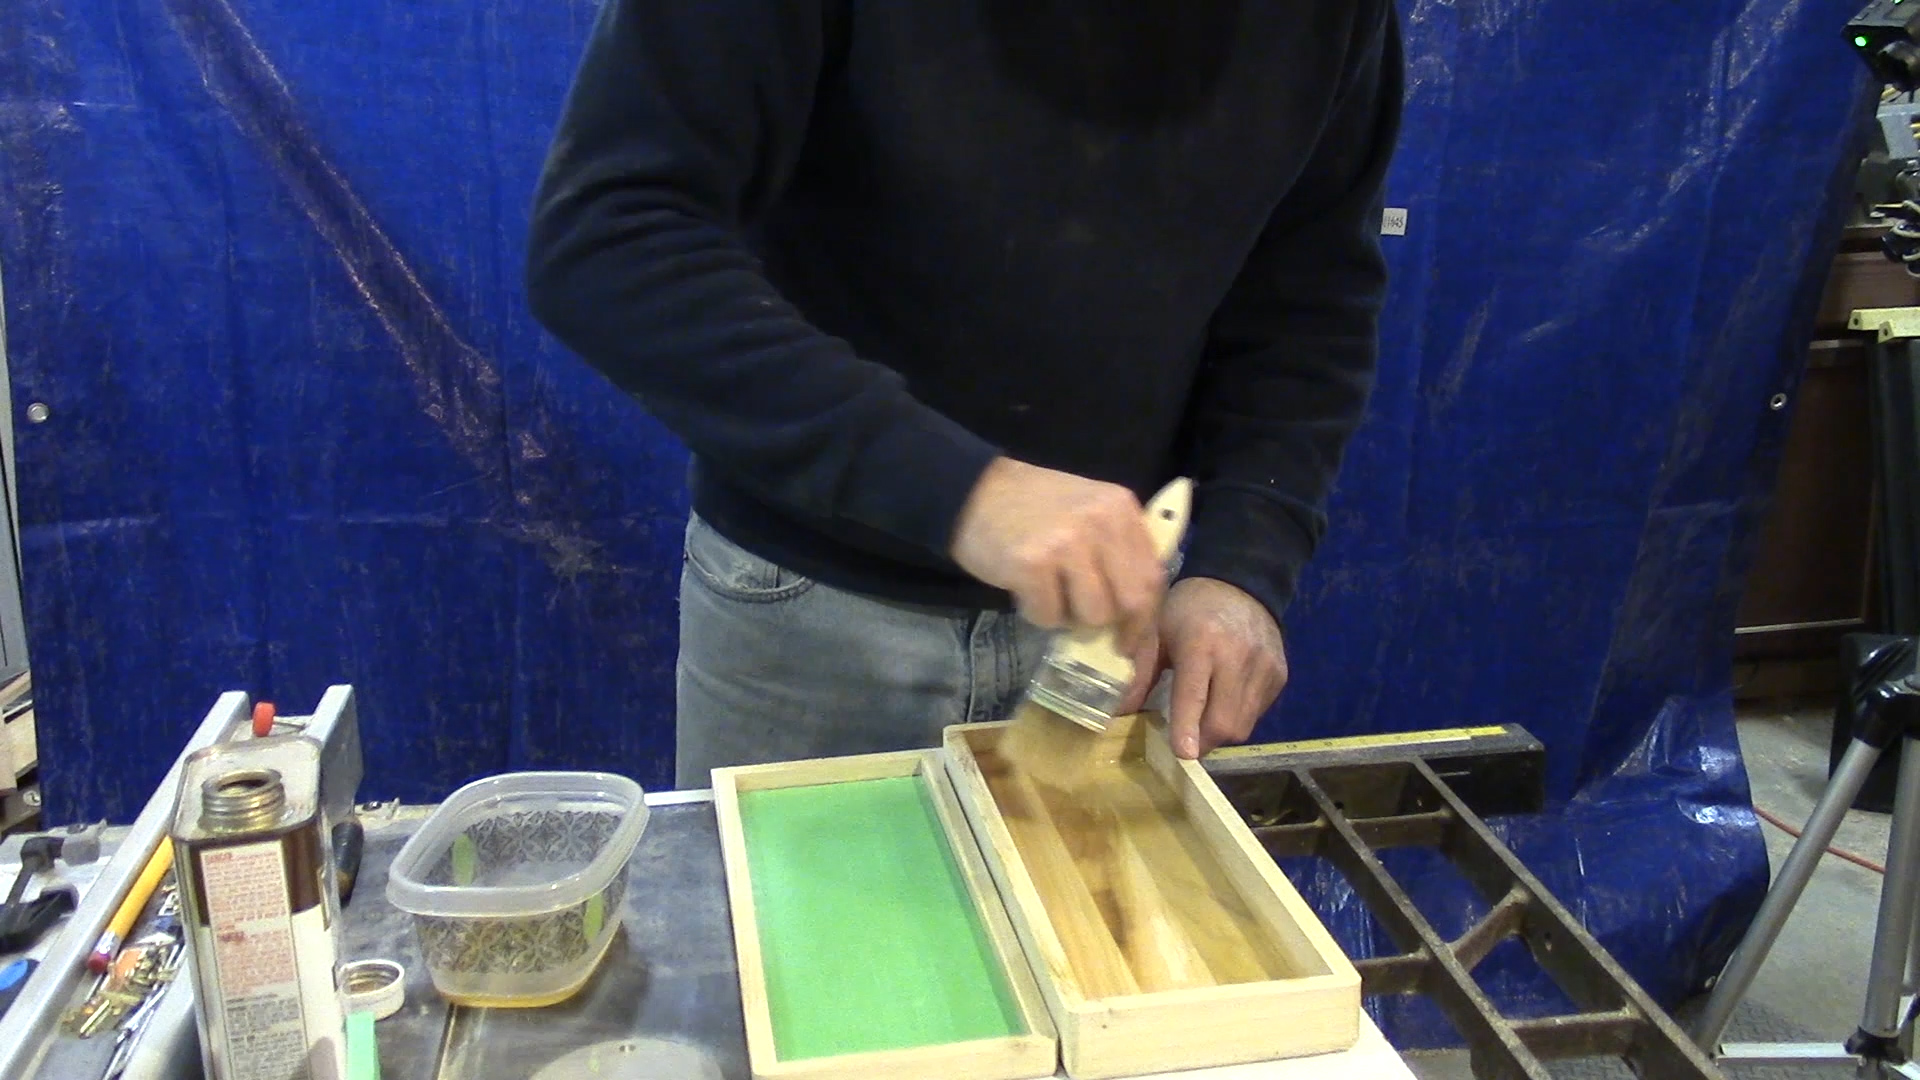
I taped off the acrylic on both sides and applied 2 coats of Danish oil, first coat I used the “Natural” , 2nd coat I used the Walnut stain tented Danish oil as the client requested it to be slightly darker than it came out after the first. I gave it a light sand with 400 grit between coats. Finally wiped on a coat of Paste wax .
I used some 3/4 inch fabric store foam to pad under some fabric that was provided by the customer. To add to the effect I trimmed the foam out in the shape of the knife and placed 2 small blocks of wood under the knife to keep it in position.
I also made a little aluminum tab that is nearly hidden in the center groove of the handle to hold the knife in place. Off camera I also made the little stand that was an after thought after talking to the customer.
