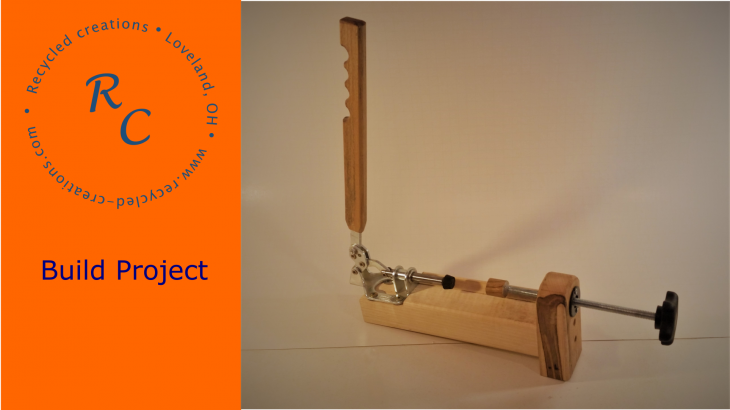
Over the Christmas Holidays I made several custom ball point pins with my wood lathe, during the assembly process several steps require even force be applied to “Press” the pen kits mechanism together. This shop fixture will allow easy assembly and provides controlled even pressure to minimize the risk of damaging parts during assembly.
2 3/4″ x 2 3/4″
I had a length of approx 2 3/4″ x 2 3/4″ rough sawn poplar board that was the “Runner” of a heavy duty pallet. I cut a an approximately 9″ portion of this to act as the basis of the press. In retrospect I should have made this initial length more like 11 inches, as it is just a little tight for longer pen kits. In the future I may make a new fixture with a longer platform. After jointing and planeing yielded a 2 1/4th” x 2 1/4th”blank.
The next operation is purely optional, with its only real function is to provide a little “Finger rest” to aid in aligning

Cove cut
and keeping the pen blank stable when applying leverage with the other hand.
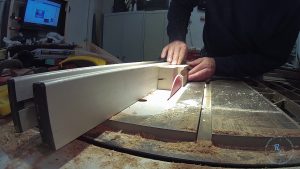
Using my table saw and an auxiliary fence I was able to make a cove cut approx 1/2 ” from the one edge of the blank.
Then setting the saw blade height to correspond with the apex of the cove and trimmed along the long side.
The result is a little side rail that will eventually become the “Finger Rest”
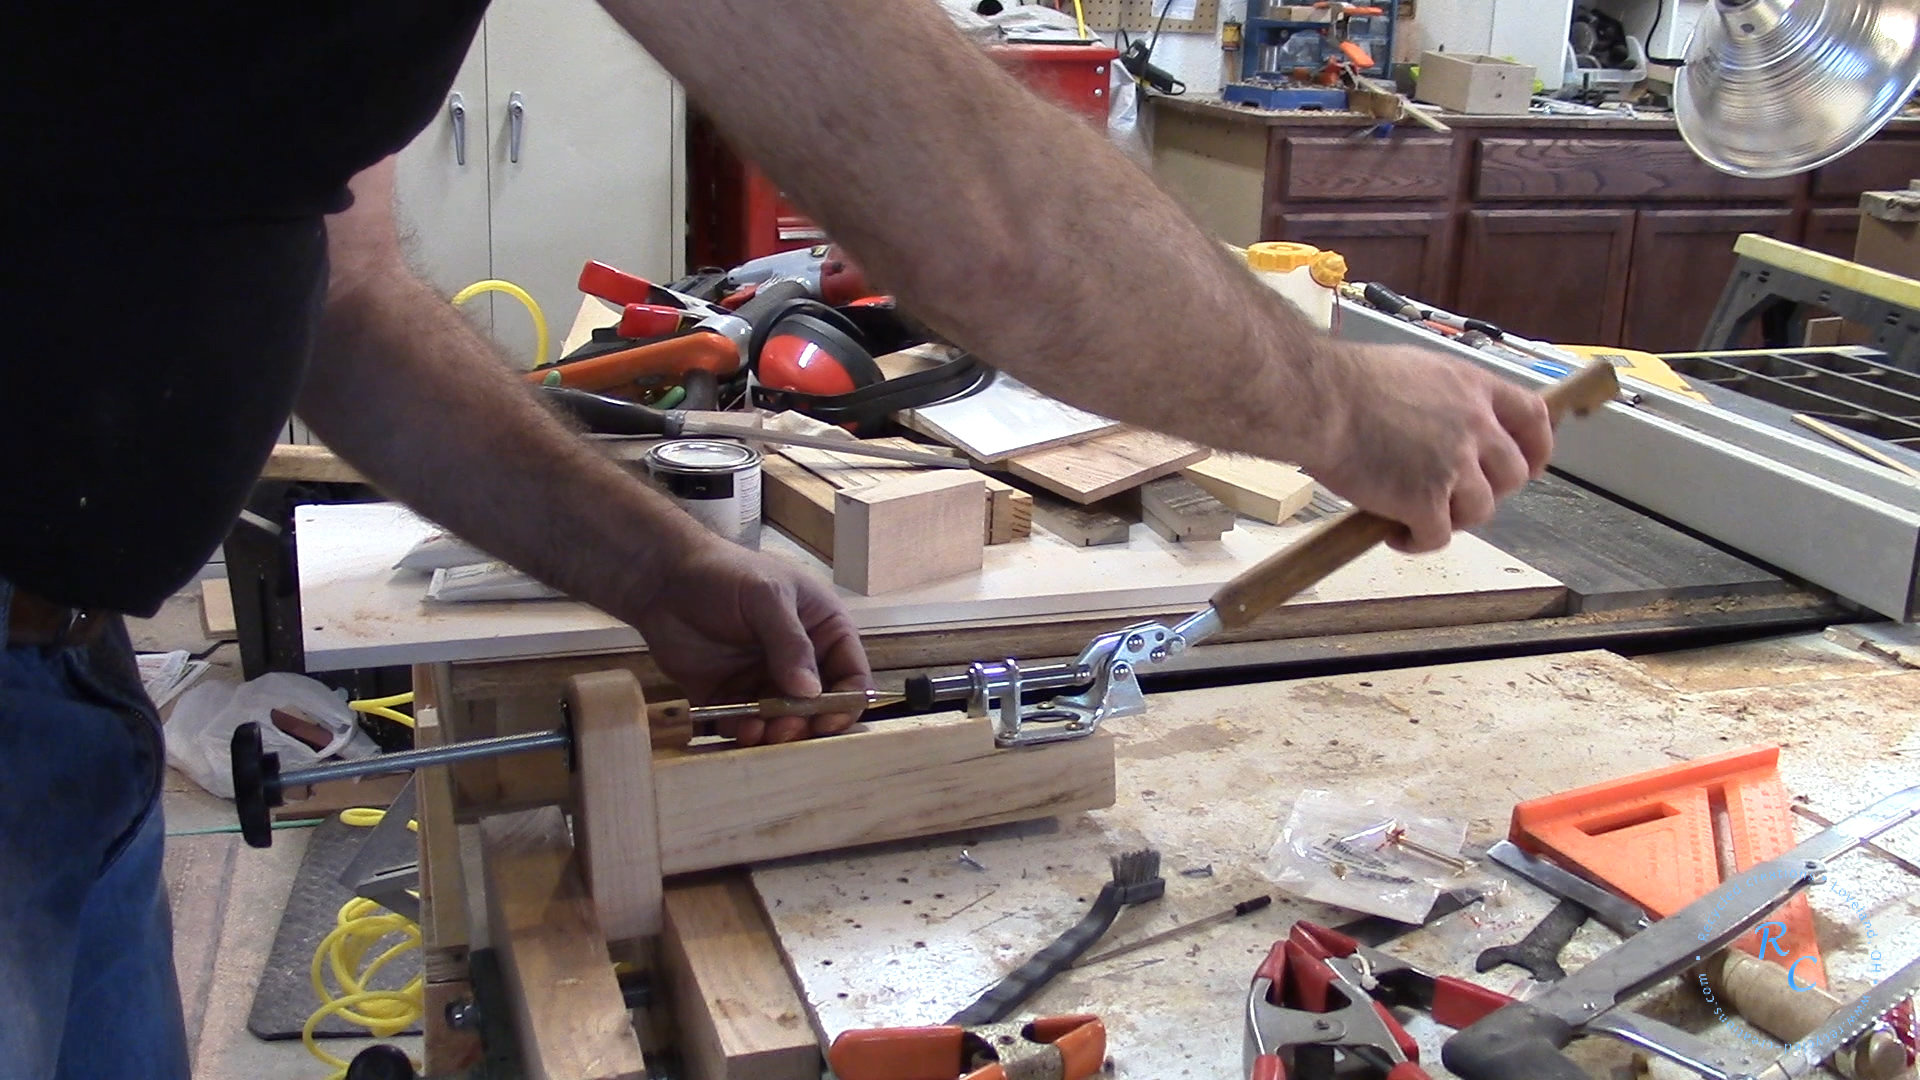
For the mechanical advantage, in the press fixture I used a commonly available “Toggle Clamp” I purchased mine from the local wood craft store. Link This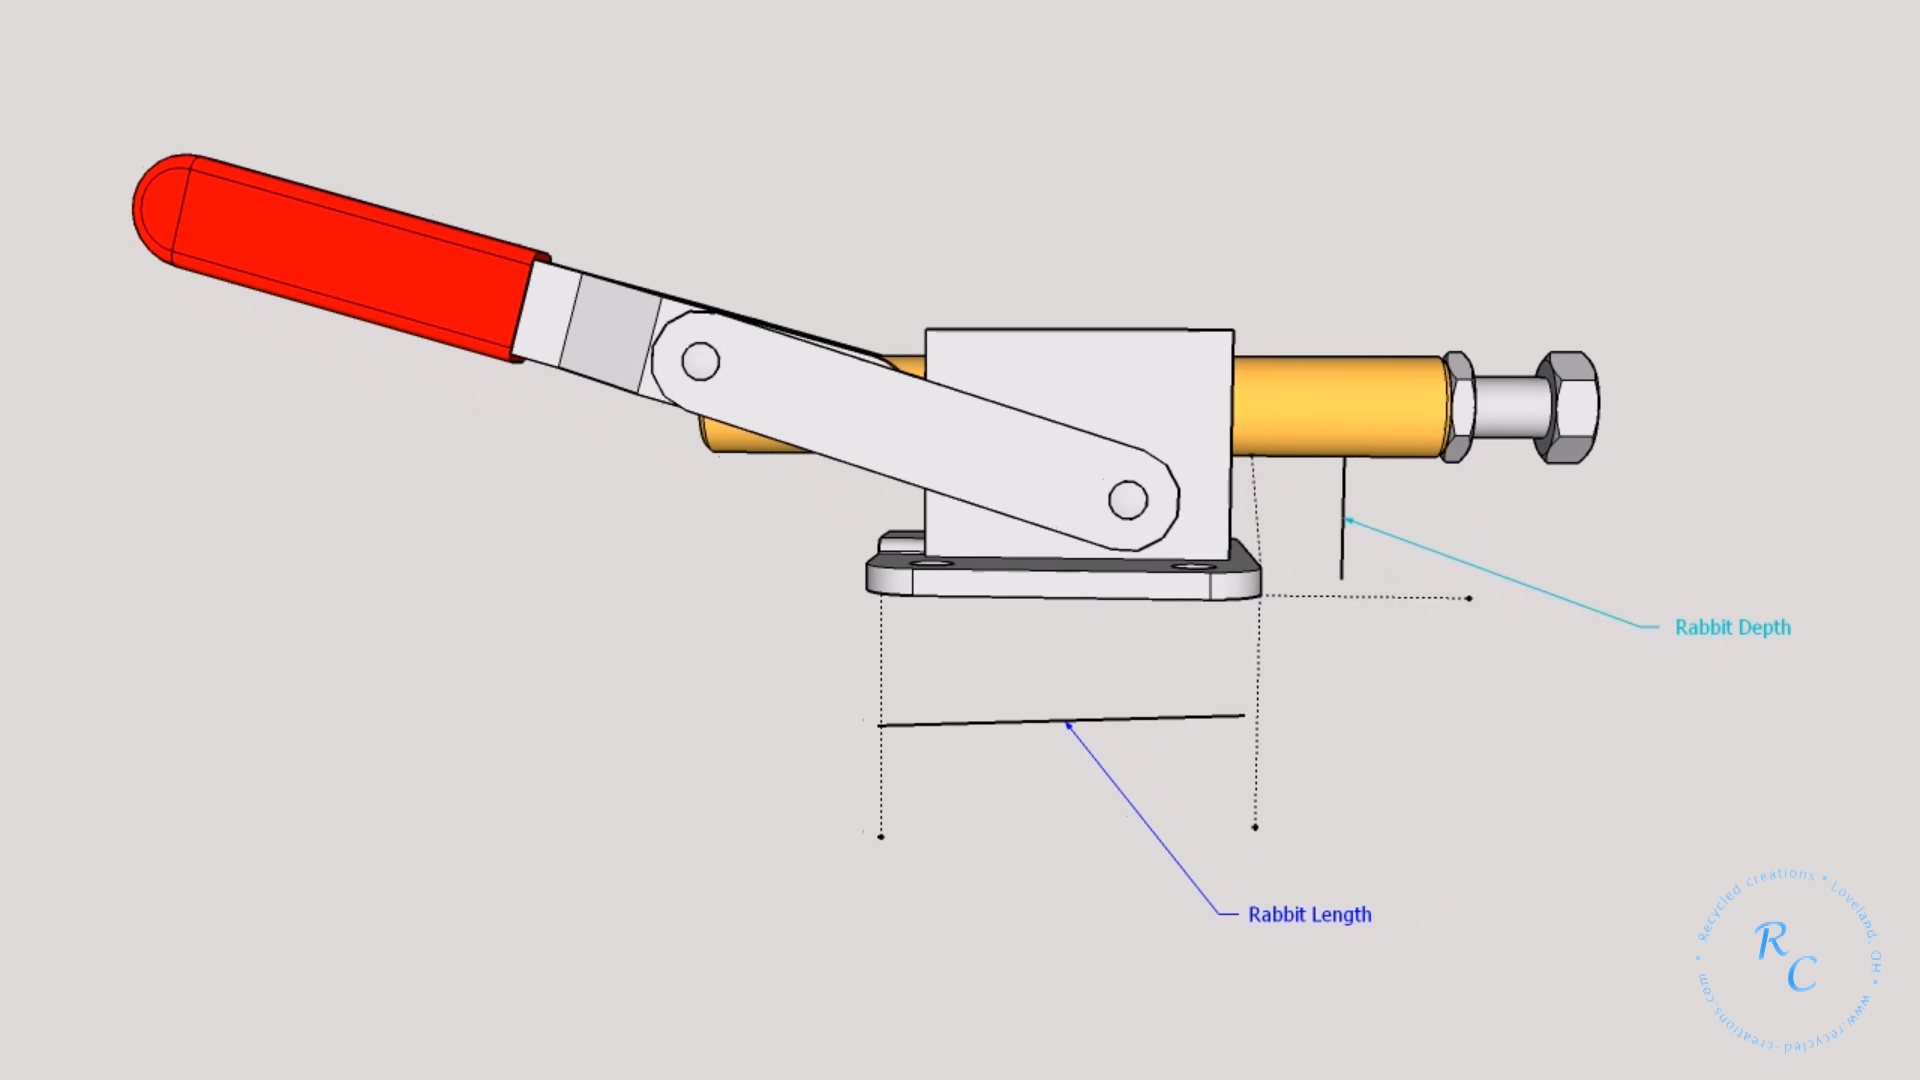 clamp has an advertised 300 LBS clamping capacity with the short handle provided, later on in the project I add a longer handle to provide a little more leverage and control over the clamping process. To integrate the clamp in to the fixture I cut a “rabbit” on one end, and to do this I needed 2 measurements from the clamp, the length of the base and the height from the base to the bottom of the clamp barrel .
Next I laid out and cut the rabbit on my table saw.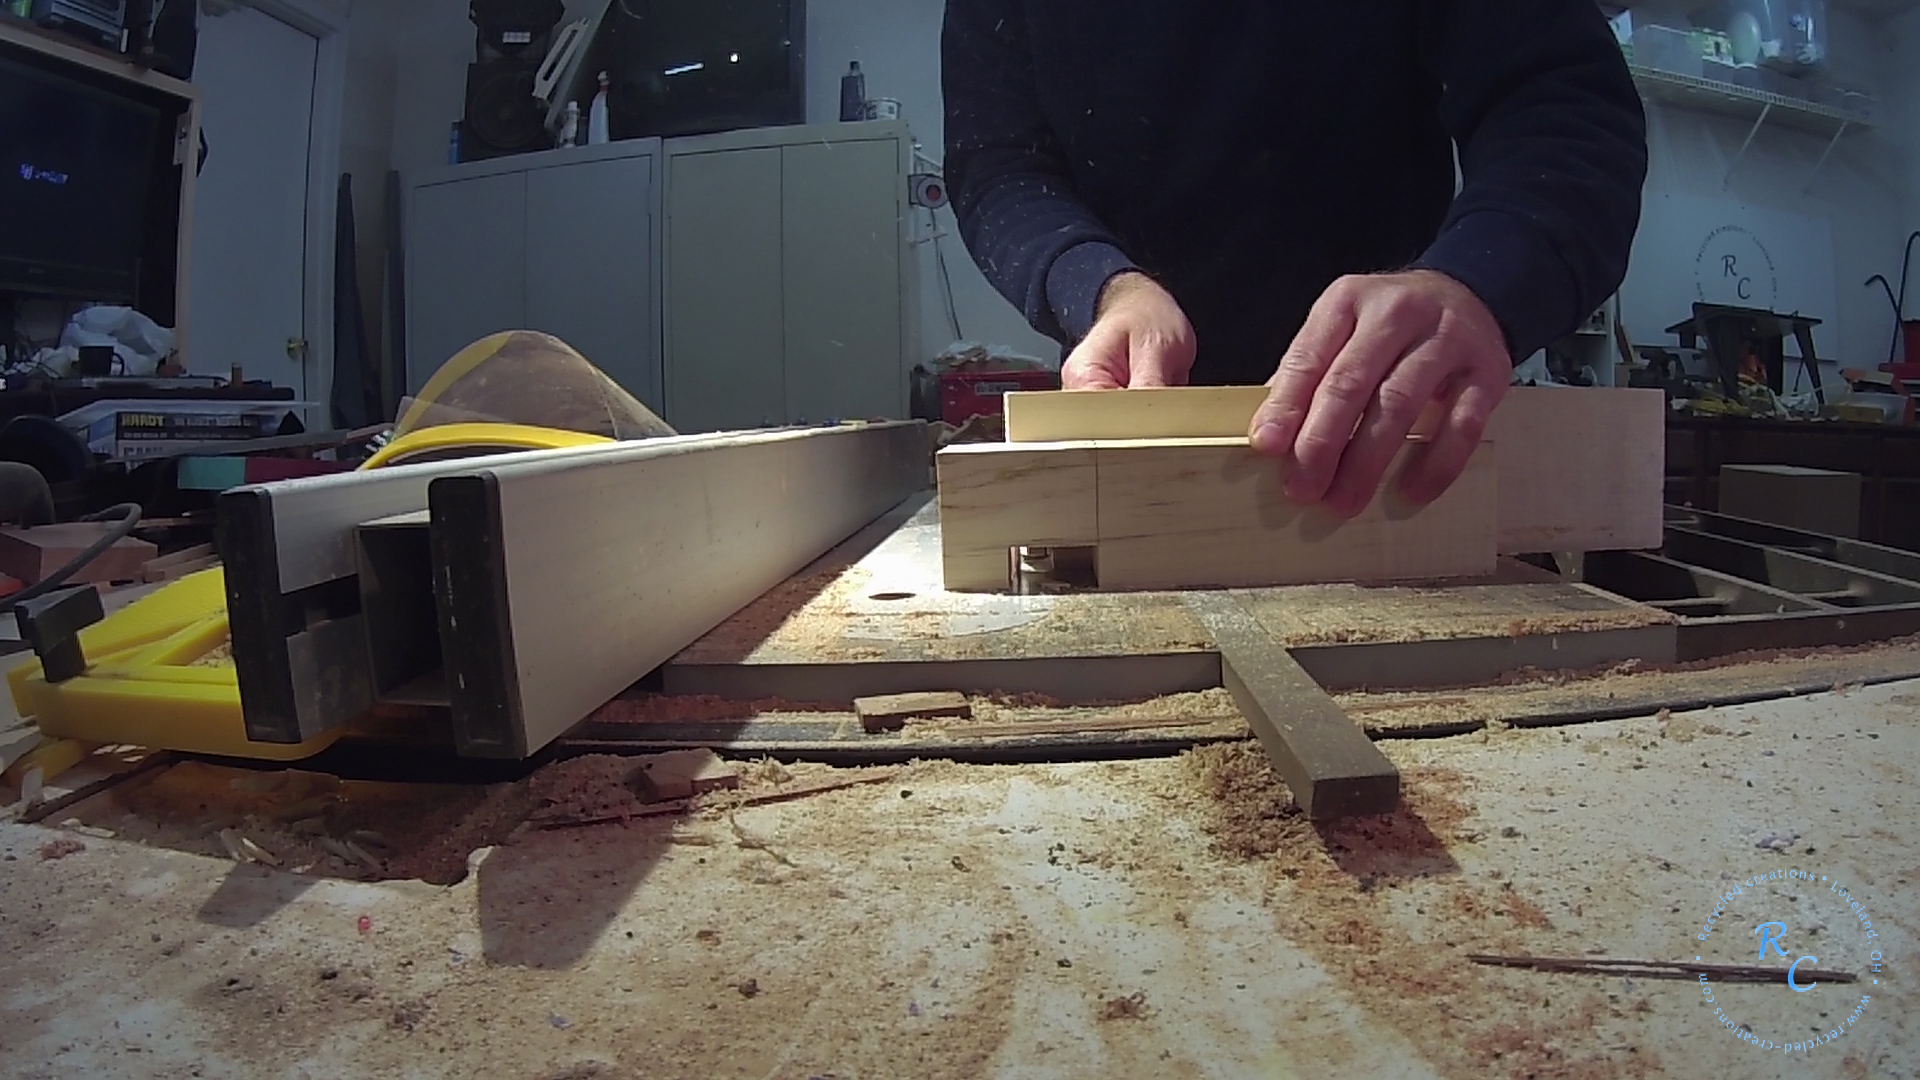
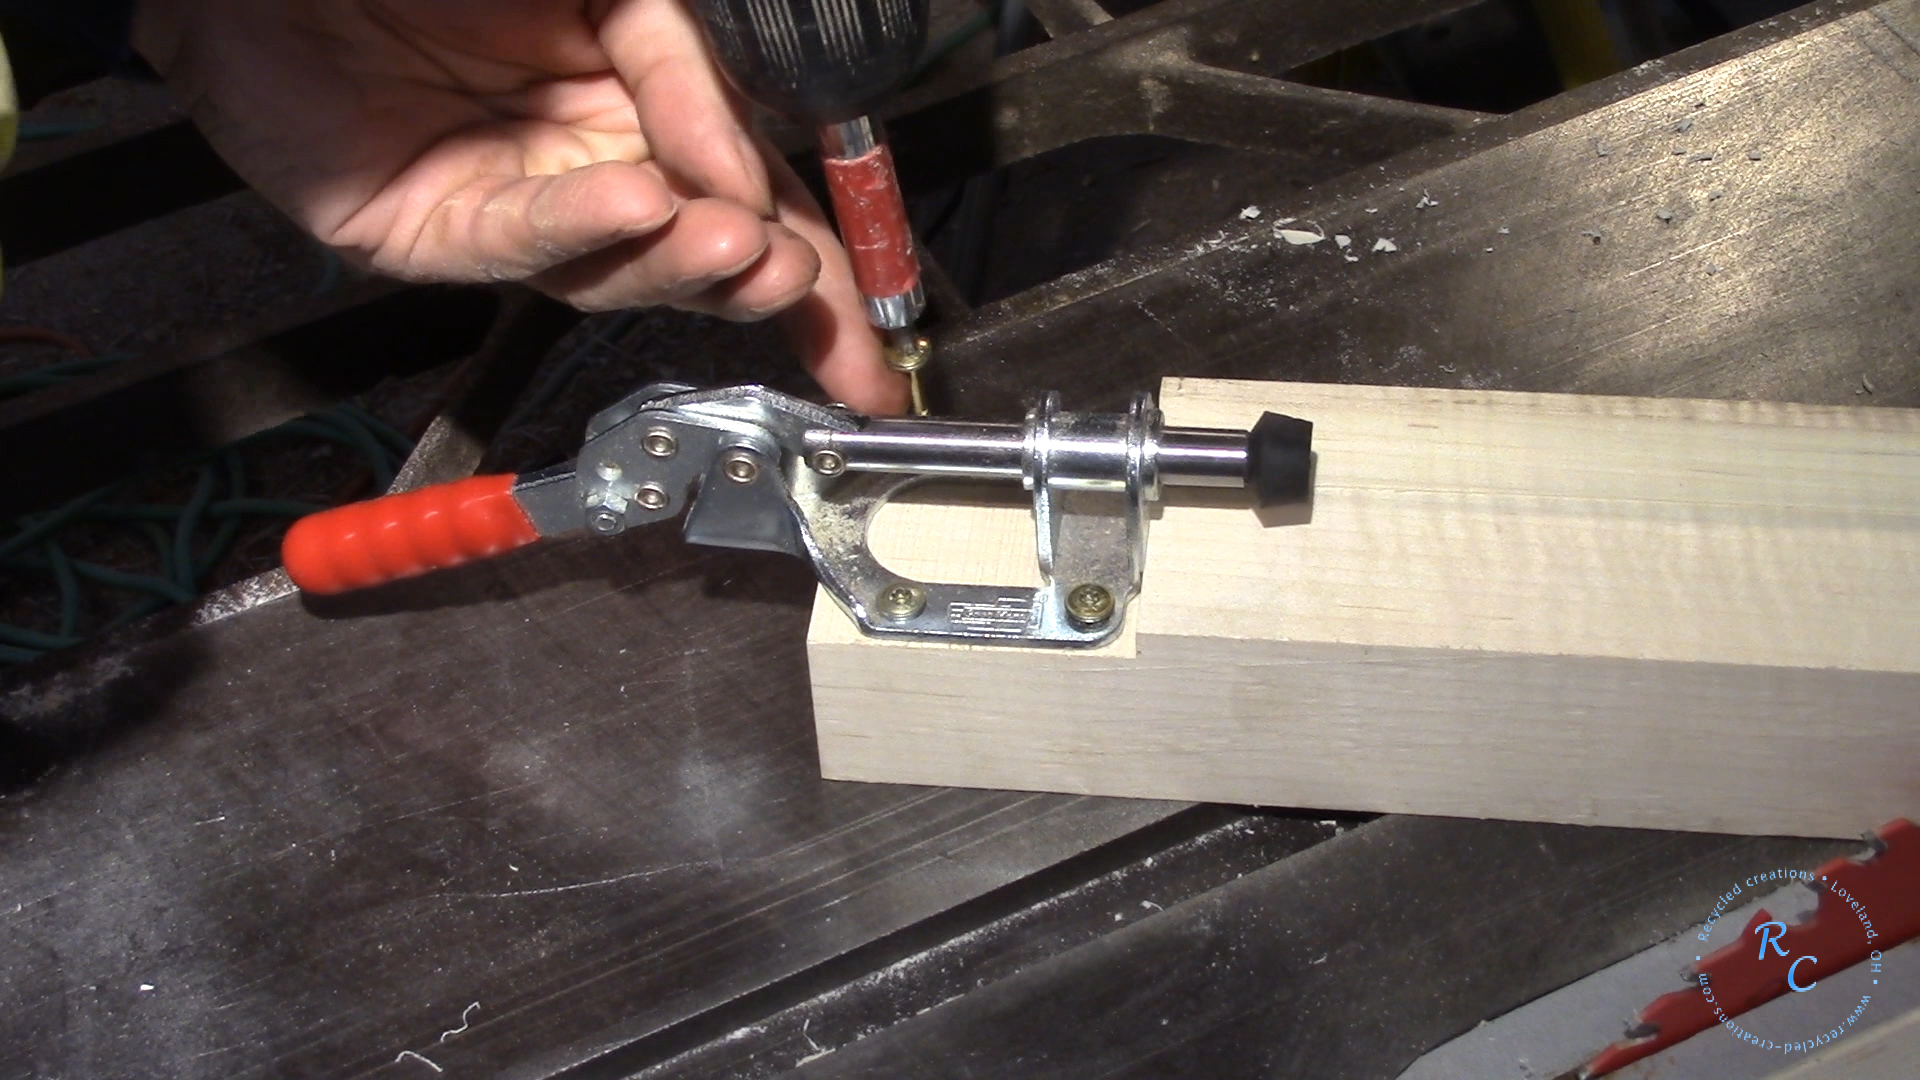
Attach the clamp to the fixture with some Spax self cutting screws this provides a very positive attachment for the clamp mechanism.
 The next step is to attach a backstop to the blank to provide not only a way to clamp the fixture to the work bench but also provide a positive stop to apply force against during assembly. The back-stop is simply a scrap of wood cut to the same 2 1/4 width of the fixture base, rounded top edge with the bottom portion of the back stop protruding enough to allow clamping in a bench vice. I also cut a mortise to capture a 3/8″ hex nut and secured it with glue and a washer. The entire backs-stop is attached with Glue and screws.
The back-stop adjustment  plunger is made from a simple 3/8″ threaded rod, on one end I glued a left over cut off from a previous turning project, (you can turn down from a block if a suitable scrap is not available. I drilled a 3/8″ hole in the center of the scrap and used some 5 minute epoxy to secure a 8″ length of threaded rod in the blank. Ensure you drill the hole deep enough to provide appropriate gluing surface. Next I installed a Jacobs chuck in my lathe head stock and chucked in the 3
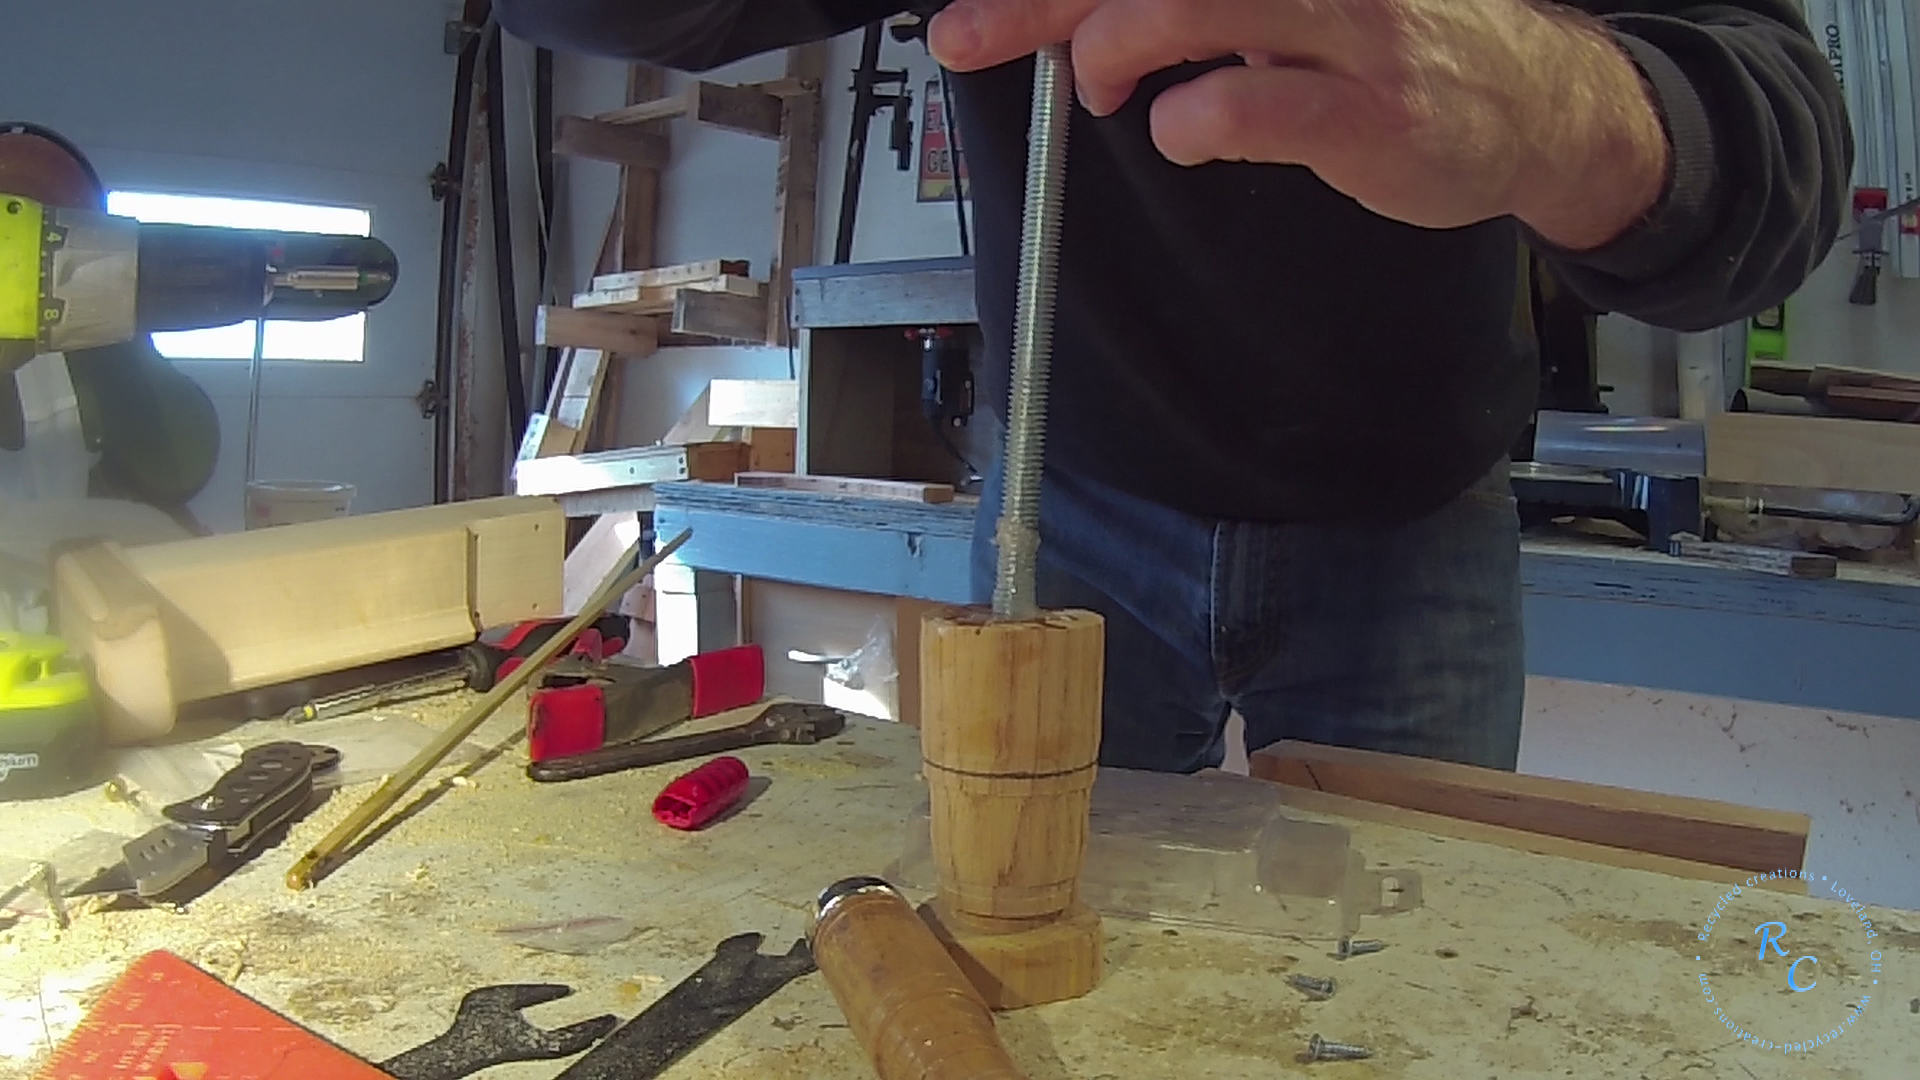 /8th rod, and captured the wooden block between my live center and the head stock. This allowed sufficient clamping pressure to hold the rod and blank together while the epoxy dried and readied for the next step where I turned the plunger down to approx 3/4″ diameter and 1″ long.
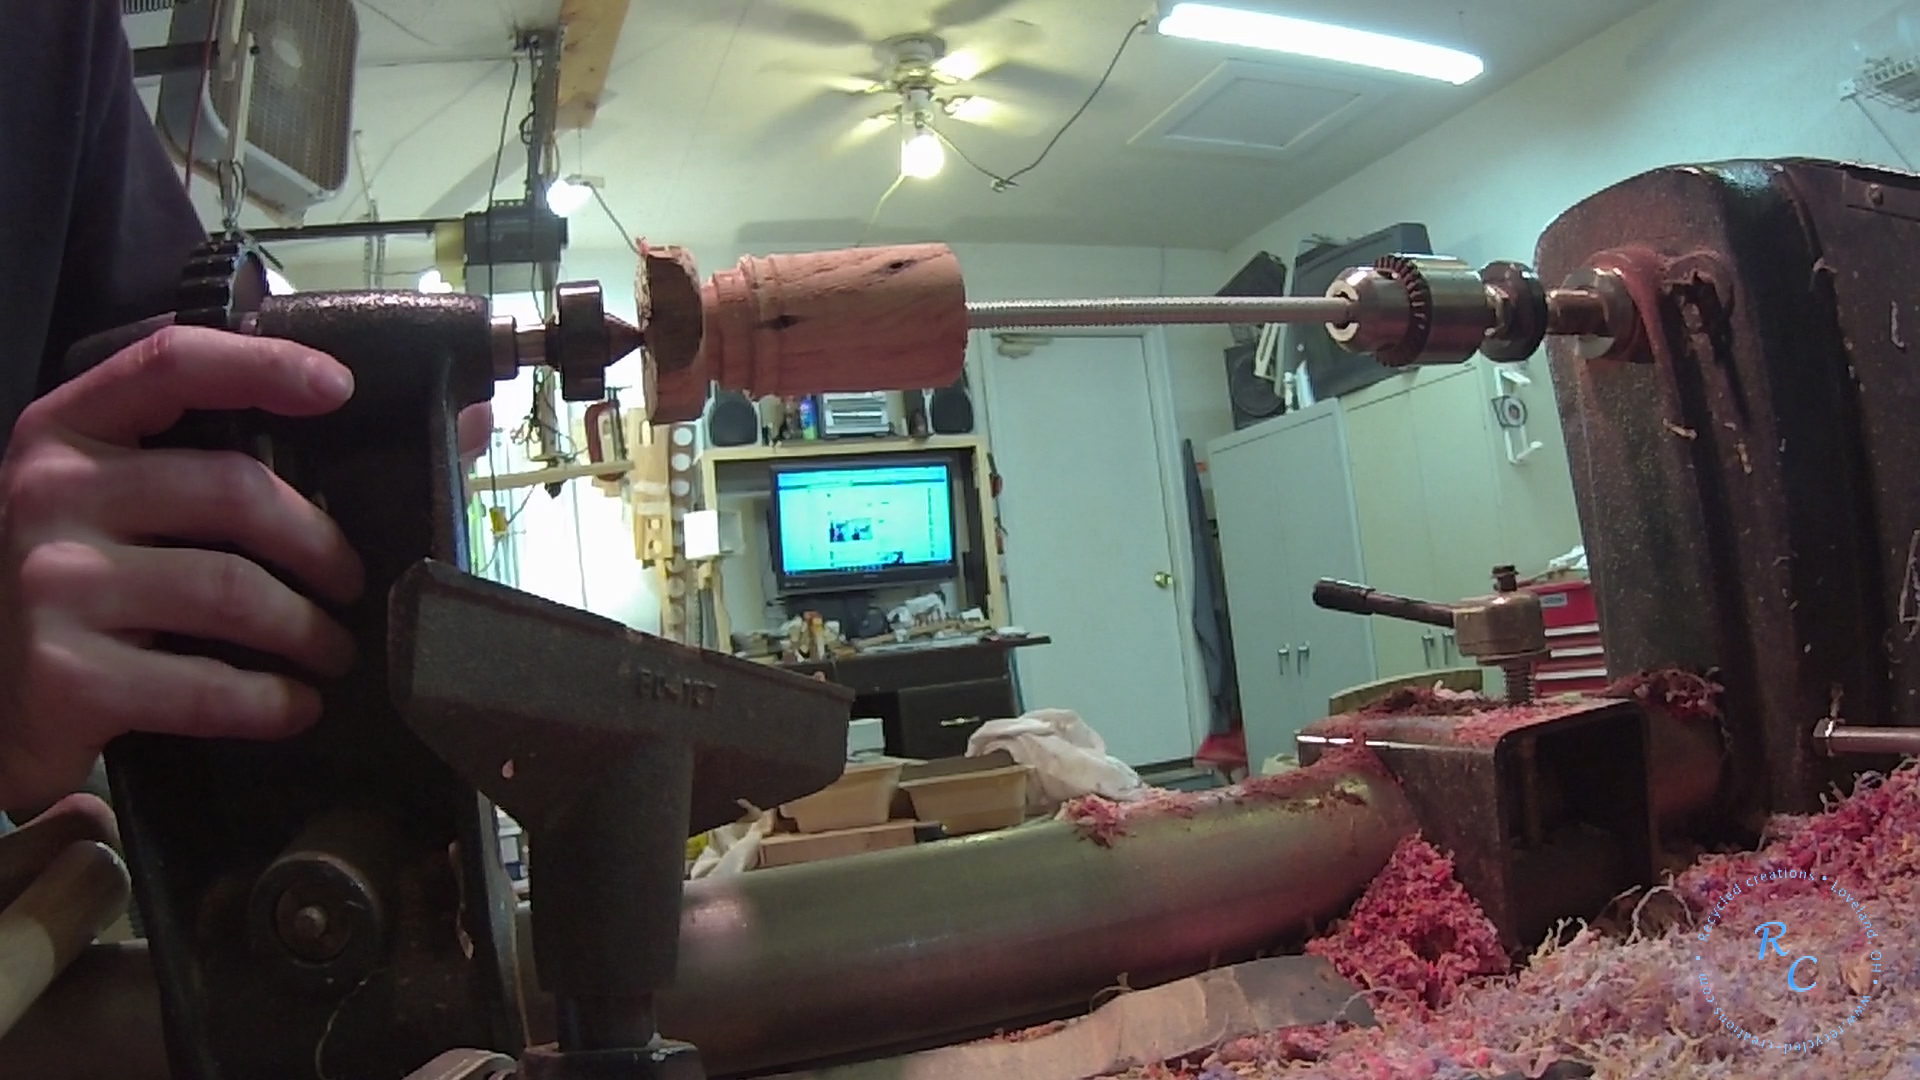
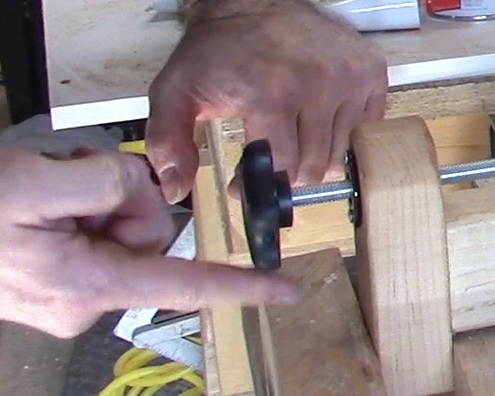
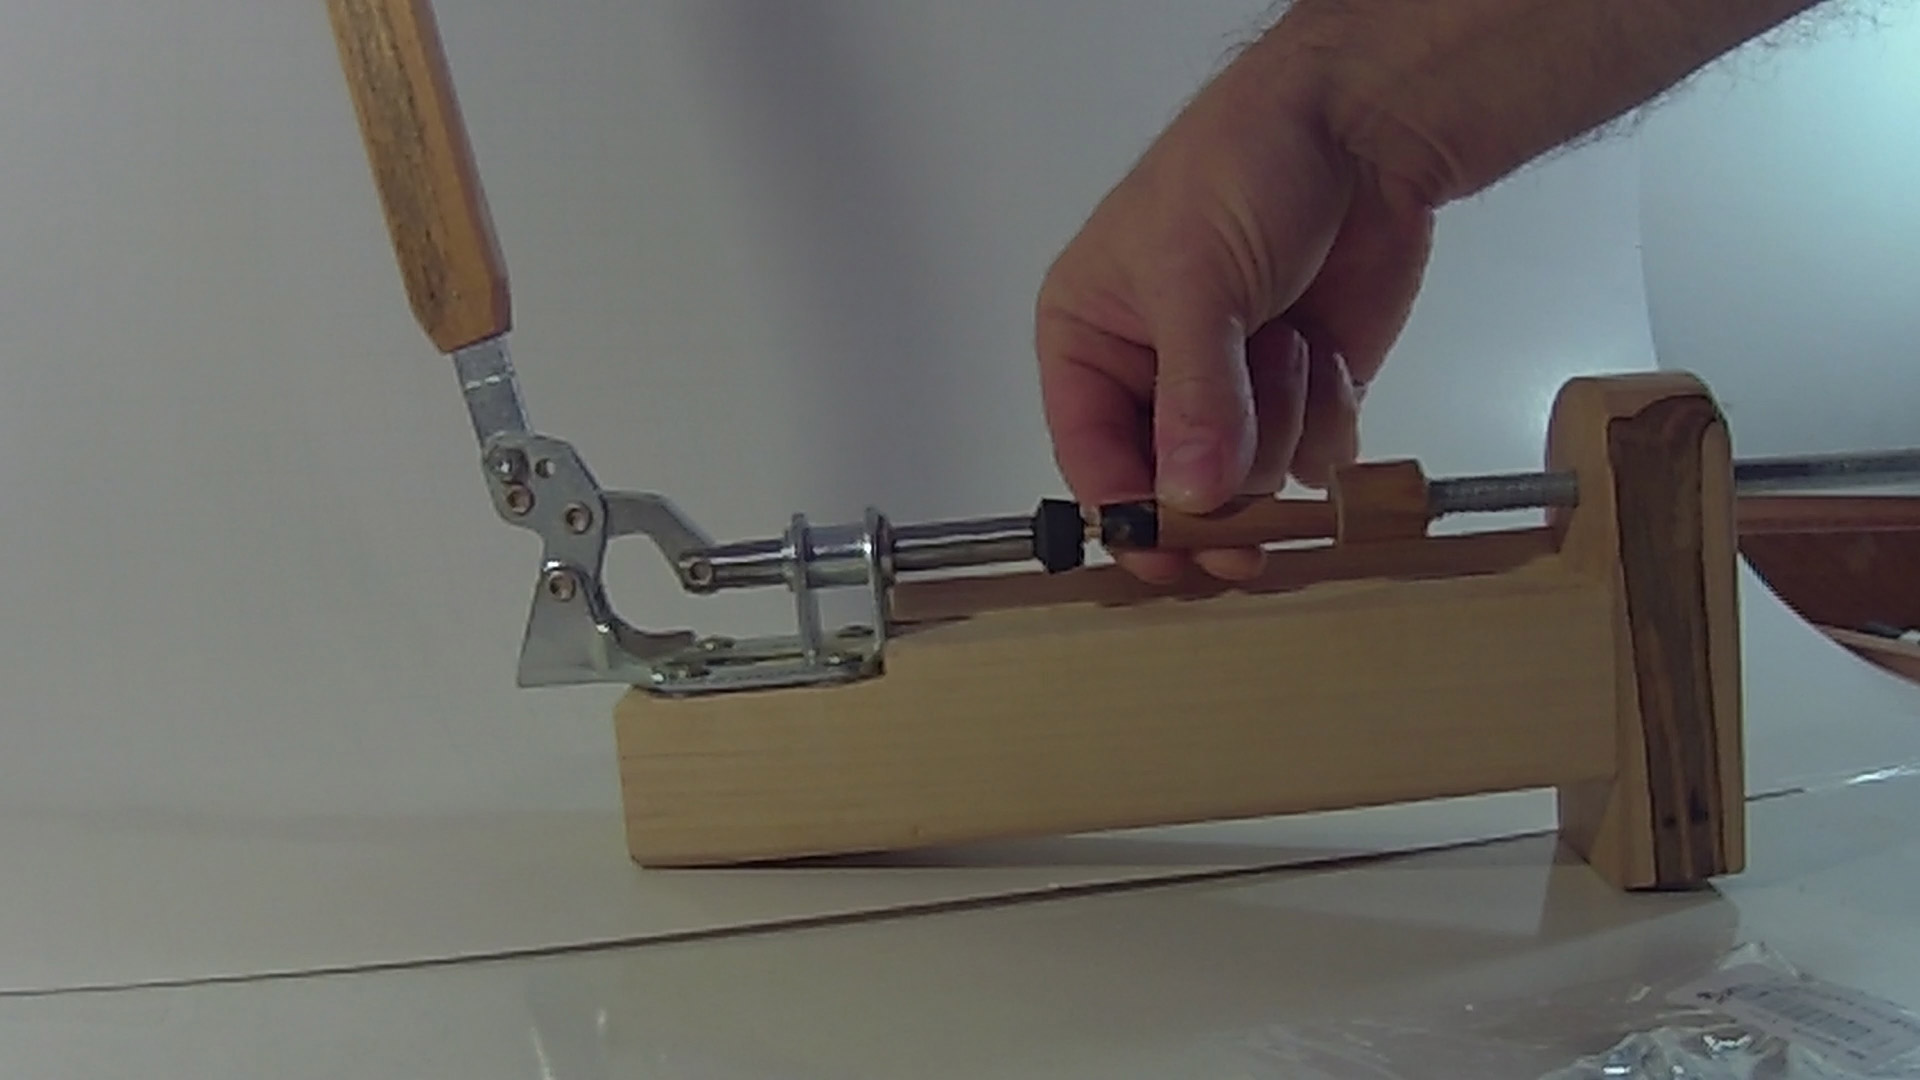
The end of the plunger is finalized with a star nut handle which can be purchased at the local hardware store.
Once Assembled the press can be clamped in to a bench vice, and makes simple work out of Pen Assembly . Please watch the linked YouTube video for more details of how I went about creating the Pen press and its assembly process.

I was watching your pen making jig video and noticed the HF belt/disc sander. I have the same model and was wondering if you experienced issues with the belt stopping when applying pressure, especially when the dust shop vac was on and attached to that connection.
Thanks for watching!
Yes it is fairly easy to stop, I have it on its own connection (not with the vac) its actually the HF dust collector and it has to be on its own connection. But if you apply a lot of pressure it will stop the belt. It is a decent machine for what it is, but not that powerful.