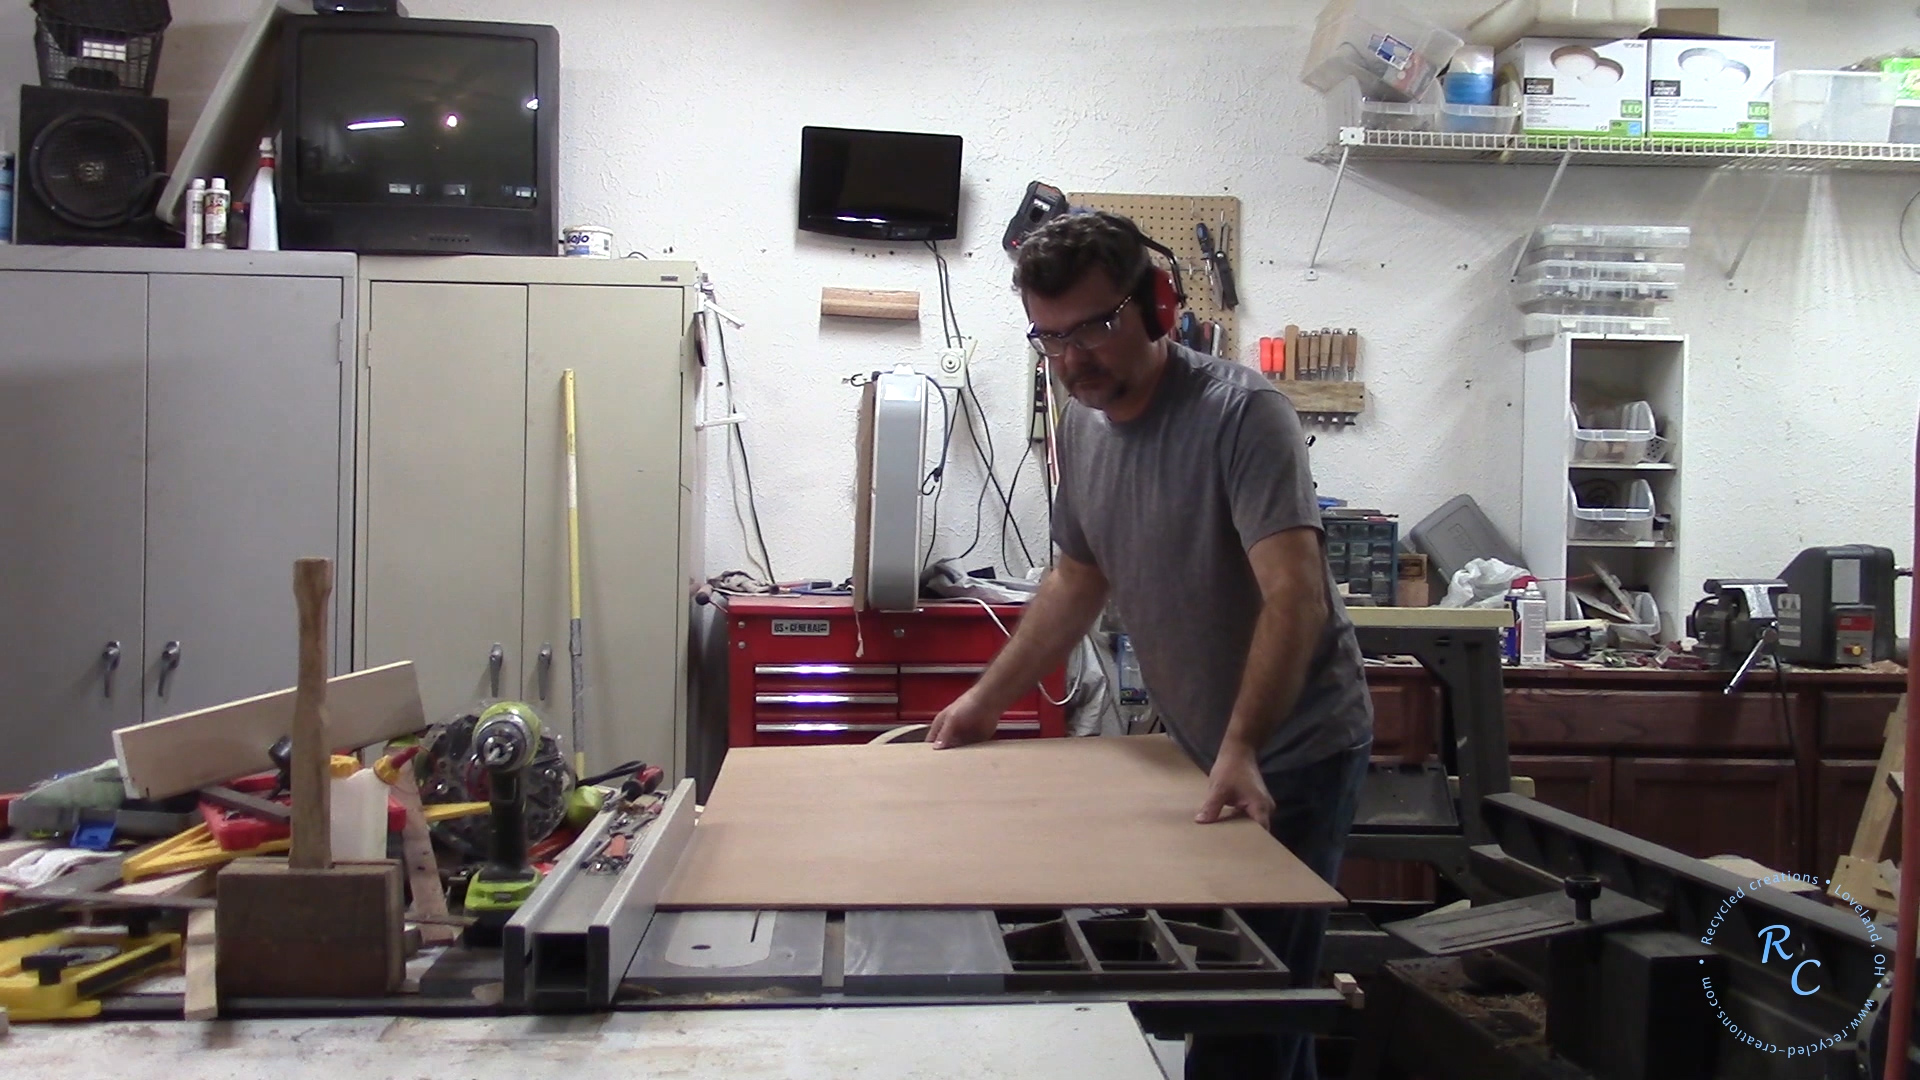
![]() As a someone who Up-cycles pallets I wind up with quite a few bits of wood that are unusable for the current project often because they are two thin, or warped etc… I decided to take some thin pallet boards and turn them in to drinking glass coasters with my logo to give out at trade shows etc.
As a someone who Up-cycles pallets I wind up with quite a few bits of wood that are unusable for the current project often because they are two thin, or warped etc… I decided to take some thin pallet boards and turn them in to drinking glass coasters with my logo to give out at trade shows etc.
In addition to this text, and picture based article, you can watch a full build video on my Recycled Creations YouTube Channel.
This simple project, can be accomplished in an afternoon and you end up with some unique give away items that friends, and family will enjoy.
I will show you how I created a router template to use to rapidly cut several of these coasters in a series. Hang this shop Jig up some place out of the way and you can create a stack of coasters any time you have a bunch of scraps, off cuts, or slats that are two thin.
As with any woodworking or shop project, tools and shop projects can be dangerous, know, follow and understand the safety guidelines of your tools, wear hearing and eye protection. Never do any operation you do not feel personally comfortable with. Just be cause you saw some guy on the internet do it, does not mean you should if you don’t fully understand the risks involved (Build at your own RISK!)
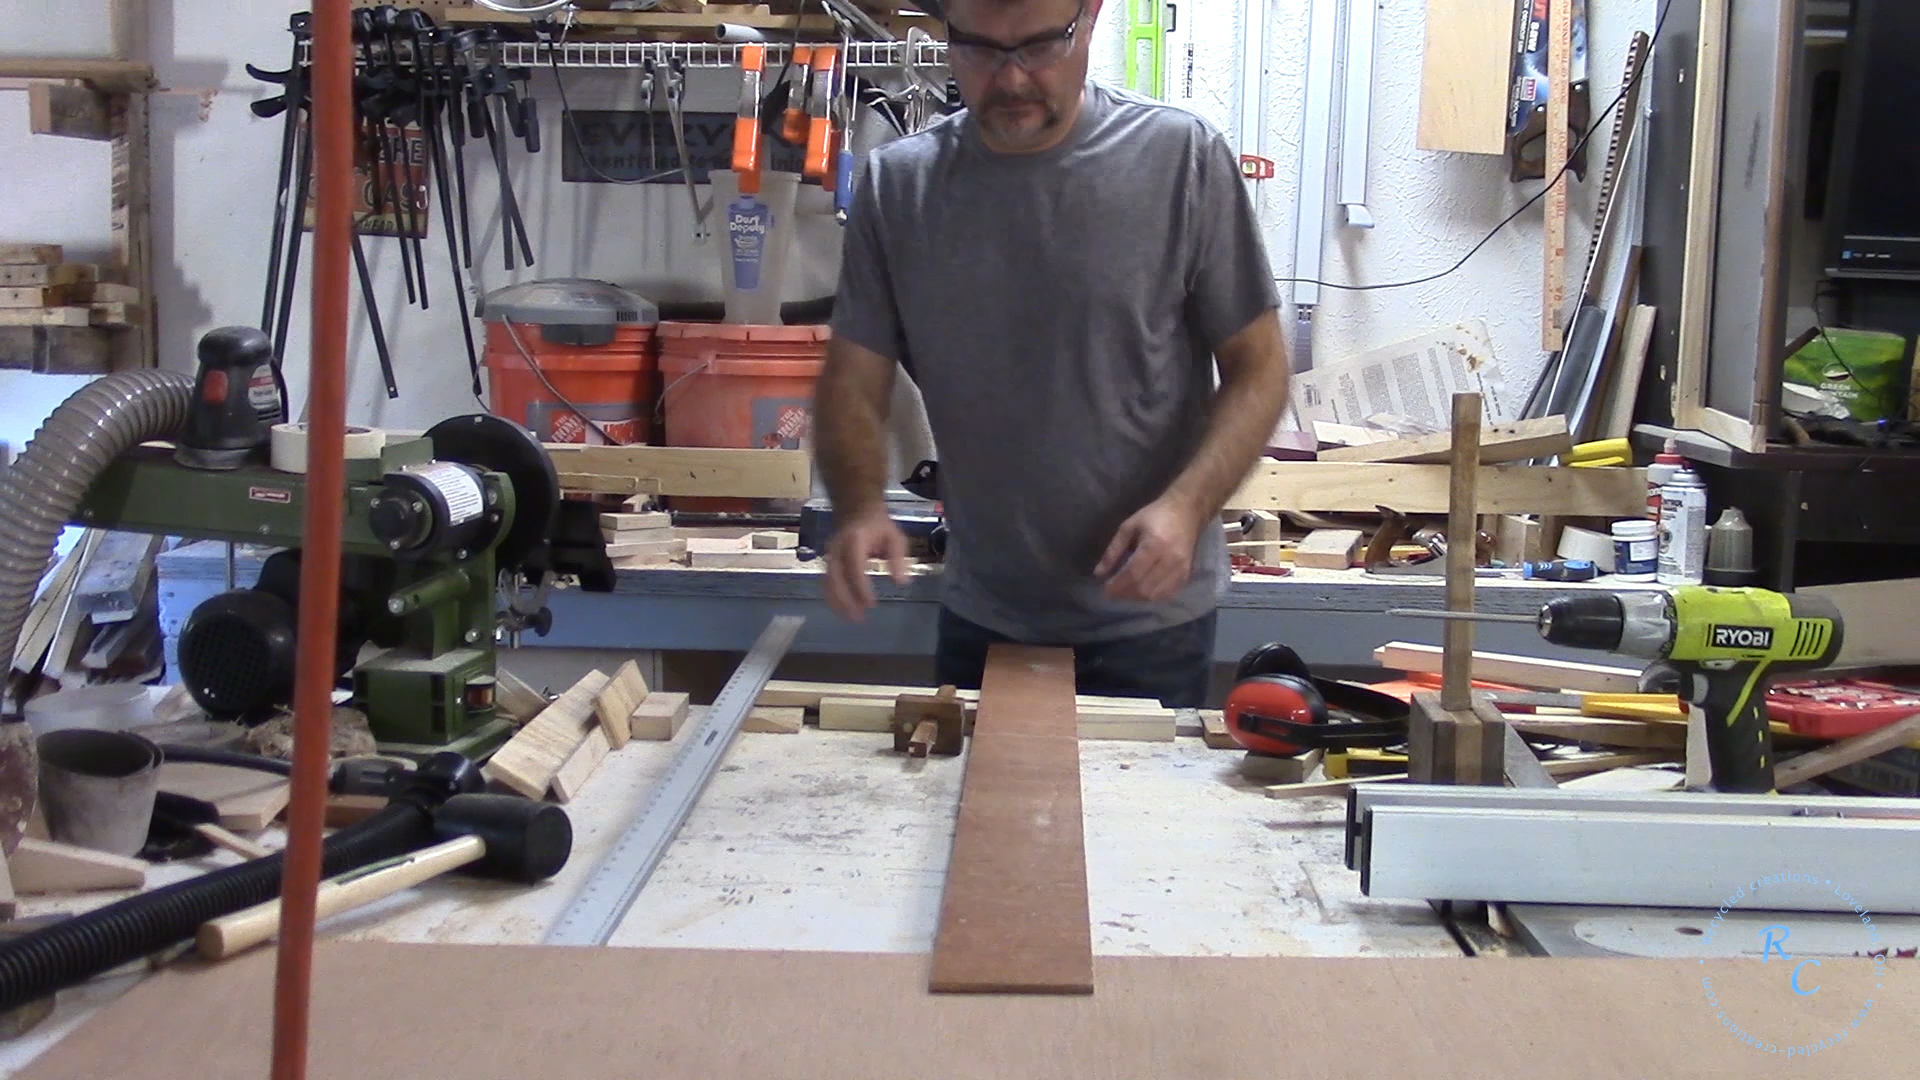
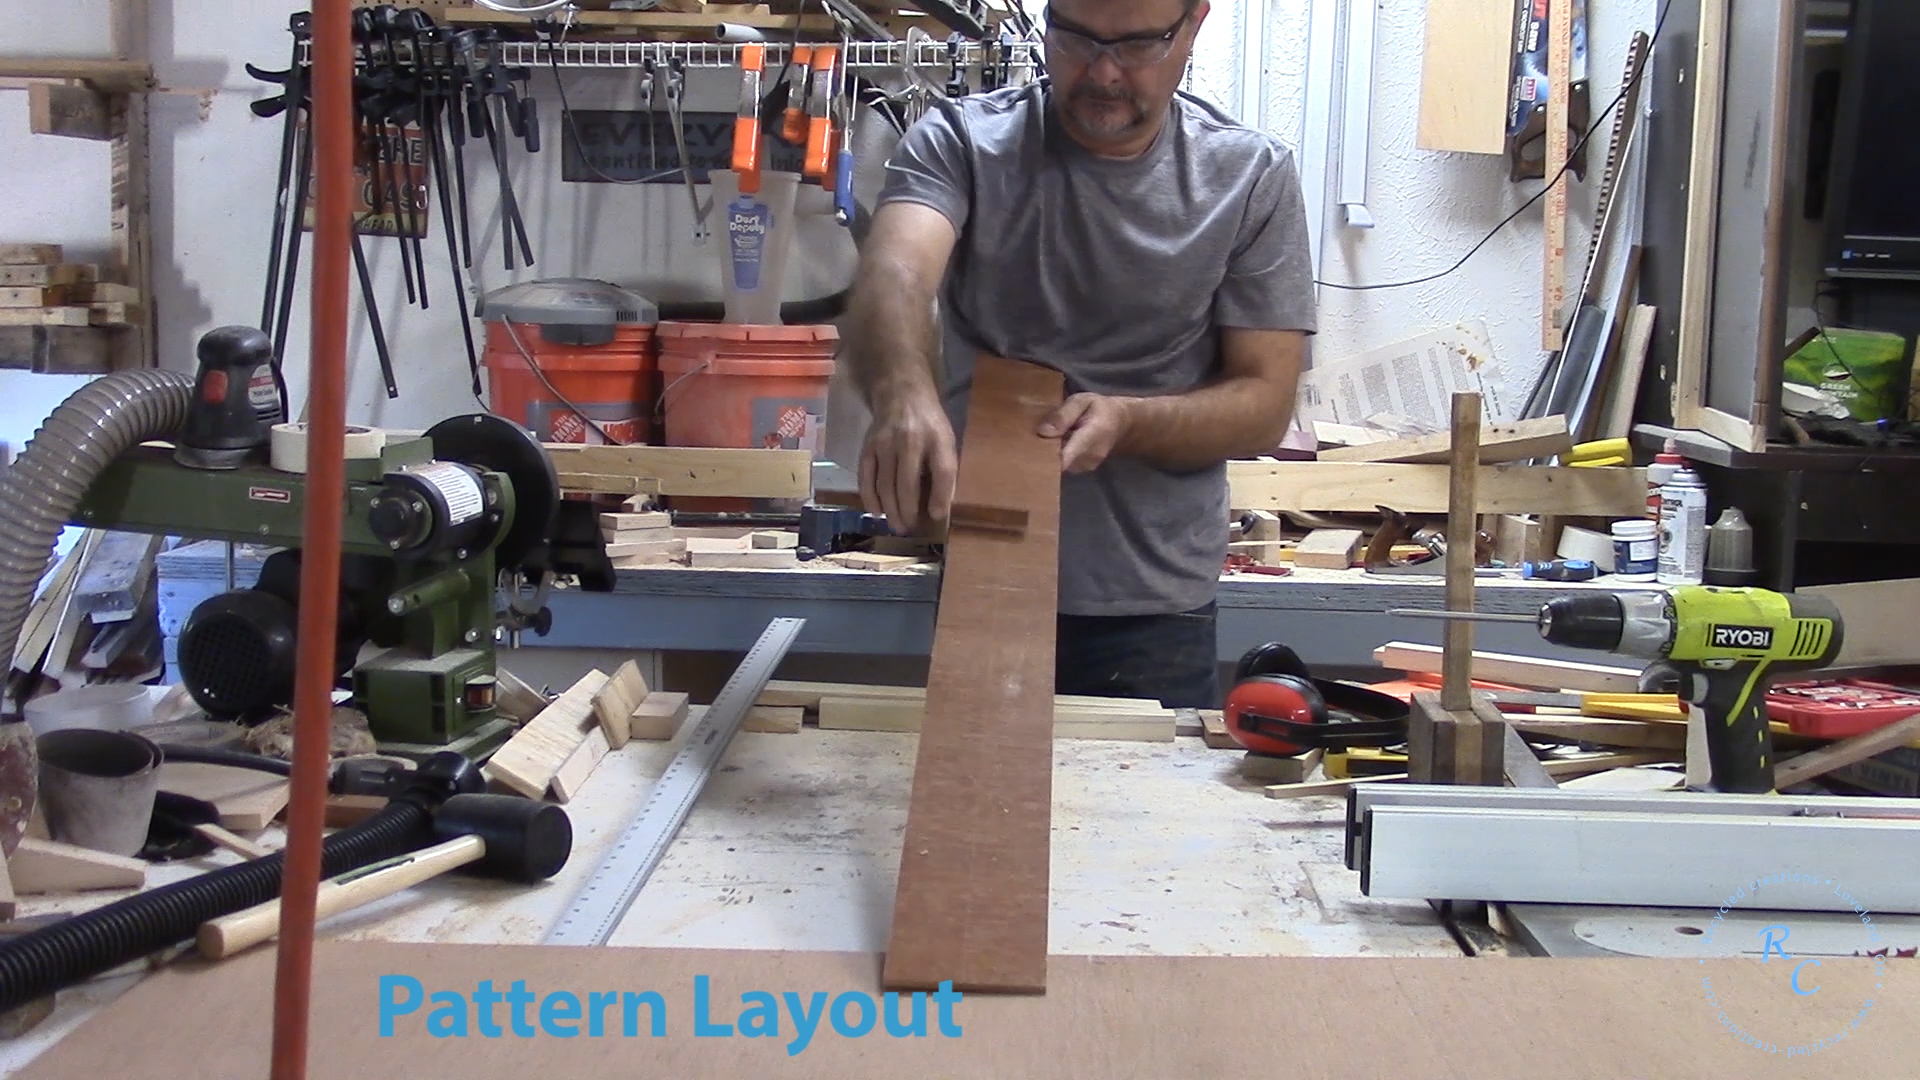
I start the process by cutting a strip of 1/8th inch plywood to be used as a template, I made mine 4″ wide, and 4′ long (the length does not really matter, but long enough you can make a series of template holes).
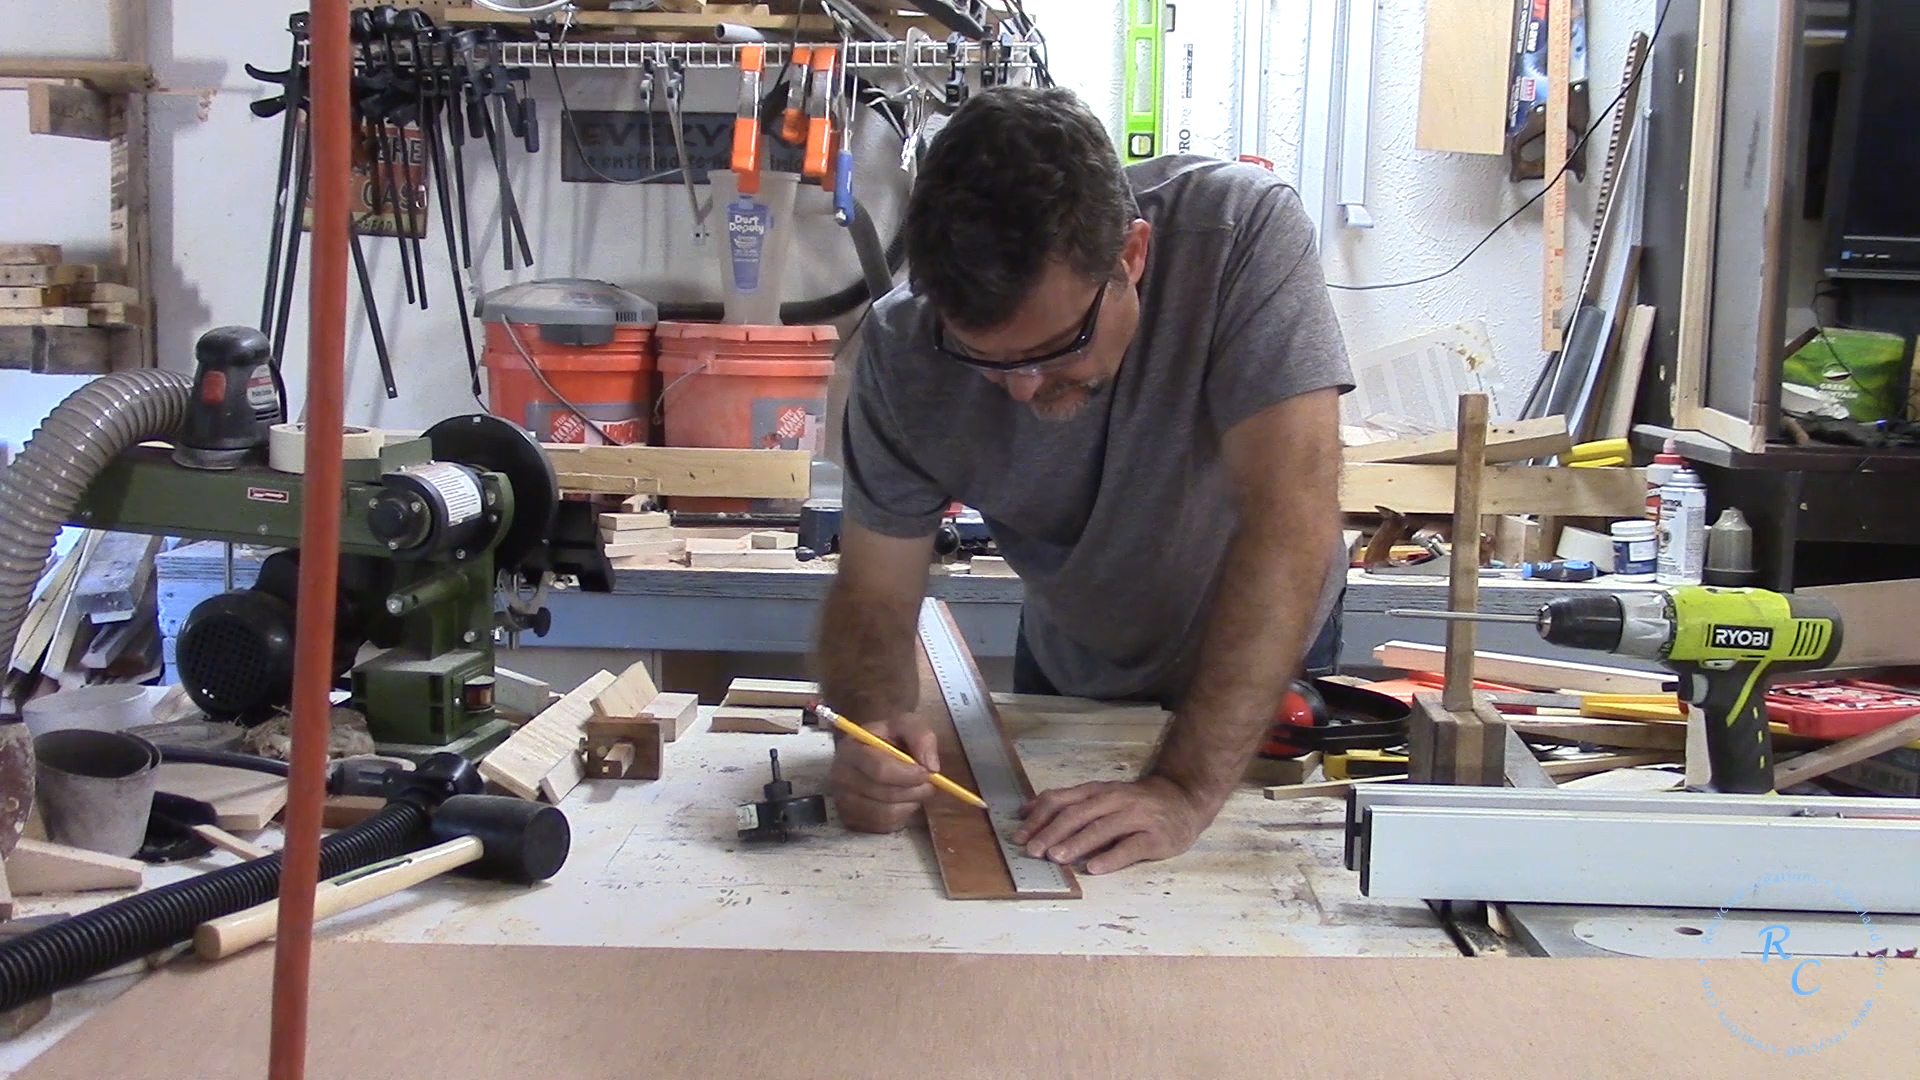
Using a marking gauge I created a center line on the pattern board, then using that as a guide I lay out a series of marks to position a hole cutter to make the router pattern.
Using a 3″ hole saw I cut a series of 12 holes, (2 sets of 6 coasters each was my thinking but make your pattern based on the material you have on hand), you should end up with a pattern like this. 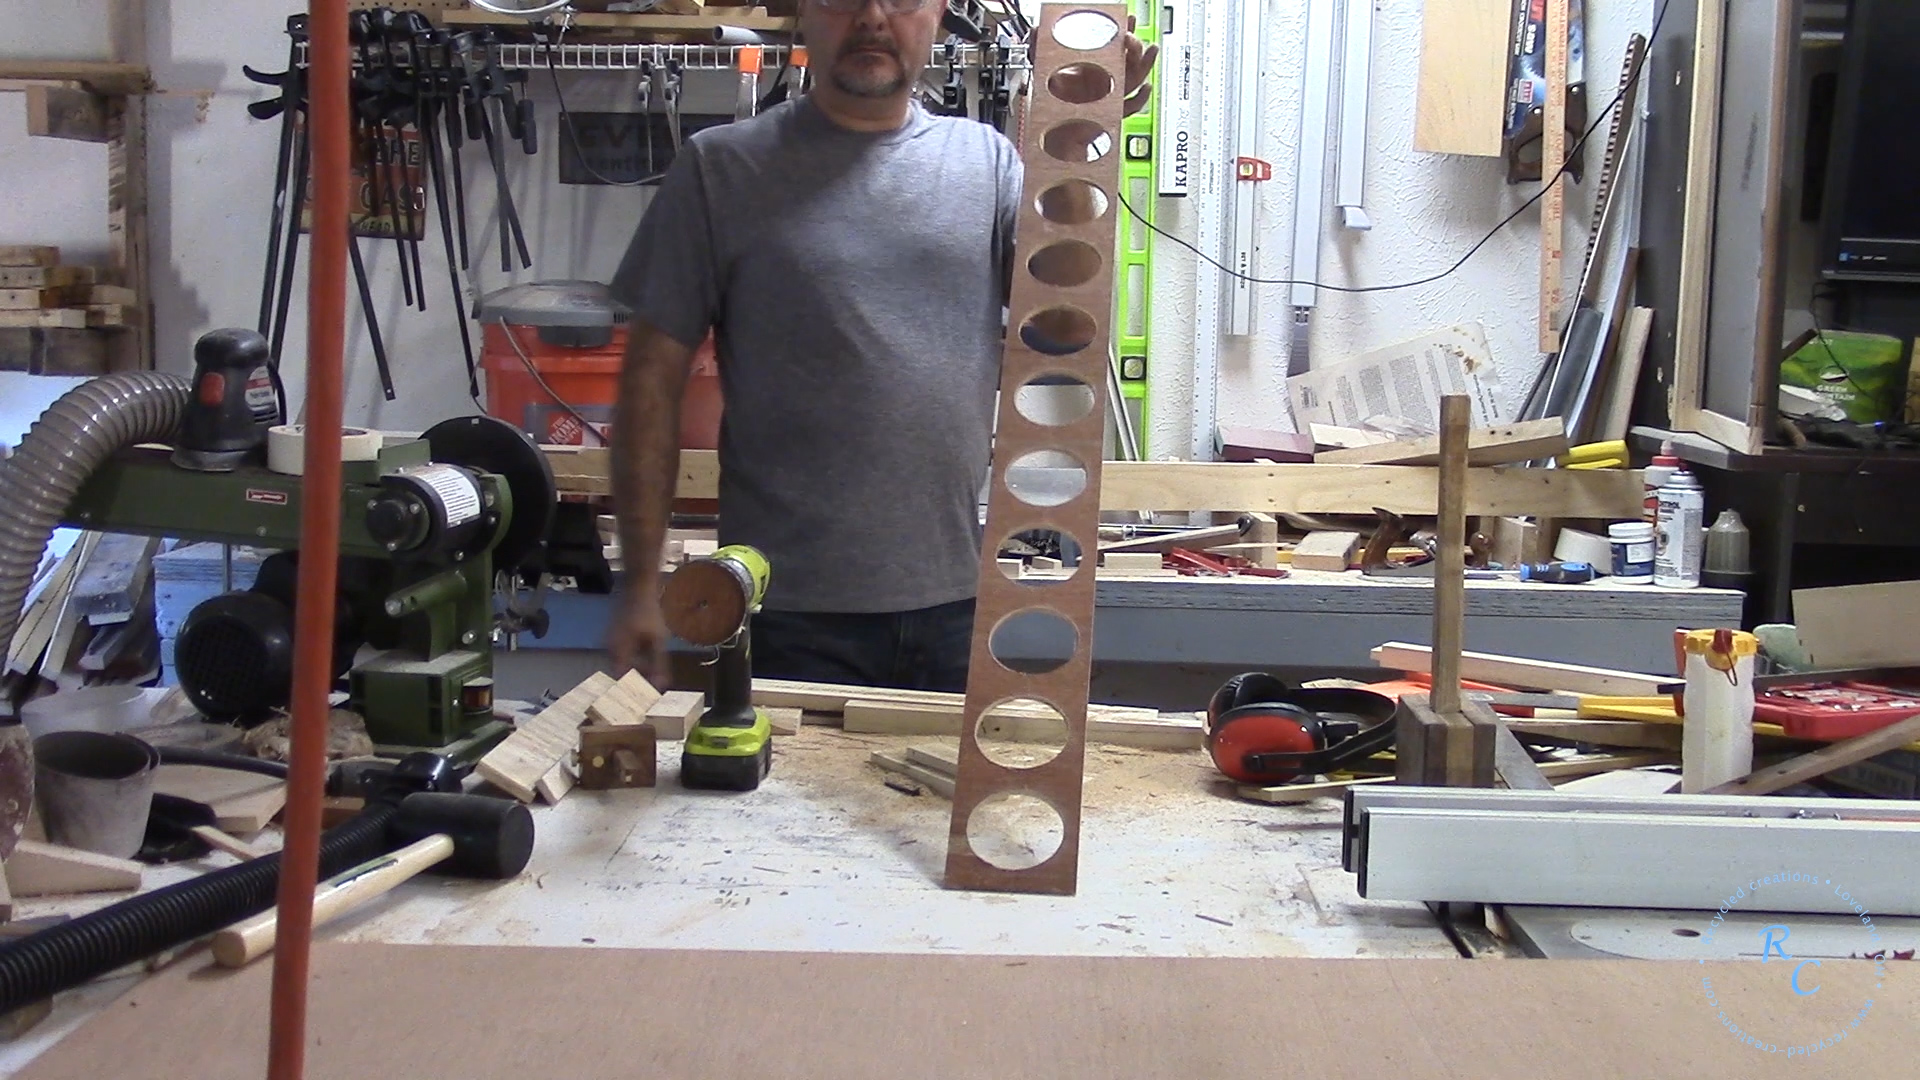
I installed a 5/8″ Collar and 1/2″ up-spiral cutter in my router and attached the template over a portion of pallet wood directly to my bench with some wood screws. The cutter I have is very aggressive and you can pretty much remove the divot in one operation, I made each coaster divot about 32nd of an inch deep.
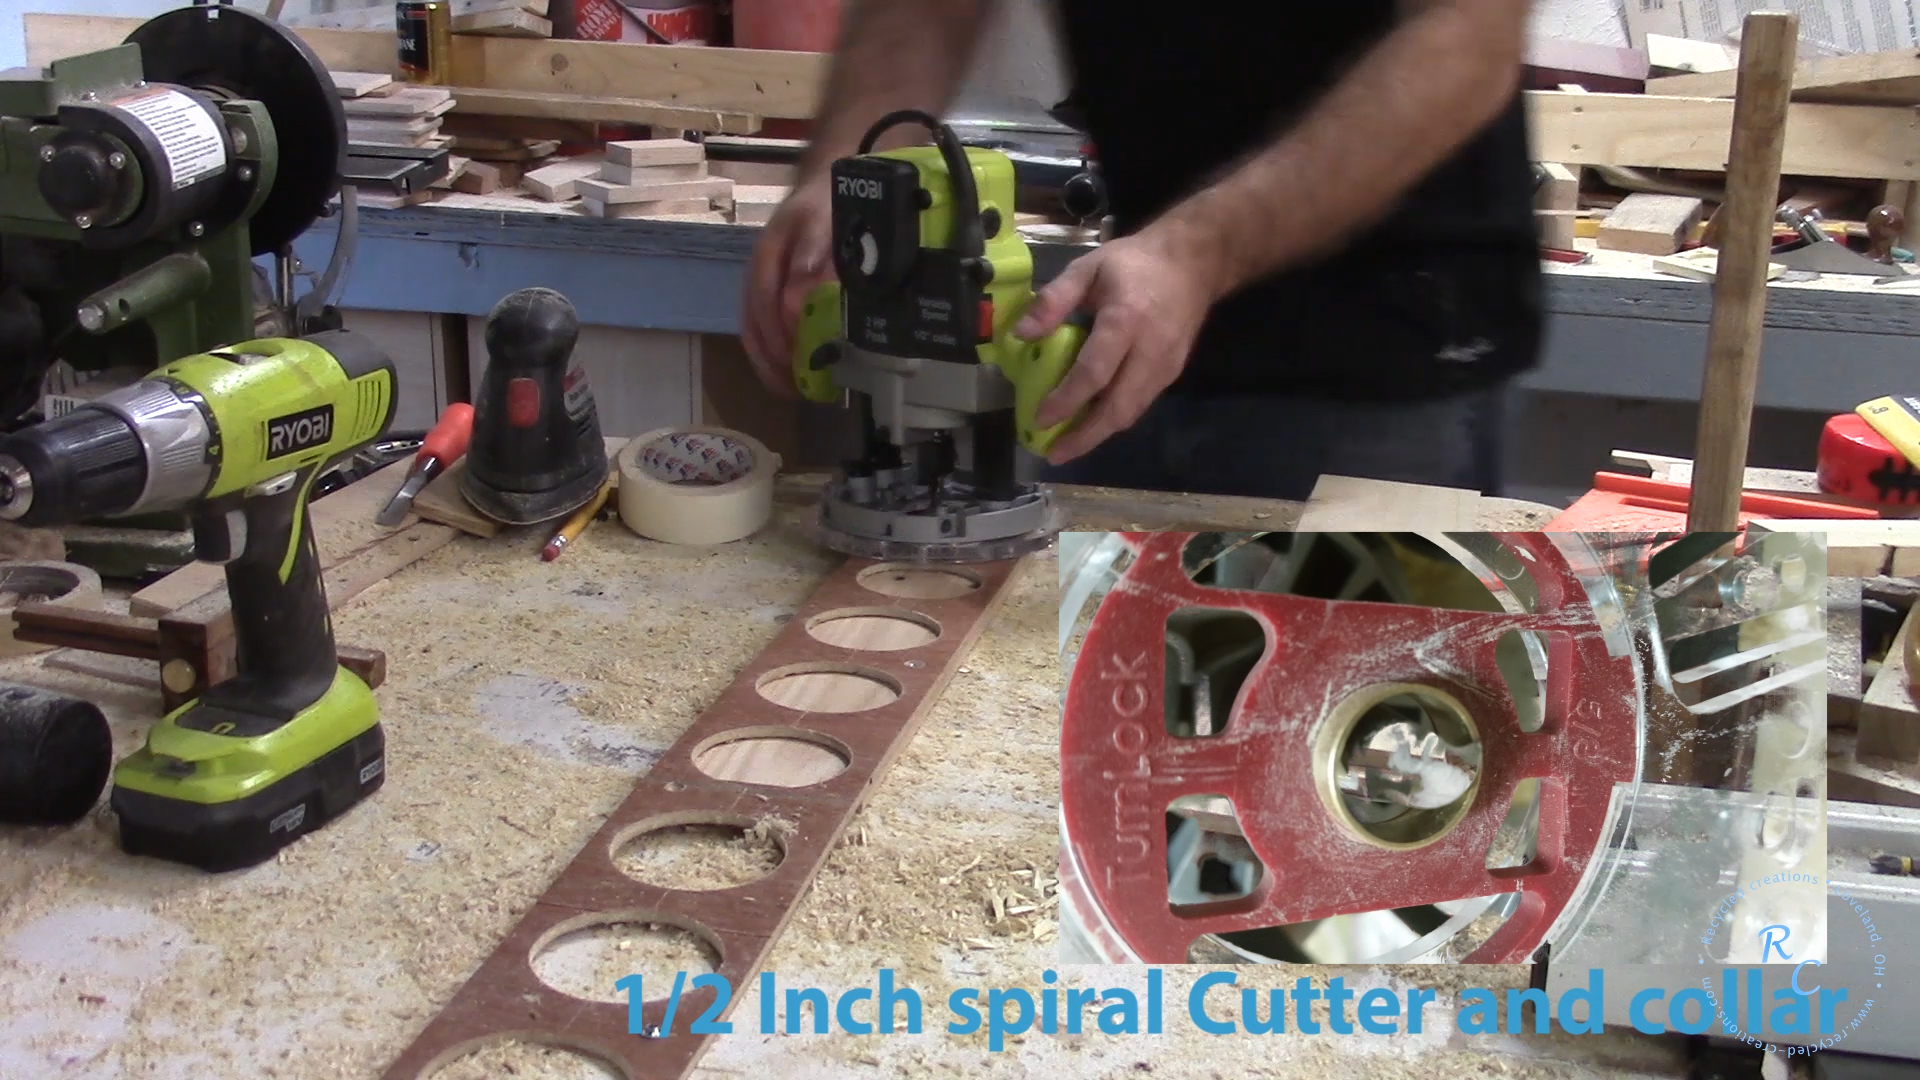
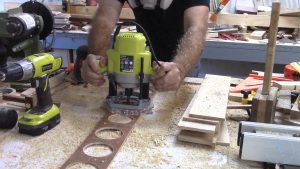
Once you have the assembly attached firmly to my bench I used the collar to ride the inside of each pattern hole cutting the divot for each coaster.
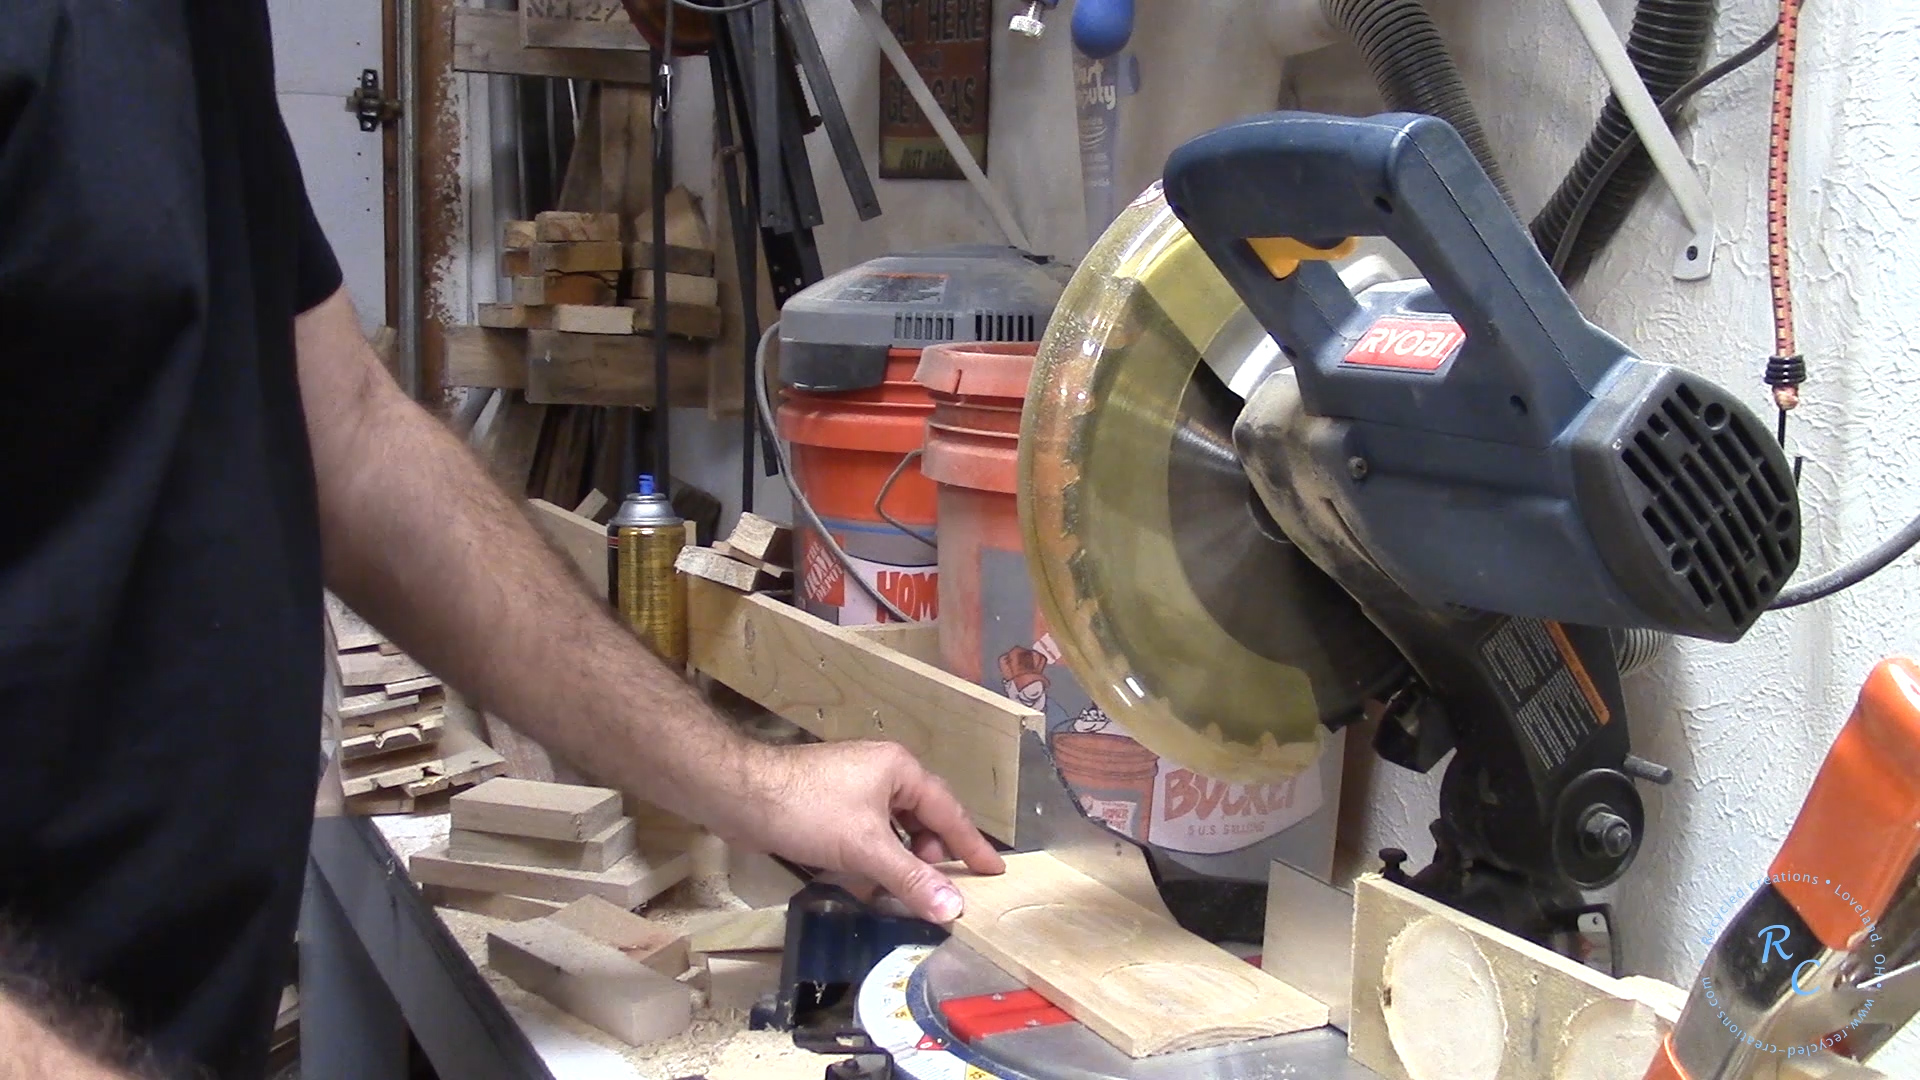
Then over at my chop saw station I set up a stop block and cut the long coaster blank in to the individual coasters.
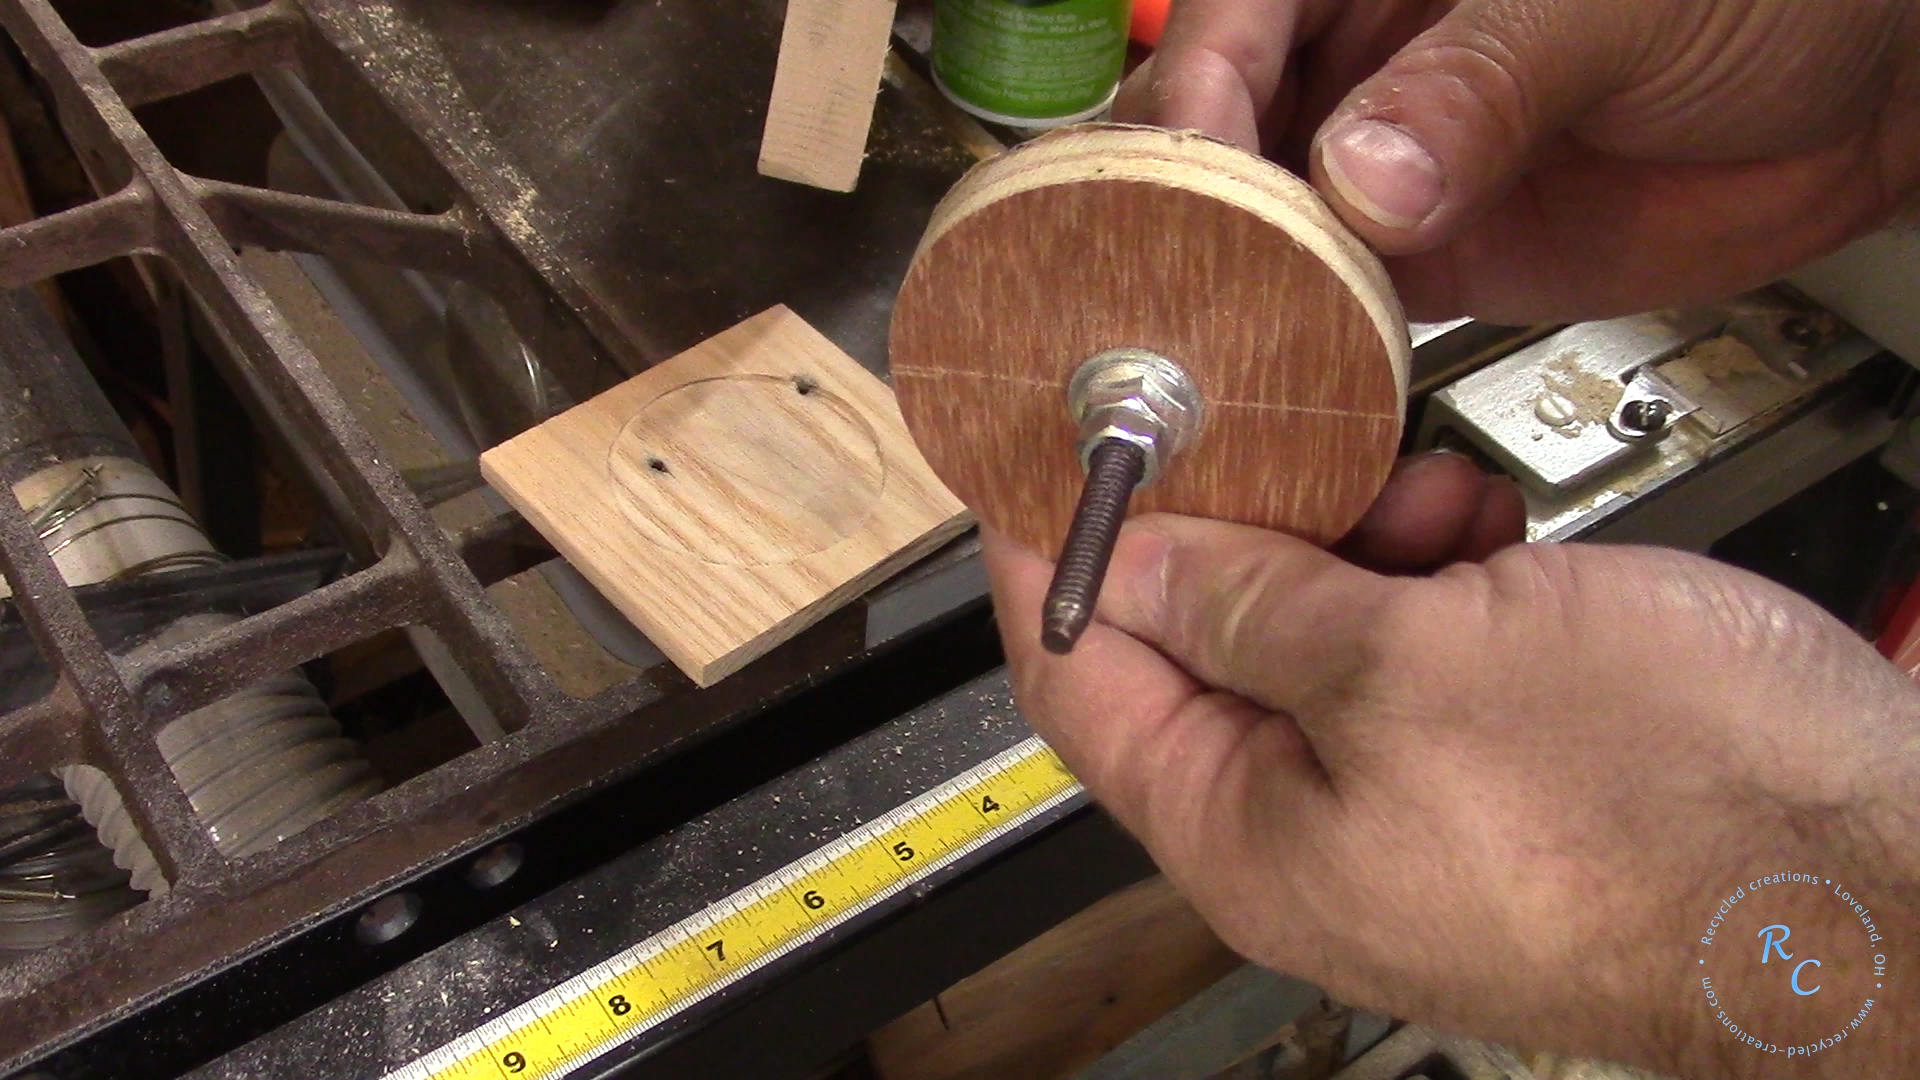
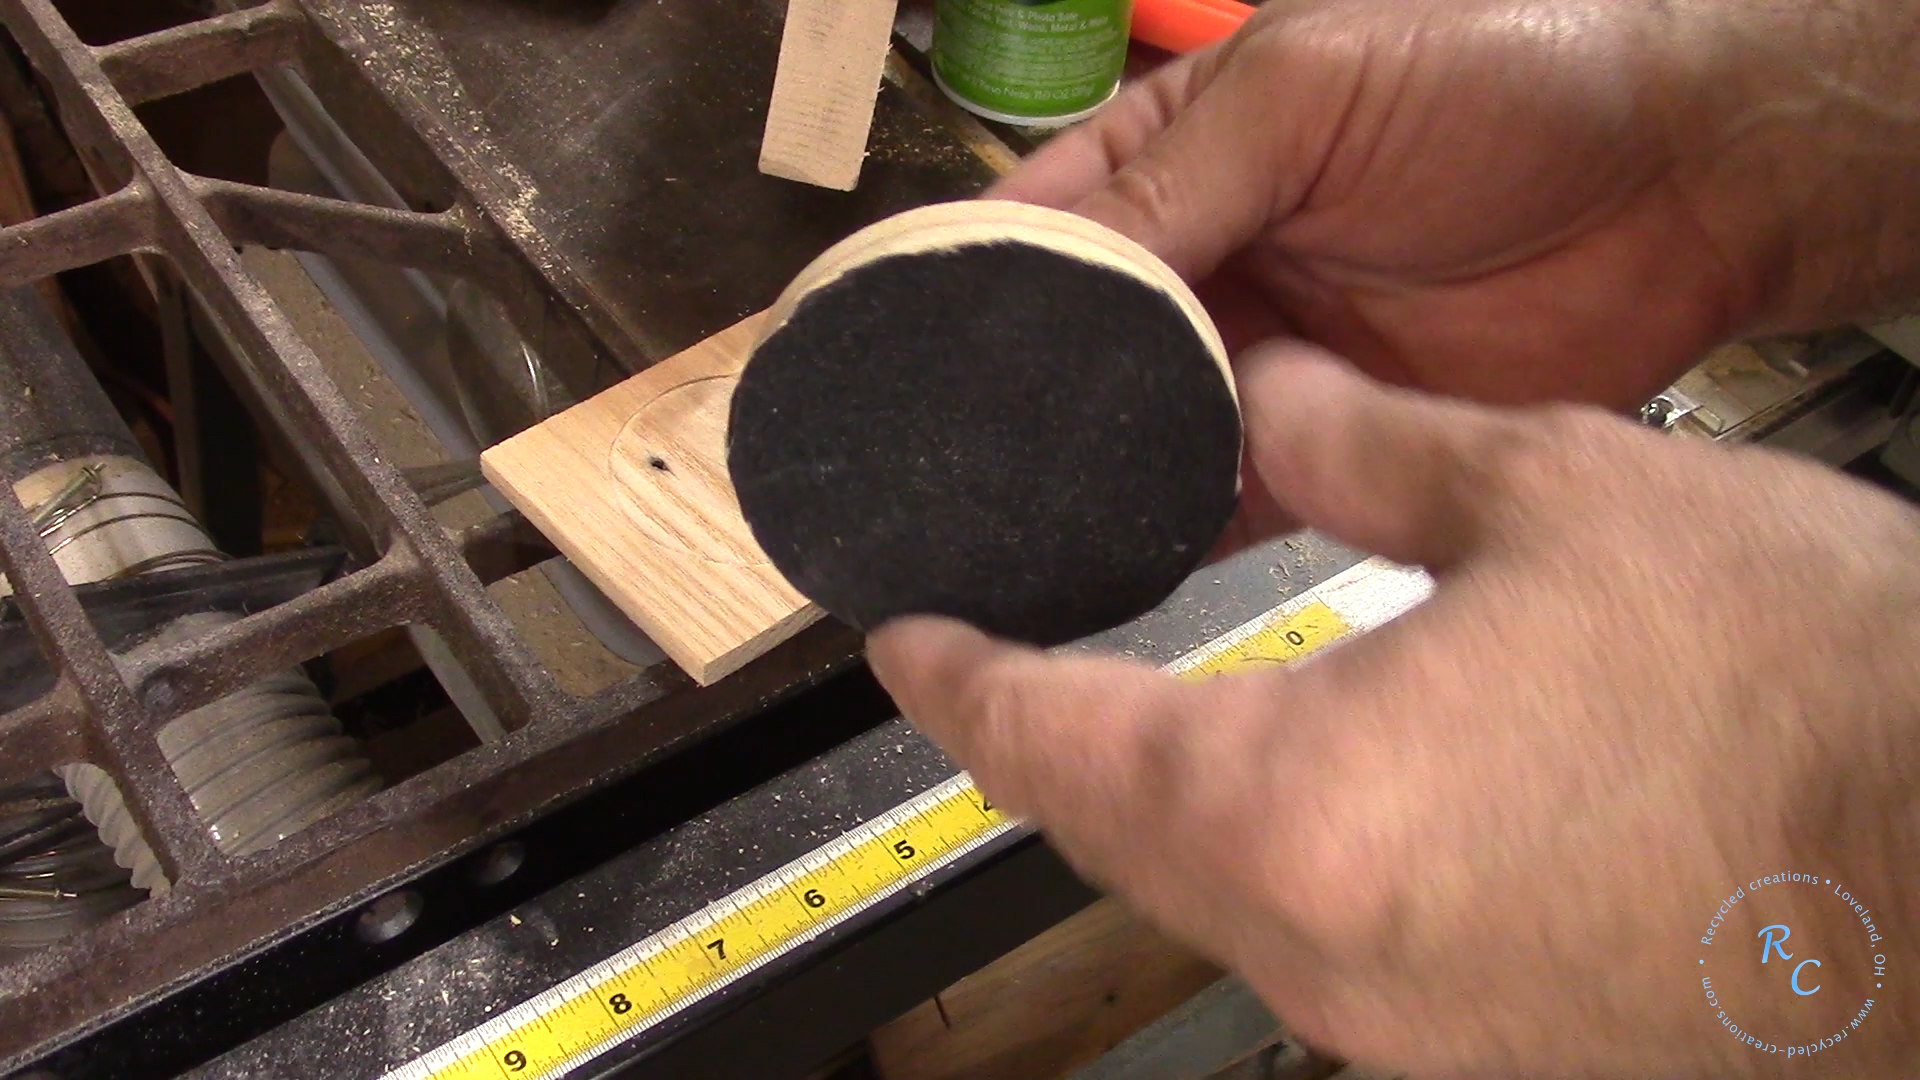
Utilizing two of the center cut outs from making the pattern I made a small sanding disk with a 1/4″x 20 bolt a couple of nuts and used some spray adhesive to stick on some sand paper. I chucked this all in my drill press set up a stop block as a guide and to aid in holding the material still and sanded flat each divot.

Give all the coasters a quick sand on the belt sander and they are ready to apply your logo, or a picture or any number of other customizing features (let you’re creativity flow)

![]()
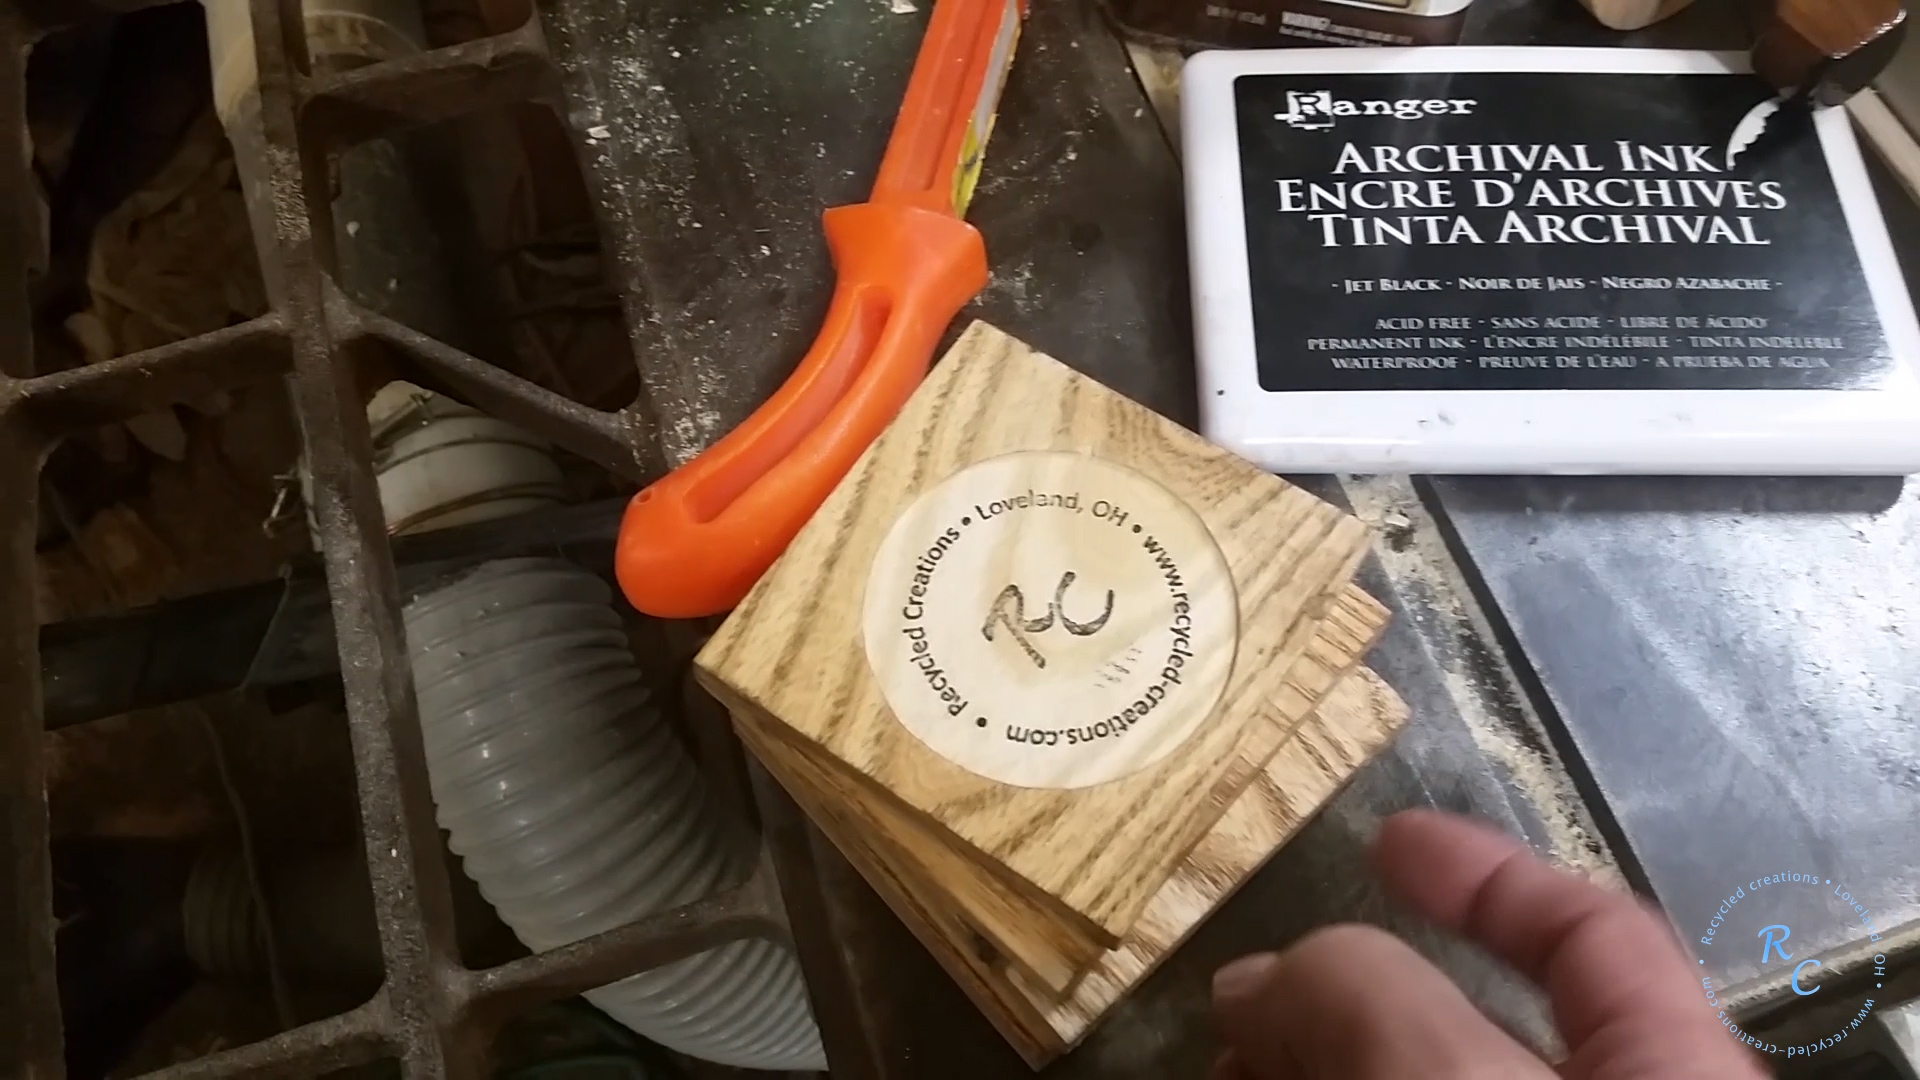
For a finish I applied a coat of danish oil, which is the “go to” finish in my shop for pallet wood projects. I used my logo stamp which is approx 2 3/4″ in diameter to add my logo to the center of each divot. *Note I have sense discovered if you apply a light coat of spray lacquer or spay poly after the danish oil dries, allow the poly to dry completely before you stamp your logo it prevents the stamp ink from bleeding, and gives a clear image. I suspect this may be the case for other customizing treatments. I am sure mileage varies here, so experiment.
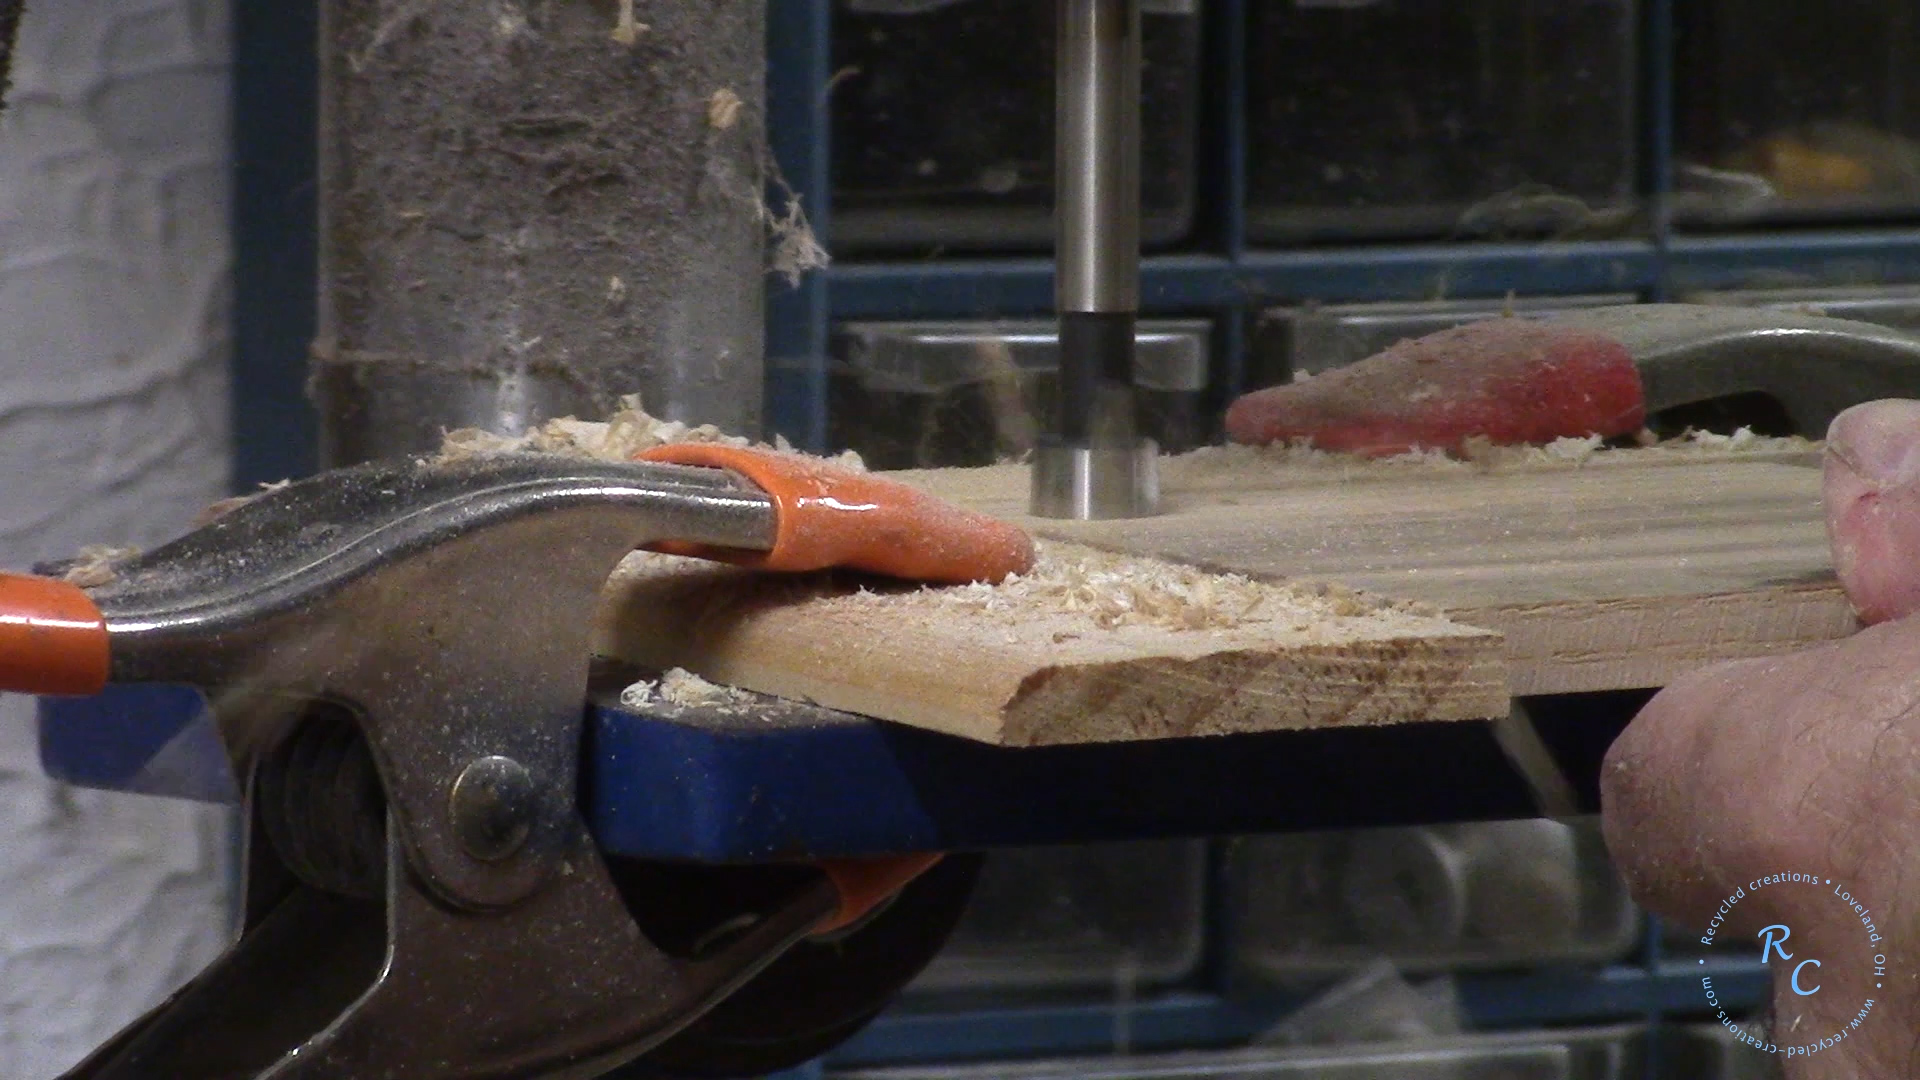
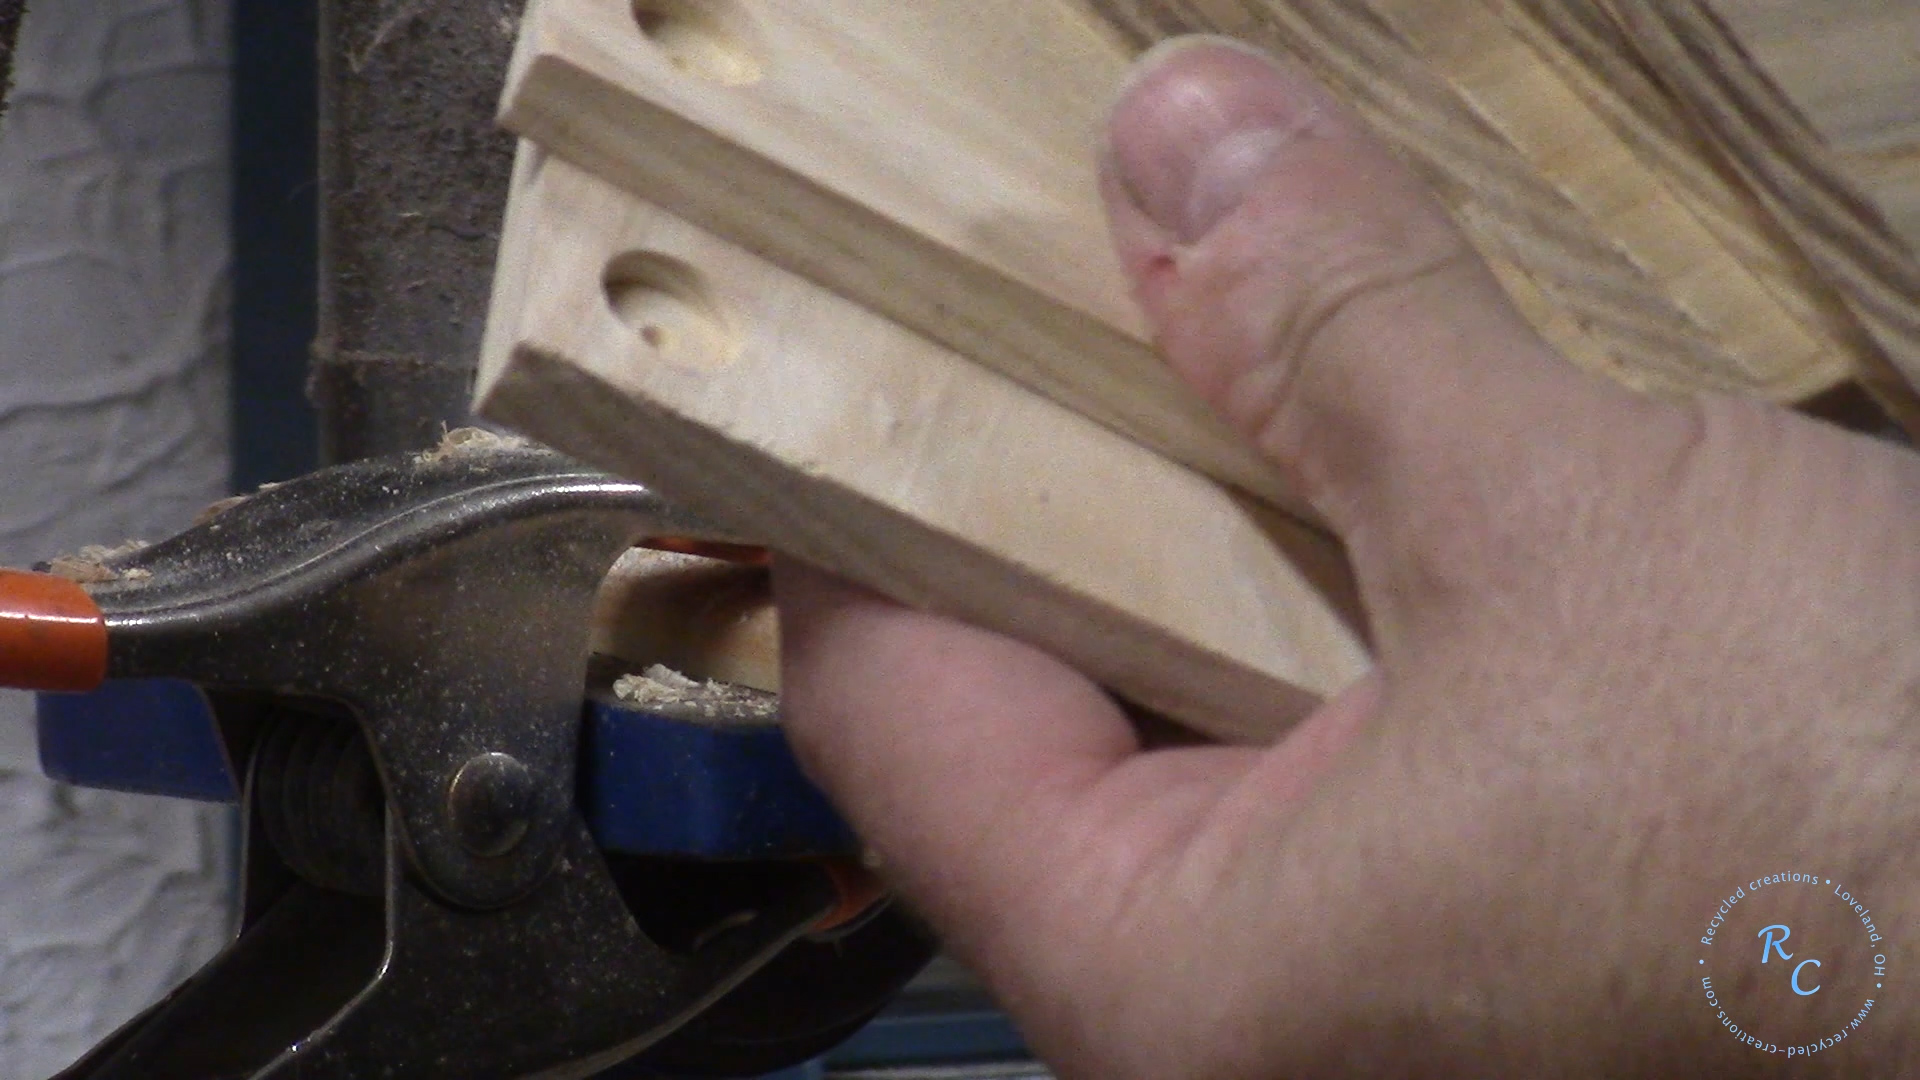
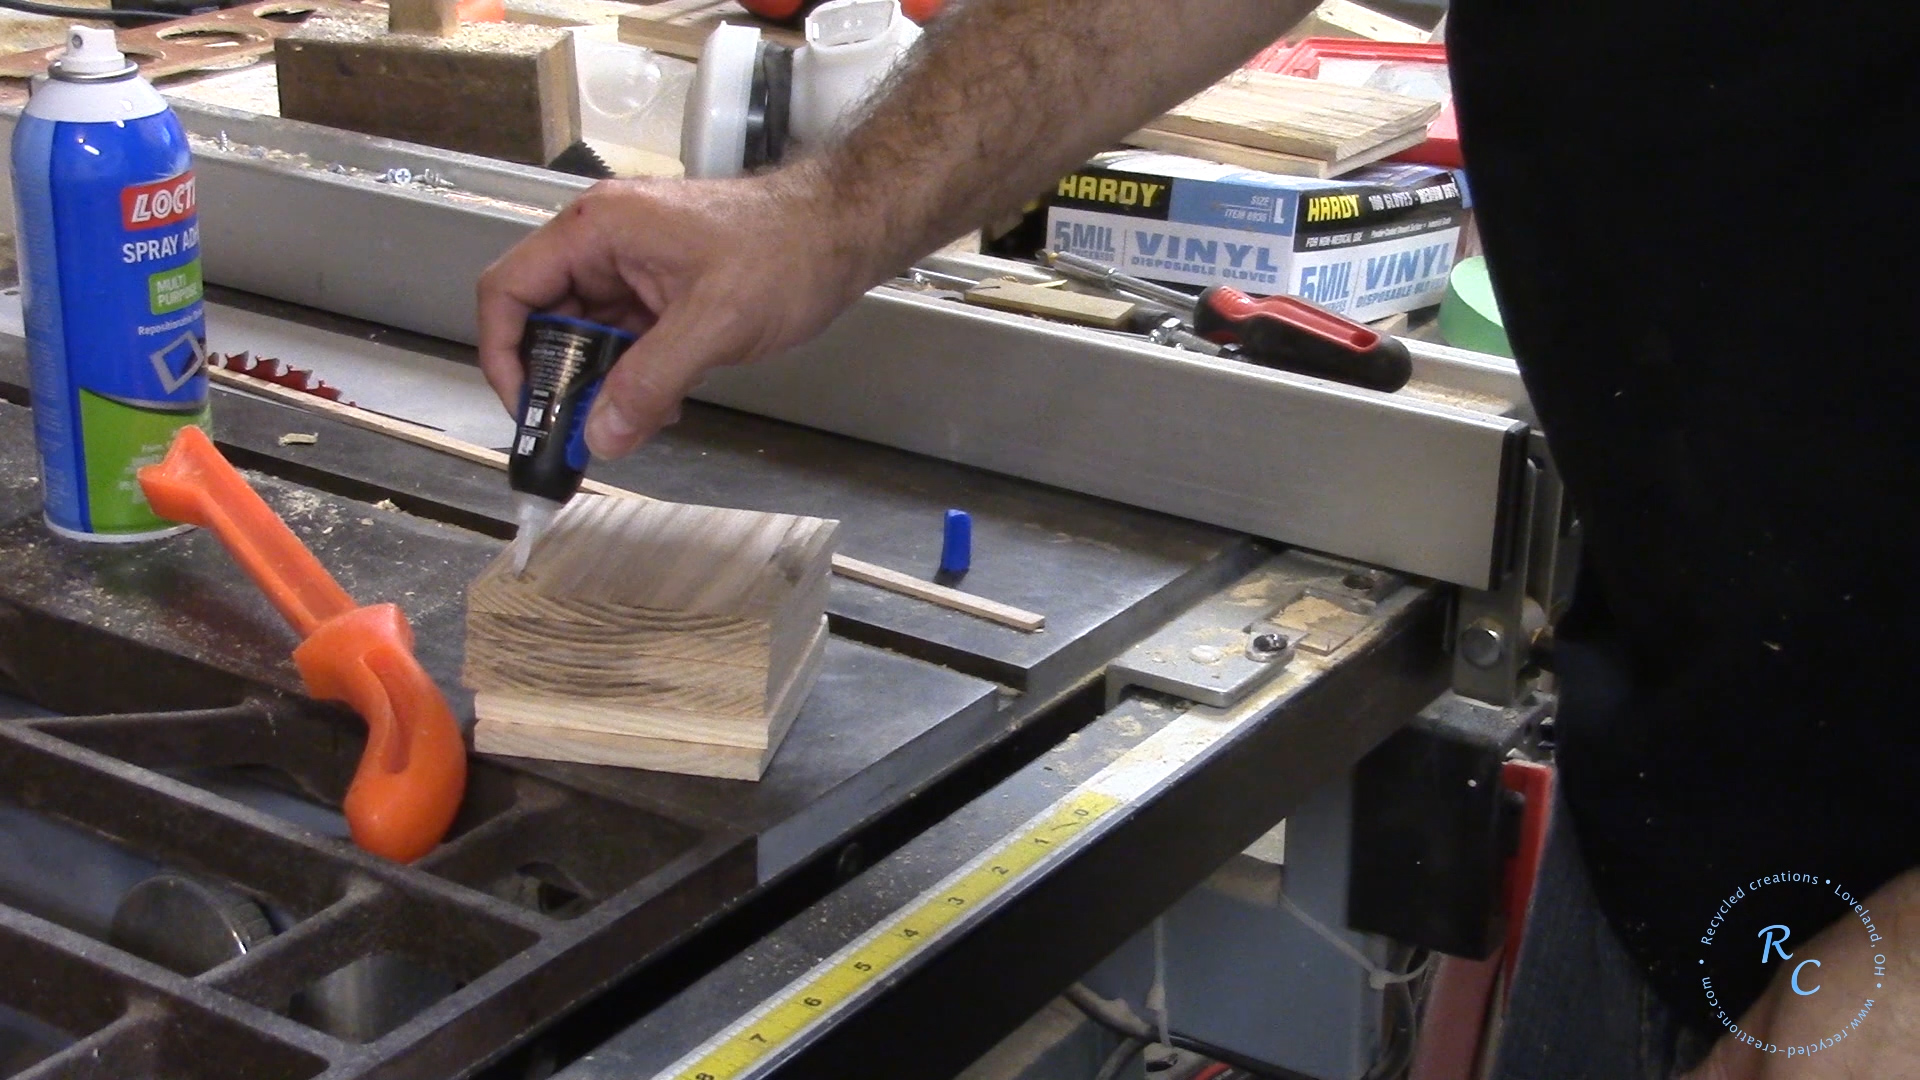
An optional step, I created a quick jig at the drill press to use a forstner bit to make a indentation and glued in a rare earth magnet with some CA glue this will keep all the coasters stacked nicely
Pay close attention to the polarity orientation other wise the coasters will not stack at all!


You end up with a stack of coasters that will remain in place even if disturbed by a tap, They Stay in place!
If you enjoy what I do please go over and like comment and subscribe on my YouTube channel . Supporting my channel by watching the content helps me create more content.
The video for this project can be found here: https://www.youtube.com/watch?v=6zGf9FjkVDA&t=1s
